DIY Easy-Sew Fabric Pumpkin Tutorial
Ditch the store bought fabric pumpkins and make your own unique ones with this DIY Easy-Sew Fabric Pumpkin Tutorial. Just follow the simple steps and soon you’ll have your own perfect budget-friendly, Fall and Halloween decor.
This post contains affiliate links. You won’t pay any extra for making a purchase through these links but we earn a commission for purchases made through links. This helps keep the blog running which we really appreciate! You can read more about it in our full disclosure.
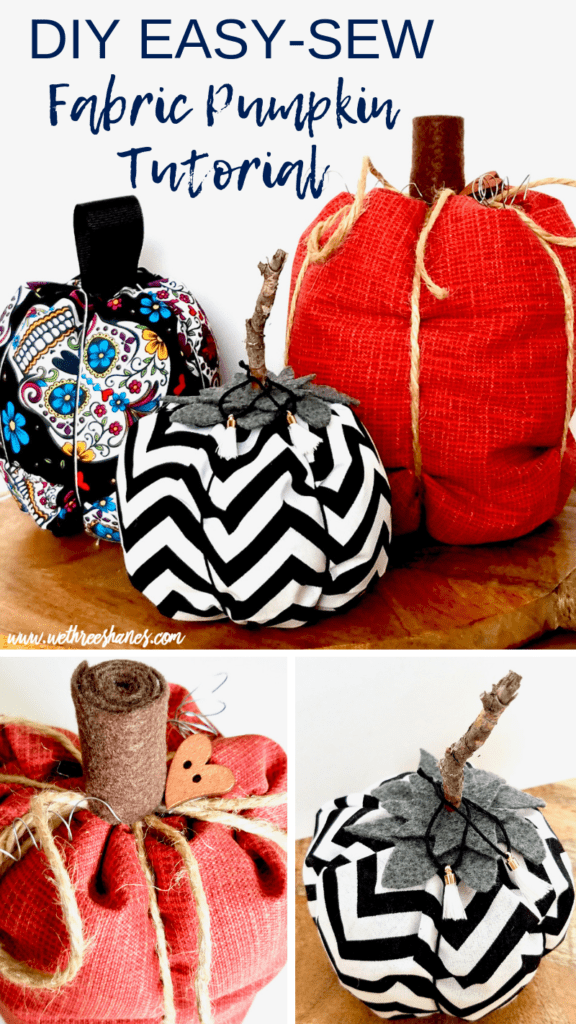
DIY Easy-Sew Fabric Pumpkin Tutorial
There are tons of cute material pumpkins popping up in stores everywhere right now. While I love the ease of buying cloth pumpkins, nothing beats the flexibility of styles when you make your own. From choosing the pumpkin sizes, to fabric colors and patterns, these cute pumpkins are super versatile.
I definitely played around when creating my DIY Easy-Sew Pumpkins which made this project so fun. I went through my old craft supplies and pulled out everything that might look cute on a fabric pumpkin. Not all of it was used but a good amount was. I love DIY projects that use up my stash.
While I bought new fabric to make my pumpkins you can definitely use up some scrap material you have laying around. I grabbed some clearance material and fat quarters to make mine which kept the budget really low.
- Easy to Make √
- Budget-Friendly √
- Versatile Design √
- Ridiculously Cute √
- Can Be Used all through Fall (not just halloween) √
Let’s get to the tutorial so you can start making you’re own adorable fabric pumpkins!
Materials Needed for Your DIY Easy-Sew Fabric Pumpkin
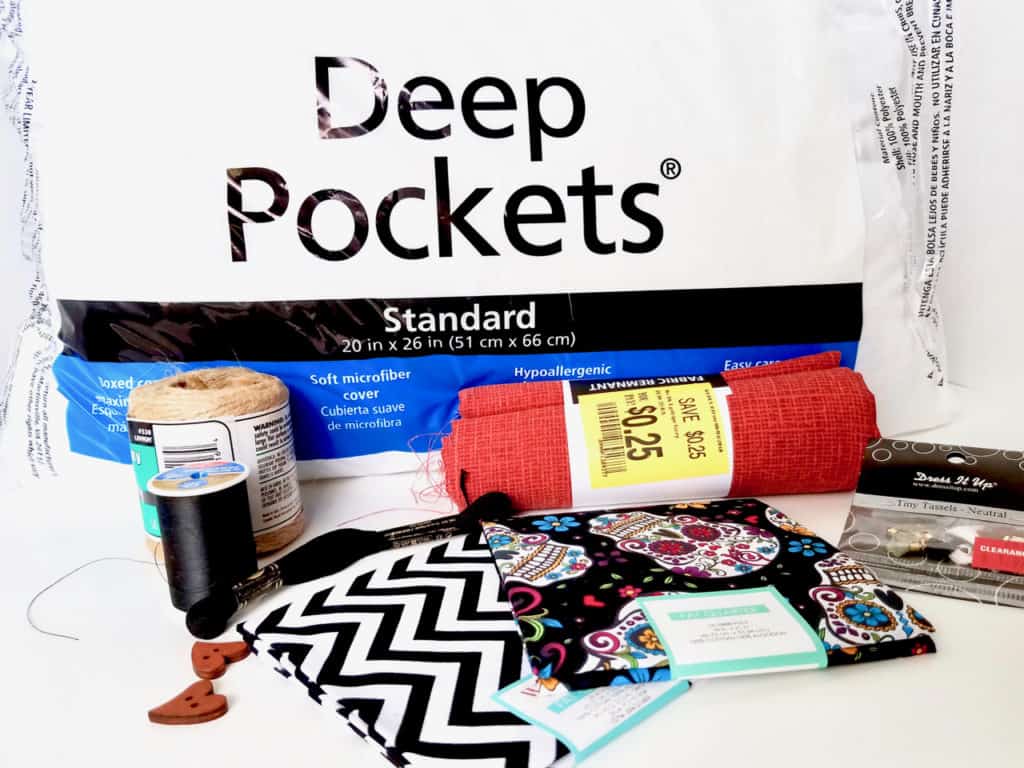
- Assorted fabric
- Needle & thread
- Batting – I used a pillow from Wal-Mart. It’s cheaper than buying batting.
- Stem material – I used felt, ribbon, and a stick from outside
- Glue gun
- Glue sticks
- Embroidery floss or twine to make pumpkin ridges
- Other fun embellishments from your craft supply
- Sewing machine – optional
How to Make Your Easy-Sew Fabric Pumpkin
Step 1 – First cut out your fabric based on the size and shape you want for your pumpkin. For shorter pumpkins go for 5 in x 10 in. For taller narrow ones go for 9 in x 12 in.
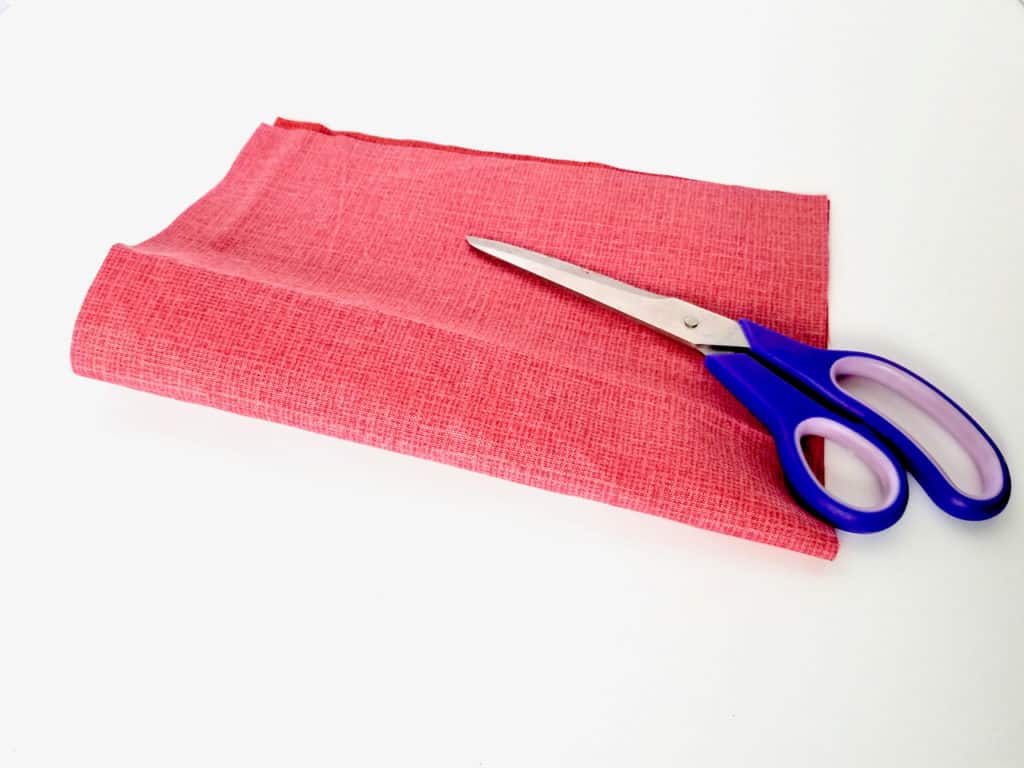
Step 2 – Next, fold your fabric in half so the shorter sides line up and the the fabric you eventually want showing is on the inside. Stitch along that side either by hand or with a sewing machine.
If you plan to make a bunch of fabric pumpkins you can get them done faster with a sewing machine. I sewed my three by hand and it didn’t take too long. Only a couple minutes per pumpkin.
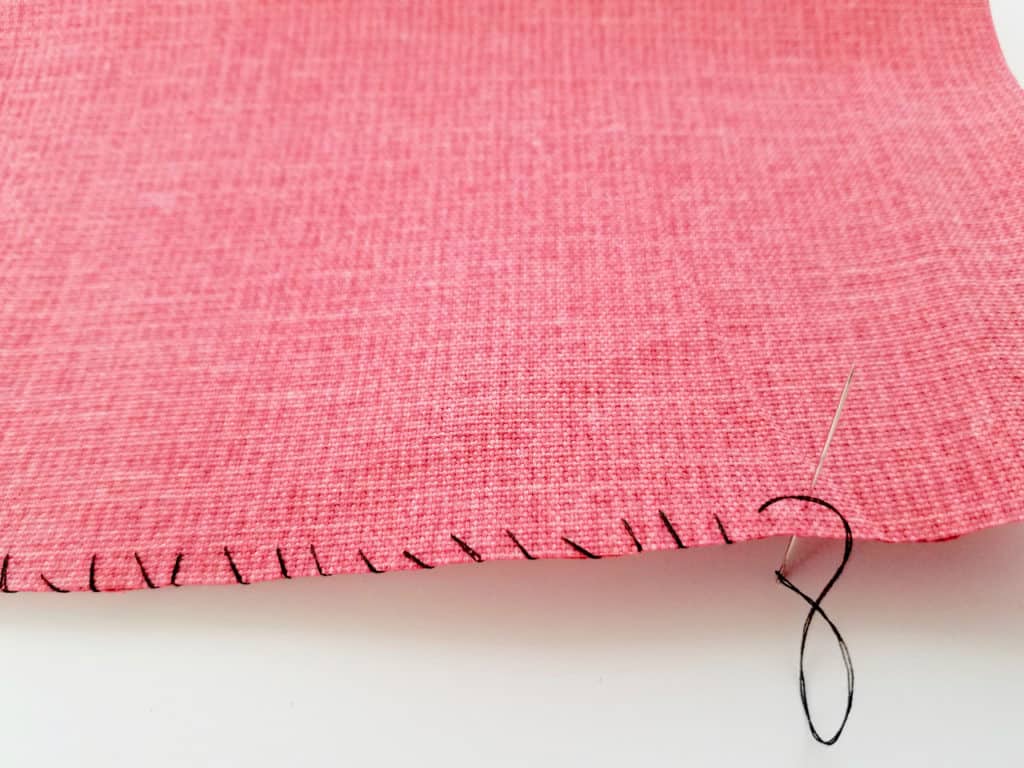
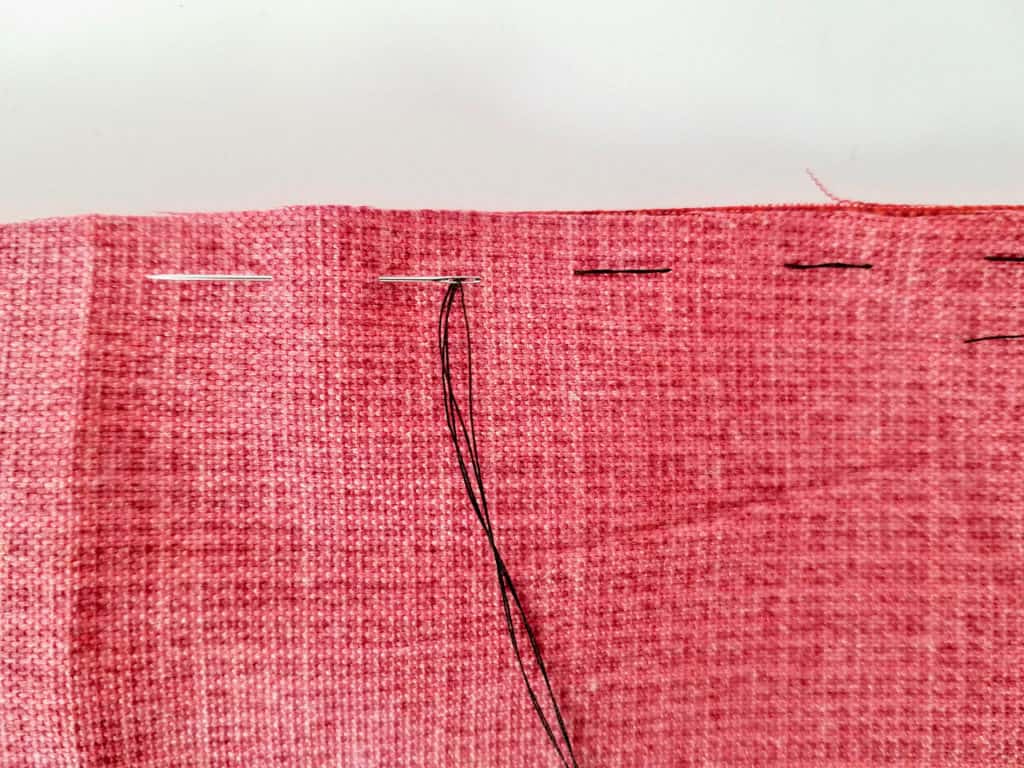
3. With a needle and double thread, sew around one end of your opened tube with a running stitch. Pull thread to cinch the fabric and then secure with a couple of stitches.
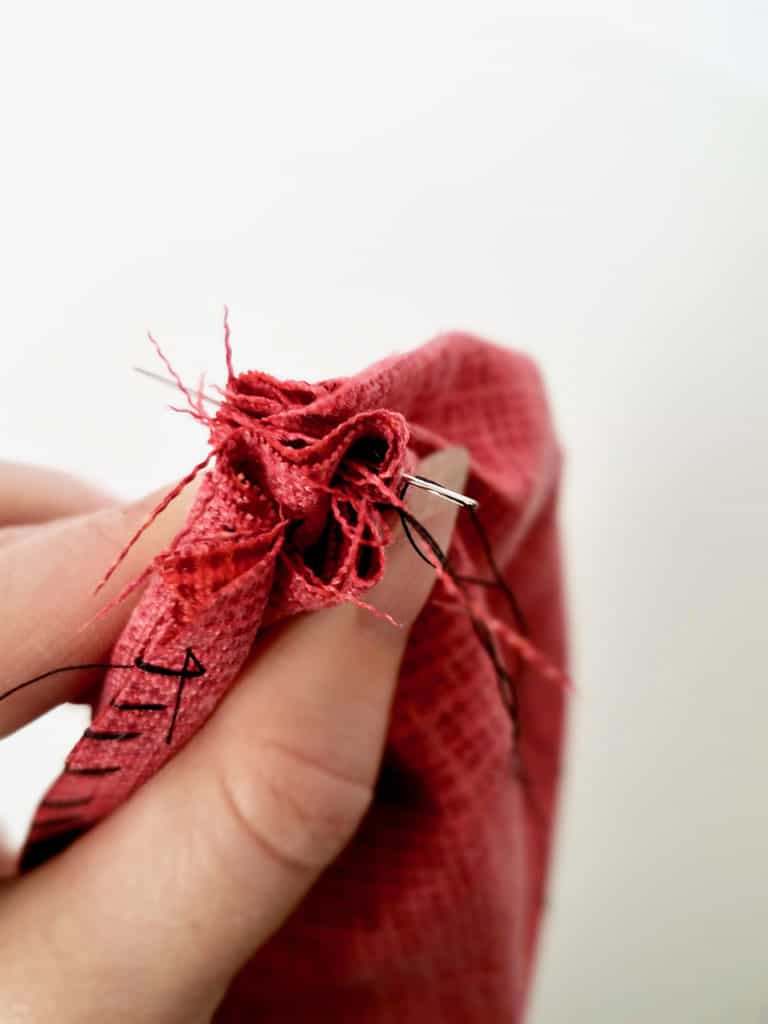
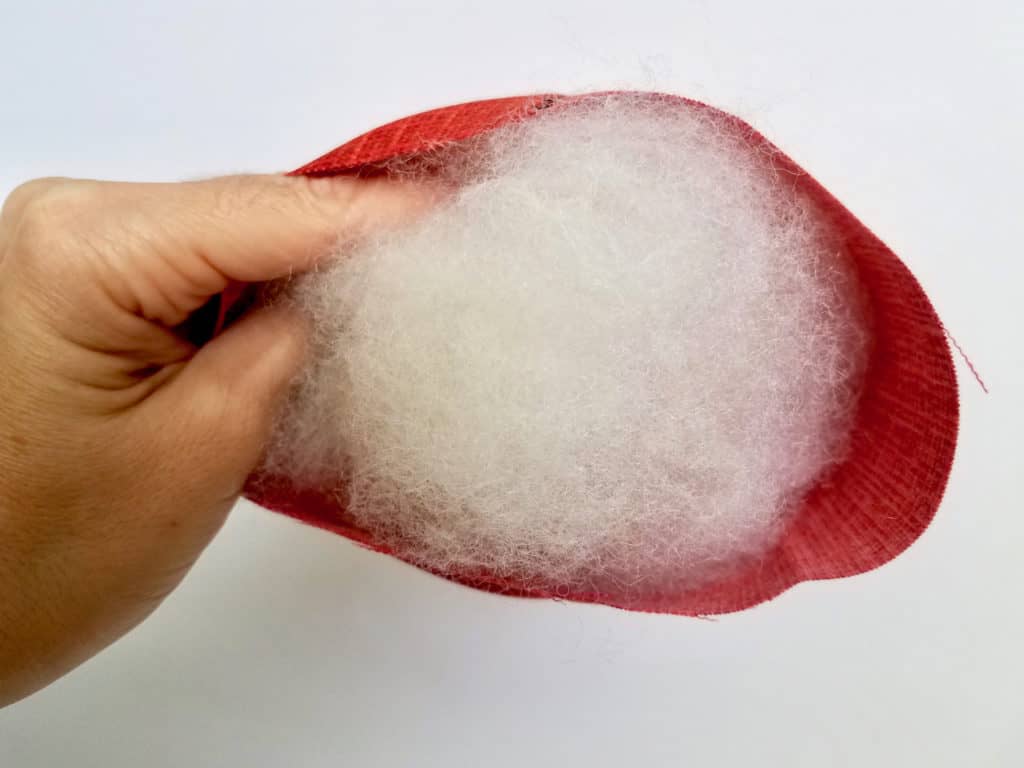
Step 4 – Turn pouch right side out and stuff with batting. Repeat running stitch steps on open end.
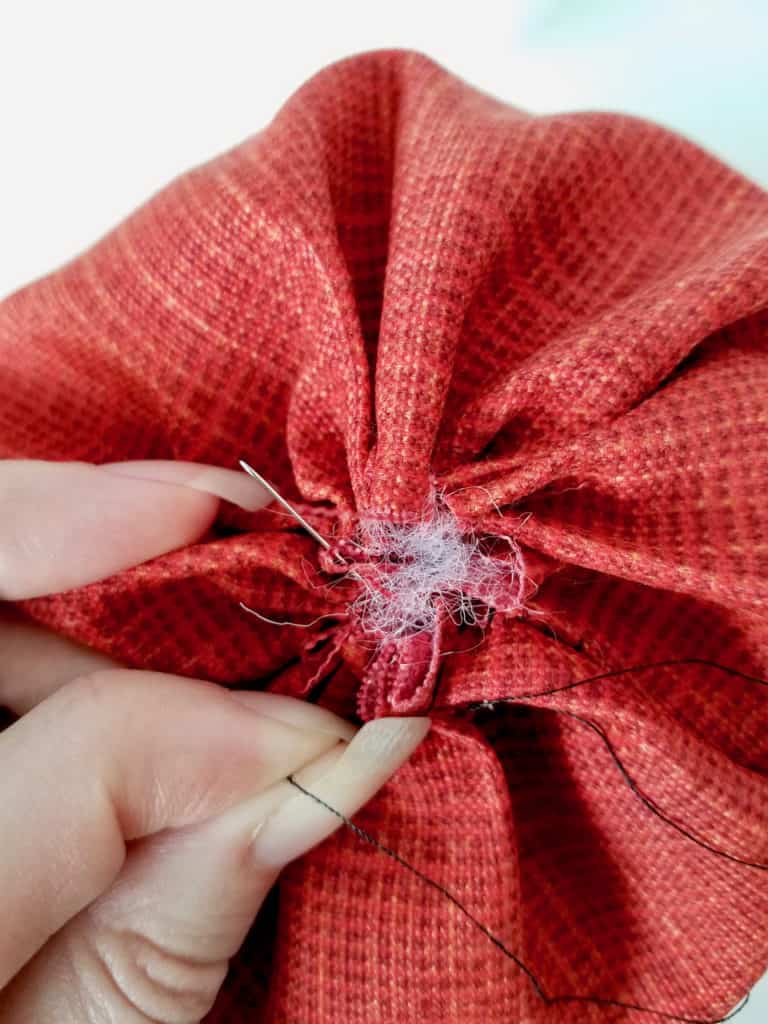
Step 5 – You now have your basic pumpkin. Next take a long piece of string, floss, or twine and wrap it around your pumpkin like your wrapping a gift. Run the string down the length of the pumpkin pulling a bit tight and then twist your string and bring it back up, pulling tight again. Do this one more time and tie it off.
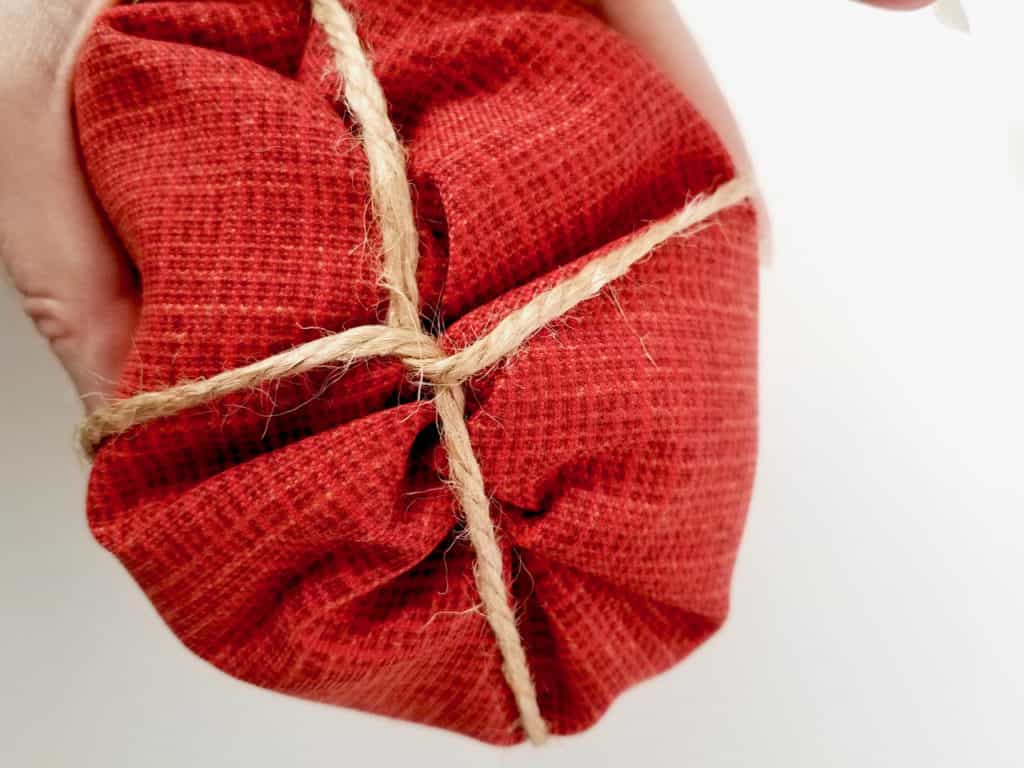
Some crafters like to pull a needle with floss, down through the middle of the pumpkin and back up several times to make their pumpkin ridges. You can do this if you want but it’s harder to do on taller pumpkins so I did a simple gift twist method and it worked great.
Step 6 – Now you need your stem. I used a rolled piece of felt for one fabric pumpkin, some ribbon for another, and an actual stick from outside on the last one. Cinnamon sticks make a cute stem too. Whatever you use just glue it to the top of your pumpkin.
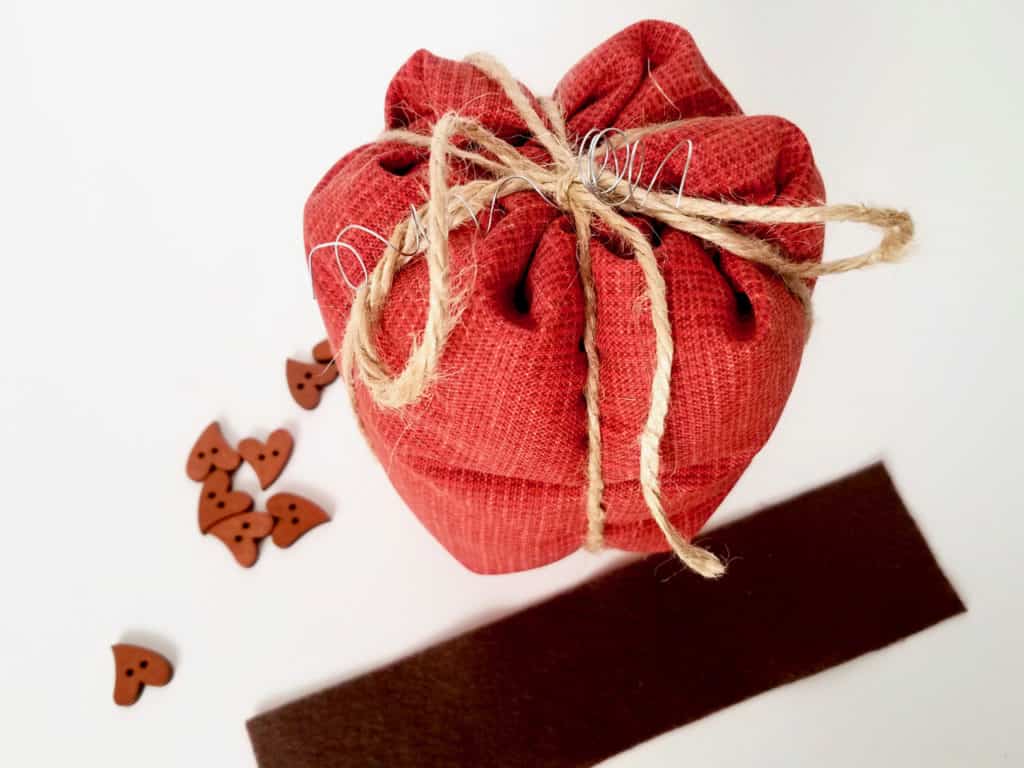
Step 7 – Finally, add whatever other embellishments you’d like: bows, leaves, tassels, buttons. Anything you can think of to make your fabric pumpkin unique.
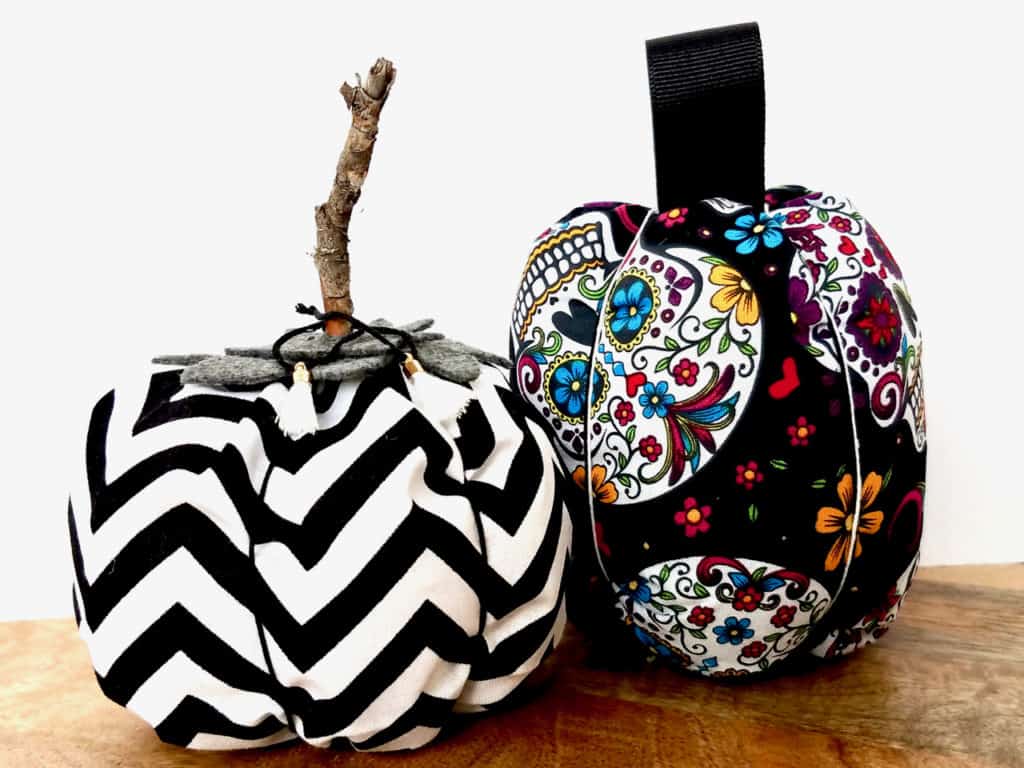
How cute are they? I made a couple of different Easy-Sew Fabric Pumpkins so you can see how different they can look. The options really are endless. They are so quick and cheap to make you can have fabric pumpkins all over your house in no time. Get creative and have fun!

Thanks for including us in your Fall Crafts post!
These came out so good. I really like the black-and-white one.
Thanks Maureen! It’s fun to make these easy-sew pumpkins because you can customize them to fit the decor in your home and your personal style. You can’t do that with store bought fabric pumpkins.