Easy All Natural DIY Lip Gloss
After making this all natural, super easy DIY lip gloss, you’ll never have to buy the store bought kind full of chemicals again.
I have a pre-teen in my house and she has been begging me to make DIY lip gloss. She is in that in between age where she can’t really where make up but she loves to where tinted lip gloss to feel like a teenager. Plus, who really enjoys walking around with dry, cracked or peeling lips?
Lip gloss can be super expensive too. My daughter loves Bath and Body Works and their tiny lip gloss is around $8. No thank you!
How about I just make it for a fraction of the price, with all natural ingredients plus, the color and flavor I want. That seems like a much better idea to me. My daughter and I also get to have some bonding time and make it together. These also make great gifts.
My son loves to use DIY lip balm for his dry lips so if you don’t like lip gloss then that’s a good recipe for you to try.
(THIS POST PROBABLY CONTAINS AFFILIATE LINKS. OUR FULL DISCLOSURE POLICY IS LONG & BORING BUT, YOU CAN FIND IT HERE.)

Do You Know What Is In Your Lip Gloss?
I looked up a popular make up company’s lip gloss and was completely shocked by how many ingredients were in their lip gloss. It had 23 ingredients, and most of the ingredients I couldn’t even pronounce. That is absurd.
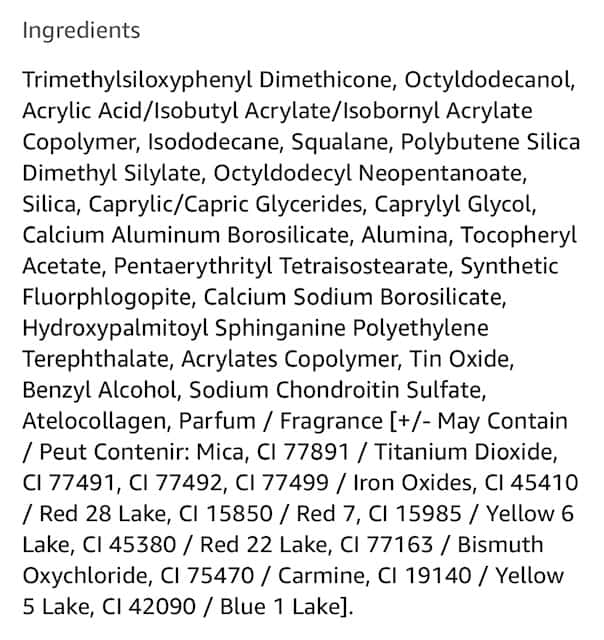
Want to know how many ingredients are in my all natural lip gloss? Seven, and two of those ingredients aren’t even necessary.
Benefits of Natural Ingredients
Let’s take a quick look at the ingredients in this natural lip gloss so you know exactly what’s in it and the benefits they have on your lips.
Cocoa Butter – is a great moisturizer for the skin. It helps to soften it and smooth it out. It also protects your skin and helps with chapped lips. It also can improve blood flow to the skin and help slow the aging process.
Olive Oil – Olive Oil can enhance your skin health by treating inflammation and help add against skin cancer, eczema and psoriasis. It moisturizes the skin and helps protect it from things like harsh sun rays.
It can also help fight and even remove wrinkles and is hypoallergenic which is rich is vitamins, minerals and antioxidants. It can help smooth out the dry skin on our lips. Perfect!
Other carrier oil options are grapeseed oil or sweet almond oil. If you like a thick and sticky lip gloss then you can use a thicker oil like castor oil.
Vitamin E Oil – This miracle oil for the skin helps in so many ways. It treats acne, prevents wrinkles, moisturizes the skin, treats dark circles, treats scars, and can actually help exfoliate the skin. Who wouldn’t want all of these benefits.
Coconut Oil – I could go on and on about what this oil does for our bodies. It helps moisturize, it is anti-bacterial, reduces wrinkles, brightens dark spots on skin, it can improve stretch marks, and can help clean the skin. It even helps protect against sun rays by acting like a very mild sun screen. I use coconut oil in SO many of my beauty products.
Beeswax – can inhibit the growth of bacteria which can help treat or even prevent things like eczema, psoriasis and dermatitis. It helps moisturize the skin to repair dryness and cracking. It helps to lock in the moisture. It has vitamin A in it which helps protect collagen.
With so many great qualities in the simple ingredients for this lip gloss, who wouldn’t want to give this recipe a try?! If you are still on the fence, let me show you how easy it is to make your own lip gloss. Then you can decide.
Lip Gloss Base Recipe
- 1 Tablespoon Olive Oil (Almond oil, avocado oil or Jojoba Oil also work)
- 1/2 Tablespoon Coconut Oil
- 1/2 Tablespoon Cocoa Butter (you can use Shea Butter instead)
- 1/2 Tablespoon Beeswax
- 5 drops of Vitamin E Oil
- 2 drops of Cinnamon Essential Oil (optional lip plumper)
- mica powder (optional color additive)
How to Make Lip Gloss at Home
Step 1. Using a double boiler, combine the olive oil (or whichever oil you choose to use), coconut oil, cocoa butter and beeswax. Boil until it is all dissolved.
Step 2. Then add 5 drops of vitamin E oil. If you use capsules poke a hole in the top and squeeze one out into the mixture. Stir that up. Now you can add essential oil if you want.
Step 3. Stir in your favorite essential oils if you are using them. I picked cinnamon because it acts as a lip plumper. It will make your lips tingle and plump up slightly. It also pairs really well with the cocoa butter.
If you’re making lip gloss for a pre-teen like I am then they probably don’t need to be worrying about plump lips but if you’re a bit older like me and starting to get tiny wrinkles around your lips then a plumper like cinnamon oil is a nice option.
Other essential oils that work well are peppermint, orange, lavender, or rose geranium oil. These are great for hydrating dry, cracked lips and they have a nice sooting effect. Exactly what you want in a homemade lip gloss recipe.
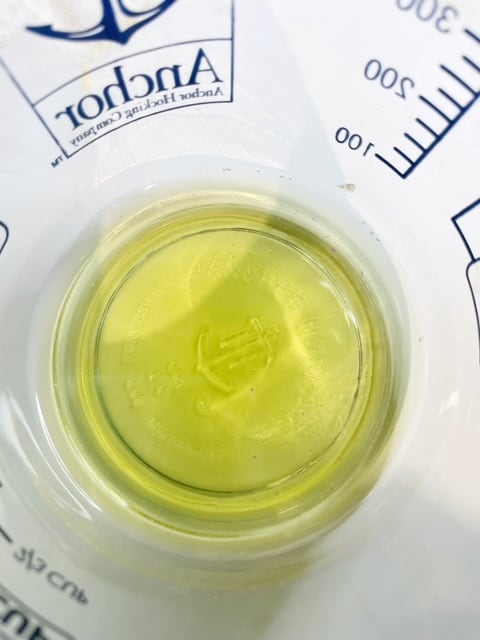
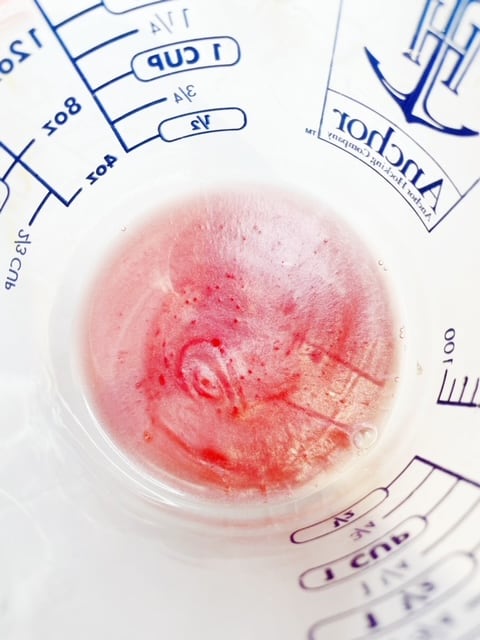
Step 4. If you want clear lip gloss then you’re done but if you want color then you’ll add mica powder to color your lip gloss mixture. If you do not have any and don’t want to buy some, there are a couple other coloring options:
- If you want to keep your lip gloss all natural and you have natural eye shadow or mineral make up, you can crush up some of your favorite colored eye shadow and mix it up.
- You also can add in a tiny bit of your favorite natural lip stick when melting all of the ingredients together. This is especially good if you’re down to the last bit and want to use it up. Scape everything out that’s down in the tube and make lip gloss out of it.
- You can also search for more natural coloring options like beetroot powder or hibiscus powder for pink lip gloss or cocoa powder for brown lip gloss. Or mix the two together.
A little coloring goes a long way so start with an 1/8 teaspoon and a bit more at a time until you get your desired color.

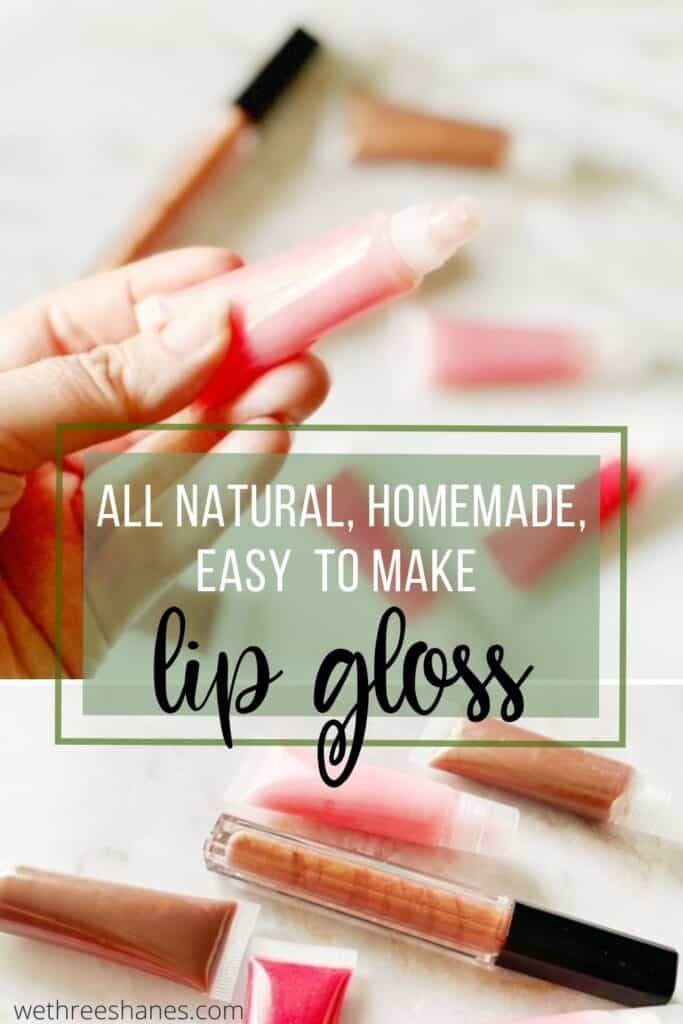
Step 5. Next you want to pour your mixture into your lip gloss tubes. My daughter and I wanted to try two different kinds so we used squeeze lip gloss tubes and the pump and glide applicator type.
When the mixture is still warm it isn’t very hard to pour into the tiny tubes. If you have a tiny funnel it would be helpful but it’s not necessary. Let the mixture cool to room temperature and enjoy your new lip gloss.

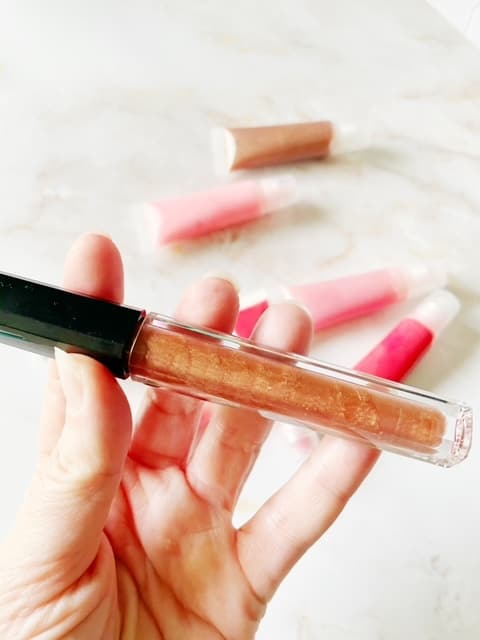
The final product won’t last forever. This lip gloss recipe doesn’t have any chemical preservatives in it so you may want to use it within 3 months of opening. If you don’t think you’ll get through a whole batch in that time frame then you can pass some along to a friend because lip gloss makes the perfect gift.
How Else Can I customize My Lip Gloss?
It’s so much fun to use homemade lip gloss recipes because you get to customize it however you want. I’ve already told you how you can change the carrier oils, essential oils, and colors but there are a couple more things you can do.
- When using the cocoa butter in this recipe it makes it smell like chocolate. I love it! And adding the cinnamon essential oil kinda makes it smell like a chocolate covered cinnamon bear. But it won’t taste like one.
- You can add flavoring to these if you would like. I didn’t try this in my lip gloss because I didn’t mind not having flavor but you can add extracts to it. Vanilla extract, Spearmint, Cinnamon; whatever you desire. Just remember that if you are trying to keep your gloss all natural you need to remember that when searching for flavoring.
Homemade Lip Gloss
So what do you think? Easy peasy right?! And homemade lip gloss makes a great gift. Mother’s day is around the corner and this would be an easy thing for a group of girls to make for their moms. My daughter can’t wait to bring some to her friends at school this week.
What are you waiting for? Start making your lip gloss ASAP and let us know how you like it? What colors did you use? What flavors did you try. We want to hear all about it in the comments.
You Might Also Like:

Did not turn out well. It dried into a wax before I could fill the third tube.
Sounds like your ratio might be off. This should not be turning into a wax at all. It should stay in a thick but liquid form. You can always reheat and add a bit more olive oil and vitamin E oil.
Tested this recipe today and it turned out really well. My lips are both smooth and shiny.
I had jojoba oil instead of olive oil and mango butter in place of cocoa butter cuz I wanted to play with my new stuff.
We love mango butter and use it other homemade recipes of ours. It’s a great swap for cocoa butter. Thanks for sharing!
Can you like, quadruple this recipe in 1 pot or would it not work?
You can give it a try. It should work pretty well. Sometimes making a big batch like that can come out a little too “one way or the other”, meaning it could be a little too watery or a bit thick. If it seems a bit runny add in a bit more bees wax. If it’s too thick try adding in a little more olive oil.