DIY Wood Bead Sign Using Dollar Tree Calendars
A wood bead sign and some cute calendars from the Dollar Tree are transformed into an interchangeable farmhouse sign you can use all year round.
(THIS POST PROBABLY CONTAINS AFFILIATE LINKS. OUR FULL DISCLOSURE POLICY IS LONG & BORING BUT, YOU CAN FIND IT HERE.)
Quick Update 10/15/21 – The 2022 Dollar Store calendars have been showing up in stores now so make sure to grab them while you can.
DIY Dollar Tree Wood Bead Sign
Does anyone else stalk the Dollar Tree for cute craft and decor items as much as I do? Their decor just keeps getting cuter and cuter, especially during the holiday seasons. I’ve always said if you’re not shopping there then you’re throwing money away.
The new dollar store calendar’s came out recently and crafters have been having a field day with them, so I went to check them out. I couldn’t believe how cute they were and I immediately started coming up with craft ideas to try out.
By the time I got home from the dollar tree, I’d spent just under 20 bucks and had tons of craft ideas I wanted to try. After a little trial and error and deciding which crafts I liked best, I landed on 5 DIY’s using the Dollar Tree Calendar.
I decide to split the crafts up into separate post because one would be too long with way too many photos. Which means, I’ll be sharing a new craft post every day this week. So, if you like today’s Dollar Tree Calendar craft then remember to come back to check out the other ones.
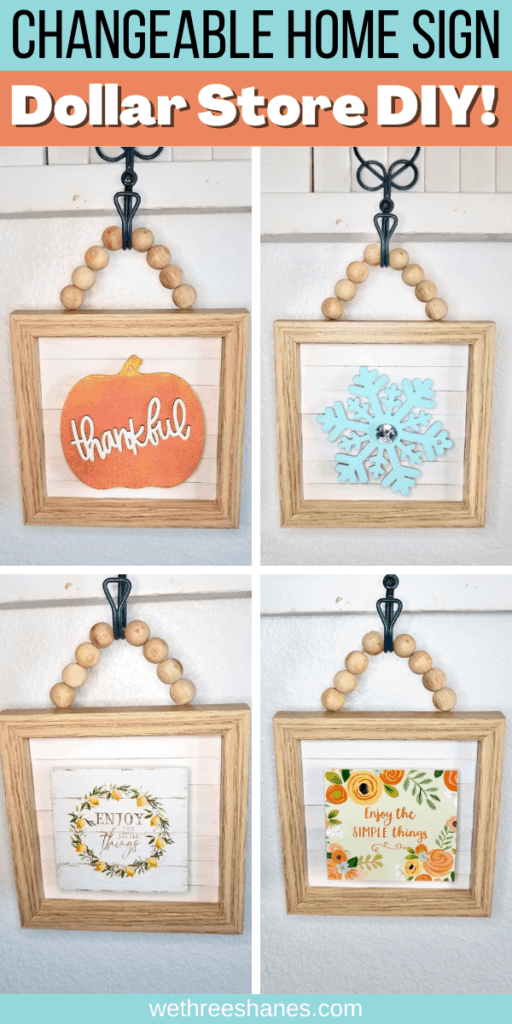
DIY Changeable Wood Bead Sign
Today’s craft is my second favorite of the week. Yep. I’m starting you off with my second favorite. Don’t worry, they’re all cute. But, come back on Fri to see my favorite DIY of the whole week.
Wood beads have been quite popular for awhile now. So, when I saw this cute bead frame at the Dollar Tree, I knew I had to grab one. The raw wood look spoke to me but they also had white and black frames if you prefer them.
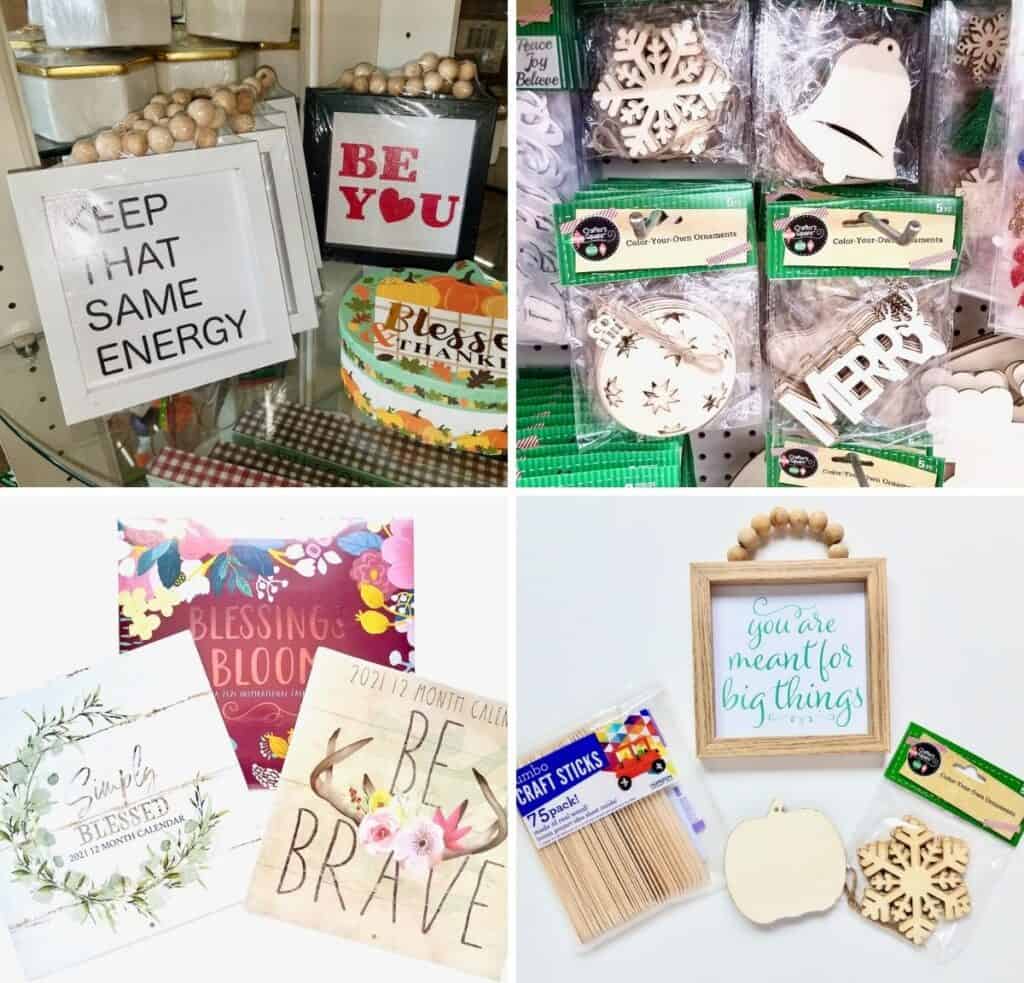
Supplies Needed for this DIY
After picking out the bead frame, I also grabbed some popsicle sticks, wood ornaments, a foam board and the calendars. Other supplies needed are white paint, a paint brush, some glue, and magnets.
This craft is customizable. I wanted to show you how to use the calendars to make this but also give you some other options as well. Because of that, all of these supplies aren’t necessary. Check out the whole post and get the supplies that work best for you.
I had these magnets at home so I didn’t need to buy any but you might need to pick some up. Sometimes you can find them at the Dollar Tree but they were out of stock at my two stores. If I were buying magnets then I’d get these because they are much skinnier so the changeable piece wouldn’t stick out as much as they do with the fatter round magnets.
- Wood Bead Frame
- Popsicle Sticks
- Dollar Tree Calendars
- Foam board
- Magnets
- Glue – I used a glue gun but any craft glue works
- White Paint
- Paint brush – I used a sponge brush which you can also get at the Dollar Tree if you don’t have any
- Exacto knife
- Spray glue
- Scissors
- Wood ornaments
Customizing the Frame
Let’s start by making the frame just a bit cuter. We’ll be using the popsicle sticks to cover up the saying. You can simply paint over the words but I like the farmhouse look the popsicle sticks add.
Place the popsicle sticks in the frame to see how many you need. Next, you’ll cut the sticks to fit the frame. Cut the curved edge off of one side of each popsicle stick. You’ll also need to cut the bottom stick a bit skinnier to make it fit.
Once they’ve all been cut you’ll place them back into the frame. Take another popsicle stick and use it to draw a straight line for the next cuts.
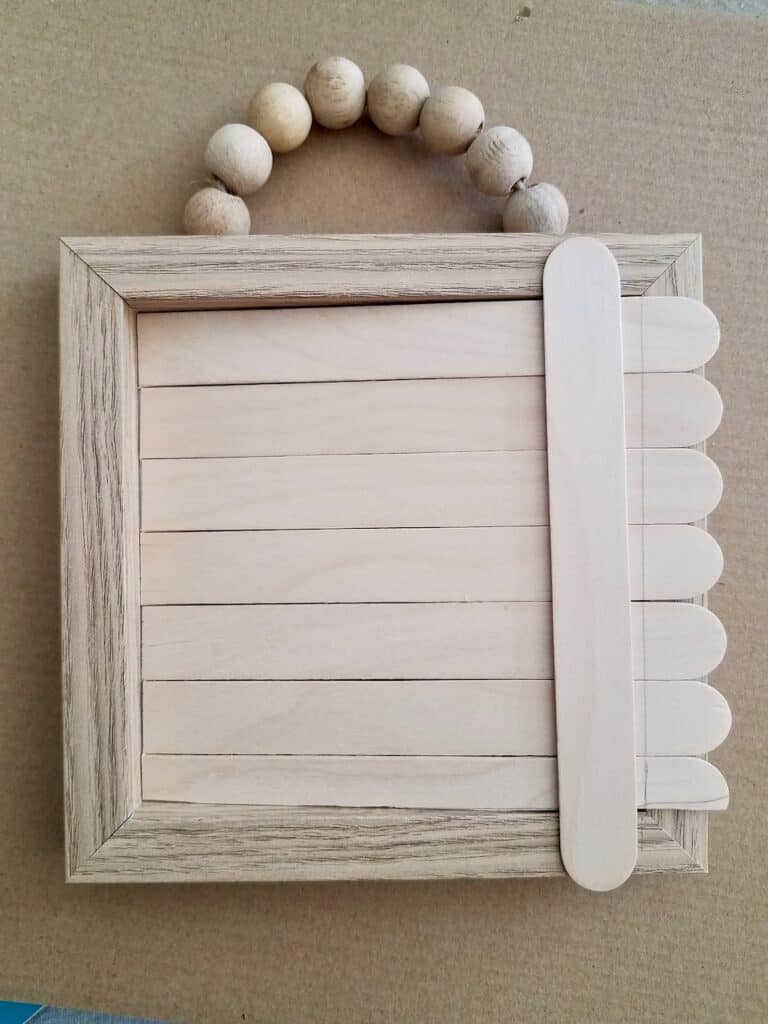
Now, cut those edges off and place the popsicle sticks back in the frame to make sure they all fit. You might need to make an additional snip here or there.
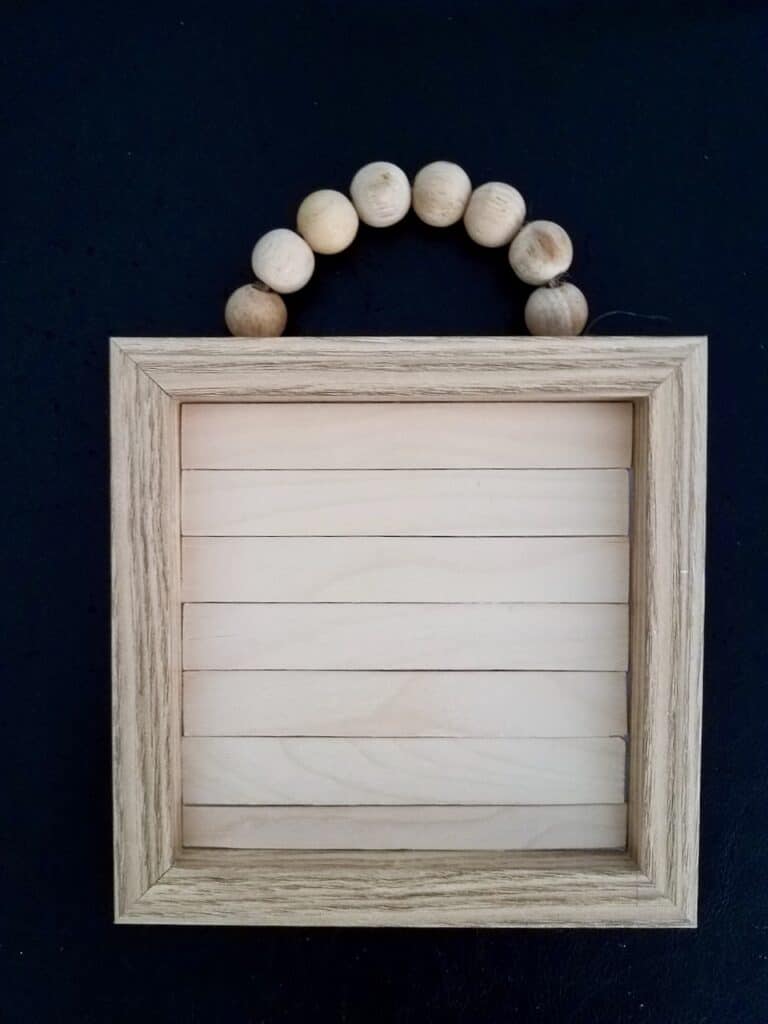
Give everything a quick sanding if you want and then paint the sticks white. Once they’re dry, glue them into place and you’re ready to move on to the next step.
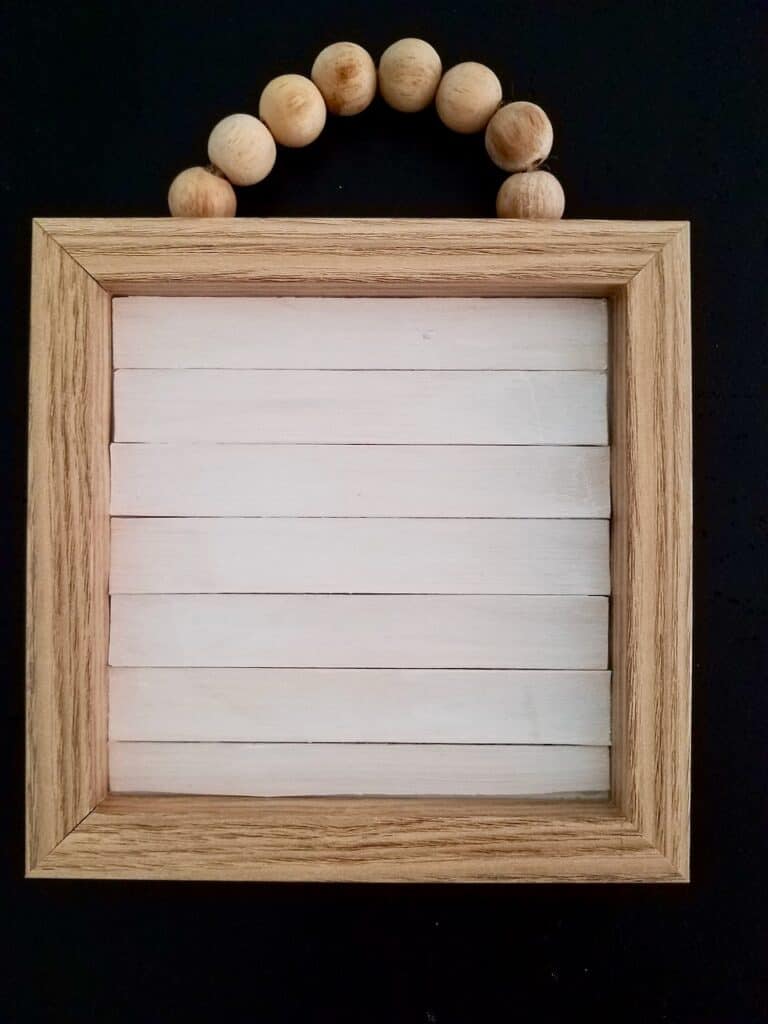
Changeable Calendar Pieces
When it comes to the calendar pieces we’re going to use the bigger squares on the back. Each calendar has one big photo on the back and a bunch of smaller photos to show you what the calendar pages look like. The small photos will be used for another project later in the week.
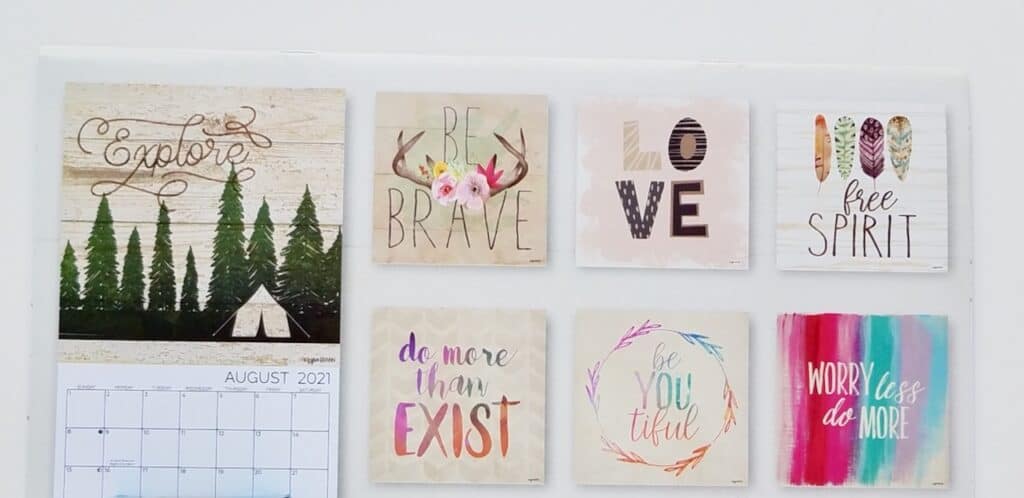
I bought four calendars in styles that I like and look good with this project. I cut each photo out and then traced them on the foam board. I used an Exacto knife to cut the foam. Then I used spray glue to attach the photos to the board.
I had Elmer’s spray adhesive (check the link to see what I’m talking about but don’t buy from Amazon. That price is crazy!) at home but I saw some spray adhesive at the Dollar Tree and thought I’d give it a try. Don’t bother buying it. The stuff is awful! It’s way too watery and takes forever to get sticky. I had to constantly press and hold down the piece I was trying to glue to get it to stick.
It eventually worked but it wasn’t worth the extra smoothing and holding I had to do. The Elmer’s spray adhesive works so much better and I’ll be using it again on other projects this week.
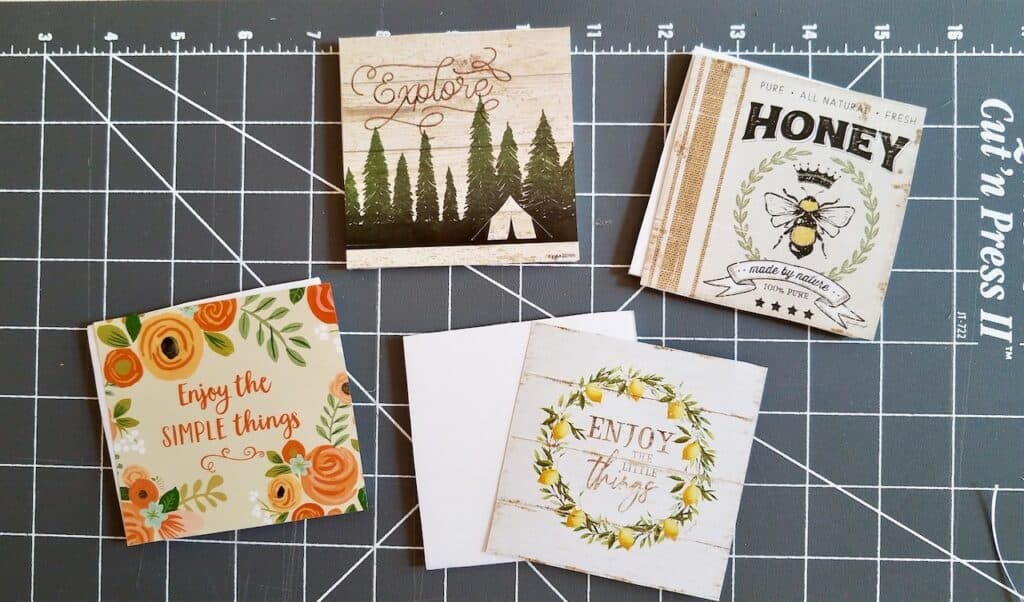
Glue a magnet to the back, center of each photo and one to the frame. Make sure the correct sides of the magnets are facing out so they work. If you glue them wrong they’ll push each other away instead of connecting.
You’re all set. You now have four photos you can swap out any time you want.
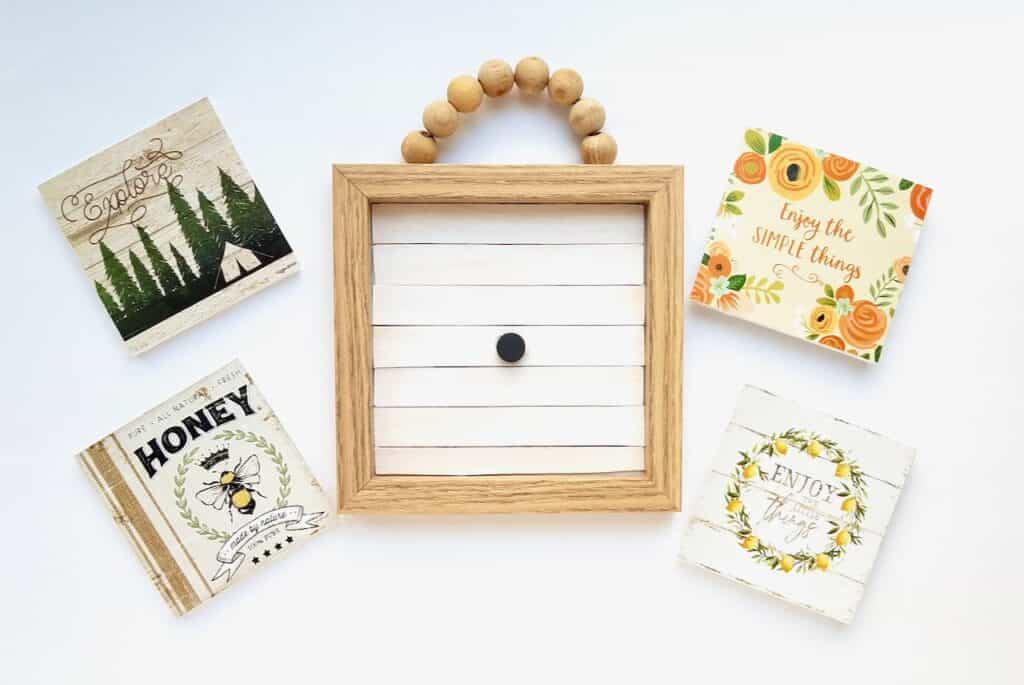
I have the sign hanging in my kitchen and all four of these photos look great in there. If you want, you can use some felt or other fabric you have on hand, and glue it to the back to create a little pocket. Then slide the extra photos you aren’t using in the pocket for safe keeping.
I love crafts that are cute and are interchangeable. The 4 calendar photos all have a spring and summer vibe to them but, I want to be able to use this year round. If you’d like to do the same thing then keep reading. I’ll show you how to add some holiday fun to your DIY wood bead frame.
Adding Holiday Cheer to Your Frame
Last year I used some Dollar Tree wood ornaments to make a super simple fall garland/banner. The dollar store always stocks wood ornaments for all the holidays and I knew they’d work great for this craft.
I’ll show you how to make these with a fall and winter ornament because that’s what’s in stock at the dollar tree right now. I’ll have to buy other holiday ornaments as those holidays roll around. Each holiday has a couple of wood ornaments to choose from. Check out the winter/Christmas choices in the photo.
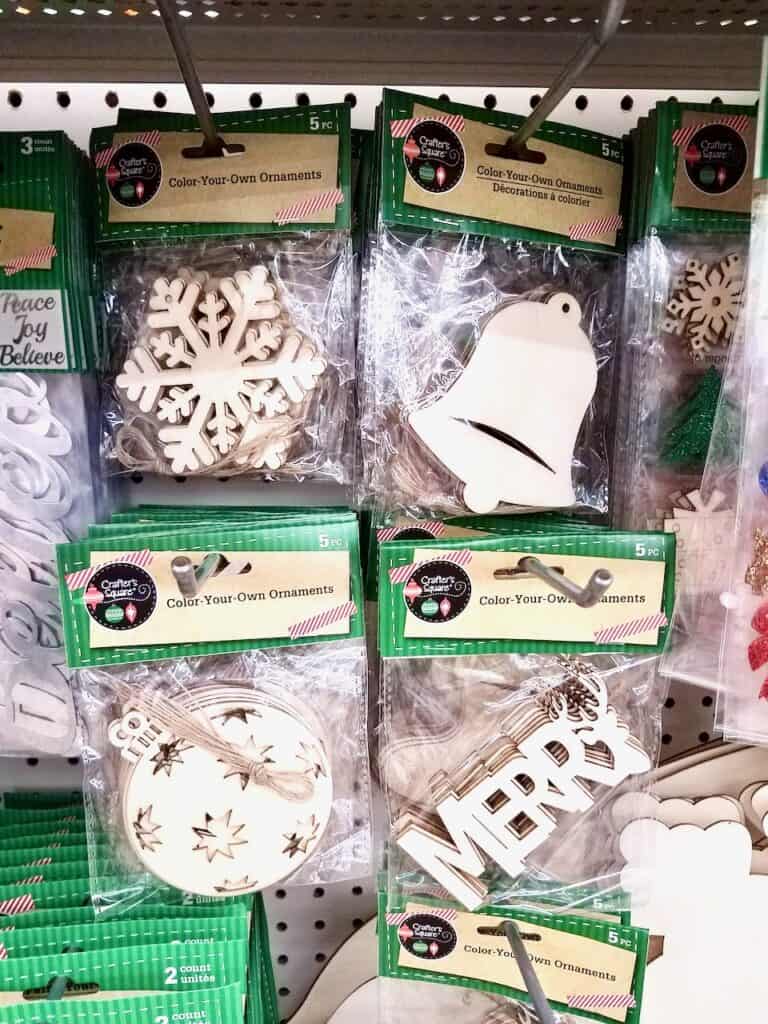
I chose the snow flake because it will work all winter long but I love the Merry one as well. Buy which ever one you like and paint it to your liking. I chose a turquoise color for my snowflake and added a cute button to the middle for some sparkle.
I also reused a pumpkin ornament from last year. That got painted orange with a bit of gold as well. Then I glued on a wood thankful sign I got from Target’s dollar spot. Last thing to do is to glue a magnet to the back of each piece.
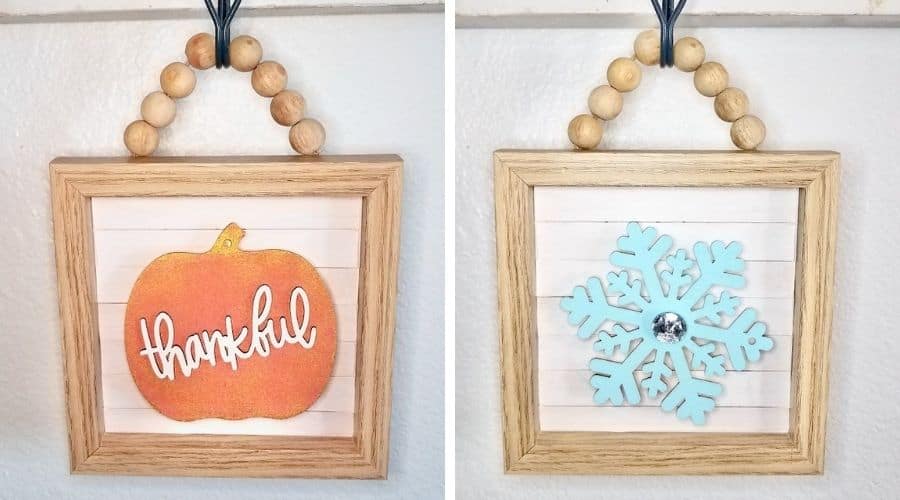
These turned out so super cute and I can’t wait to add more wood ornaments as the holidays come around. I just love how I can swap any of these out for a new look all year.
Wood Bead Sign Craft
I hope I’ve given you some fun ideas to turn this boring wood bead frame into something a little more stylish. There’s one last option I want to show you real quick. The Dollar Tree had this gorgeous fall garland that I had to buy. (Right now, 10/15/21, they have more garland colors, including red for Christmas.)
I thought it looked great all wrapped up looking like a cute mini wreath so I cut it in half and wrapped it up again. Then I glued another thankful script on. You could glue it straight to the frame or add a small hook and make more small wreaths for each season.

There are so many things you can do to dress up this Dollar Tree wood bead frame. Since most of the supplies come from the dollar store you’ll be saving money while making adorable decor for your home.
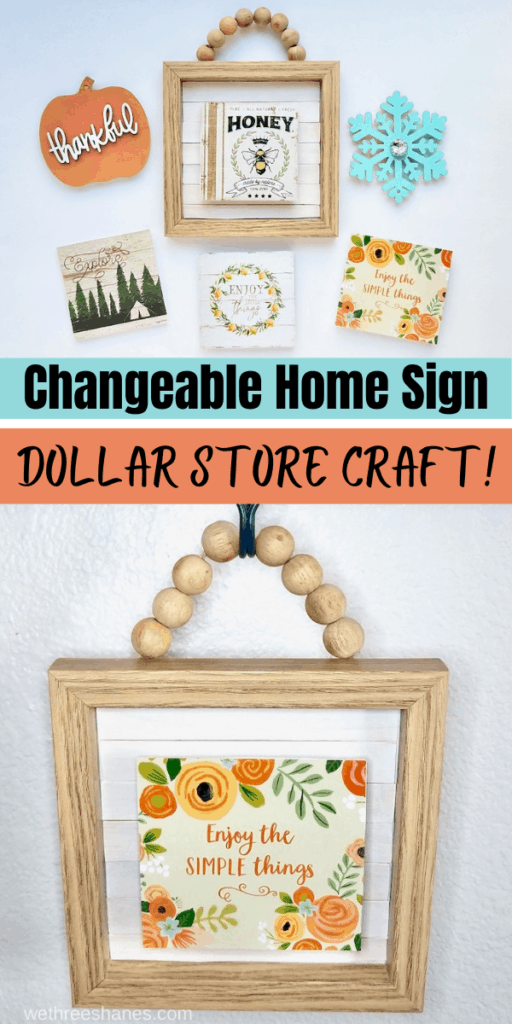
What do you think? Do you have a favorite? Let us know in the comments. I can’t decide which one I like better. Don’t forget to come back tomorrow to see the next calendar craft.

so nice of you to show all your creative crafts to everyone
Adorable!!!! Where do you find these pictures in the calendar? I see the small ones on the back. What size is the frame? I can’t find them at my Dollar Tree, thinking I could use something else.
You can absolutely use a different frame. I was actually at the Dollar Store last week and they had a similar frame in the Christmas decor section. The bigger squares are also found on the back of the calendars I got. I think each calendar had one bigger square so I think I used a couple on this project.
I absolutely LOVE these!! Bravo and I’m going to make a couple this weekend. Thank you so much for the inspiration. 🥰
Is there glass in this frame?? If so, do you remove the glass before you put the popsicle sticks in? Not sure our $ Tree has these frames, but I’m going to check!
These don’t have glass on them. I haven’t seen them in store lately but you can make them using other types of frames from the dollar store.