DIY Wood Slat Sign Using A Dollar Tree Calendar
Add some inspirational words to your walls with this easy, budget friendly DIY Wood Slat Sign using Dollar Tree supplies!
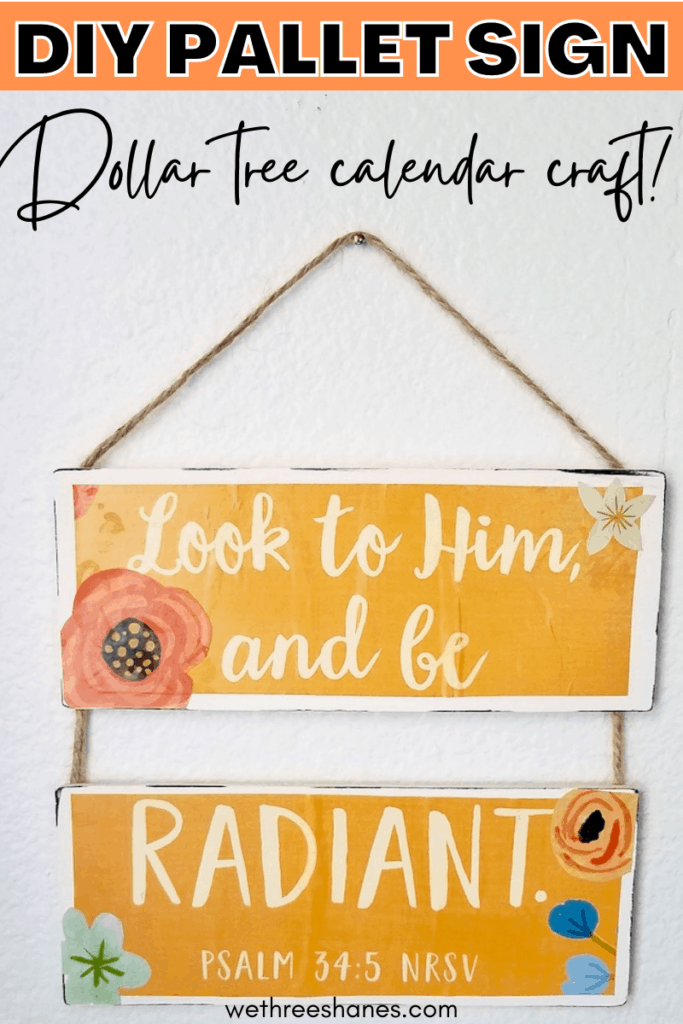
DIY Wood Slat Sign
Continuing on with our Dollar Tree Calendar DIYs, today I’ll be showing you how to make an easy wood slat sign. You only need a couple supplies from the dollar tree to create this cute wall hanging.
You can do this whole project for $4! If you have mod podge and ribbon or twine at home then you’ll only spend $2! Not bad for a cute sign.
Craft Supplies Needed
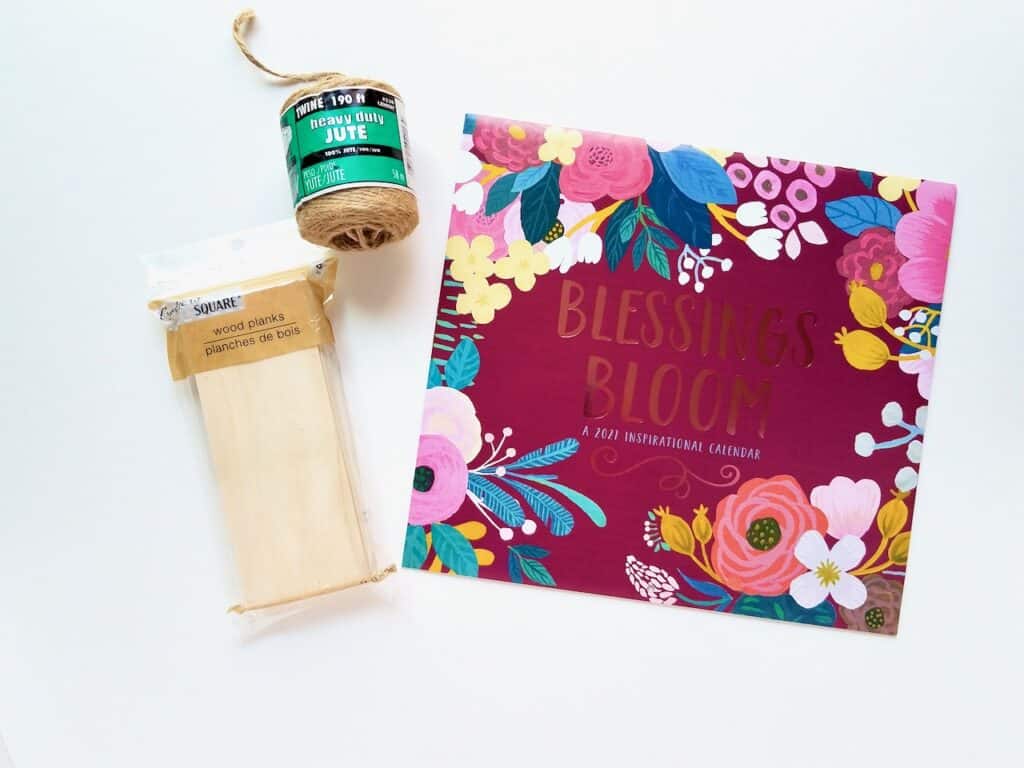
Okay, friends. You are going to need a couple of things from the dollar store and a couple optional items.
- Dollar Tree Calendar
- Wood Slats – I picked these up from the dollar tree just last week so hopefully you can still find them there. If you can’t, then you can grab a foam board to cut into slats or pick up some scrap wood.
- Ribbon or twine
- Mod podge – I bought a small bottle at the Dollar Tree
Optional Supplies:
- Elmer’s spray adhesive – I found this to work better for applying the calendar without getting bubbles/wrinkles. You can use mod podge but bubbles will happen.
- Drill – I drilled holes into my wood slats to tie the pieces together. If you don’t have a drill then some craft glue will work. I’ll show you how to do both options.
How to Make the Slat Sign
First thing to do is pick which calendar page you want to use for your sign. You want to make sure things will fit evenly on the wood slats. I chose two pages so I could make two signs.
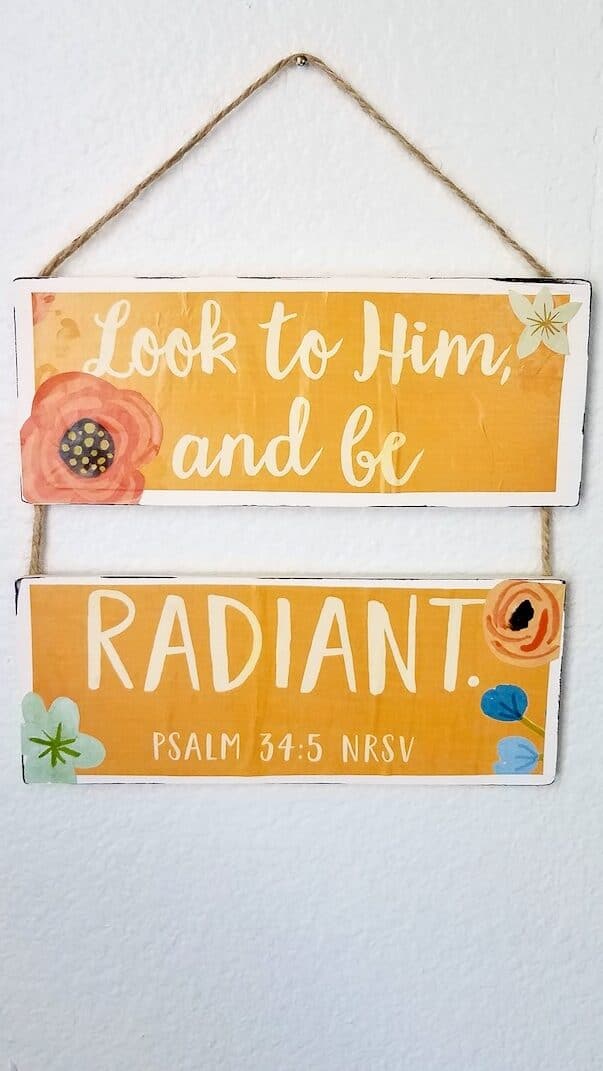
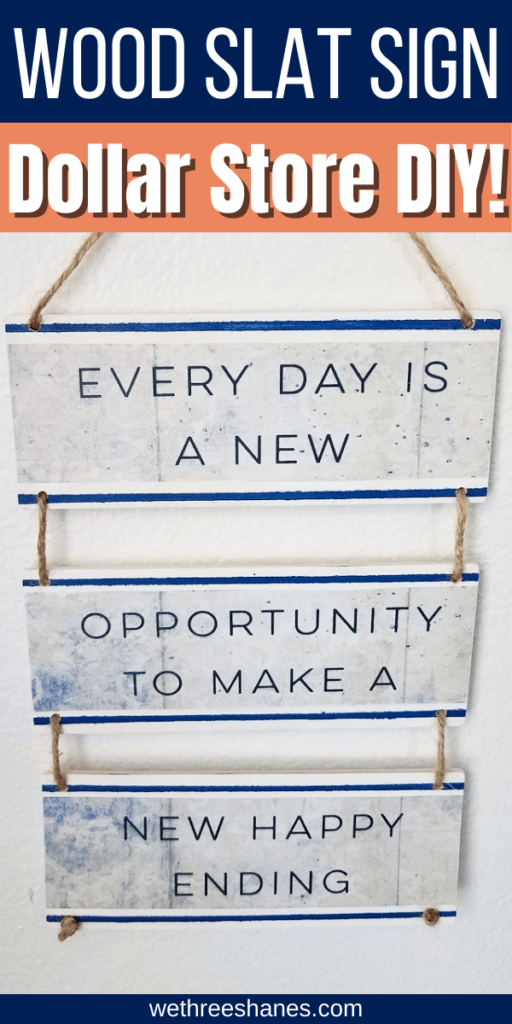
The Radiant sign came from the Blessings Bloom calendar and the blue sign came from the Be Brave calendar. I’ll be using the Simply Blessed Calendar in another project later this week so stay tuned.

Start by painting or staining your pallet pieces. There are 6 pieces of wood in each package. I’m making two signs and using 5 pieces. I painted all of mine white but a dark wood stain would also look really nice.
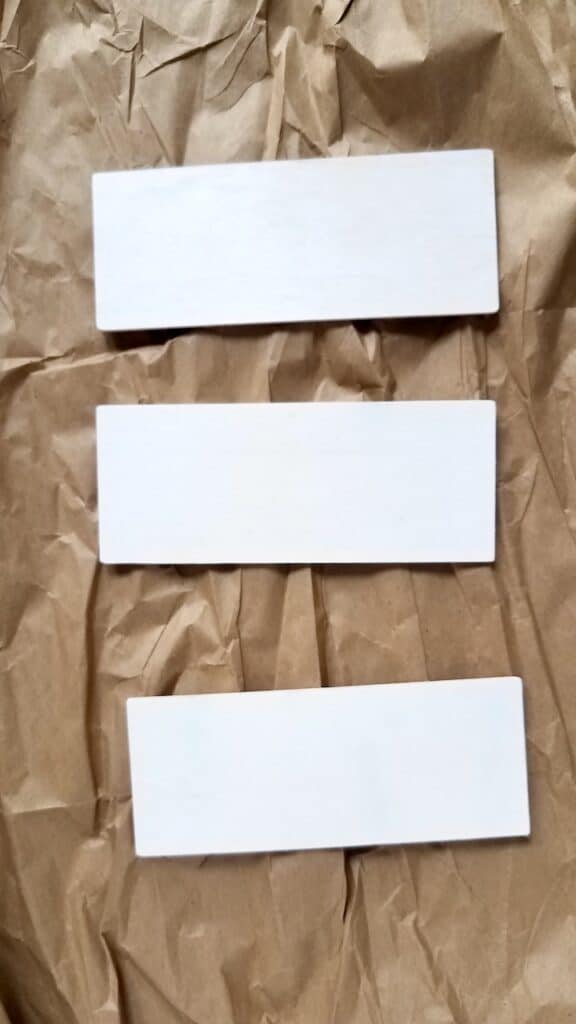
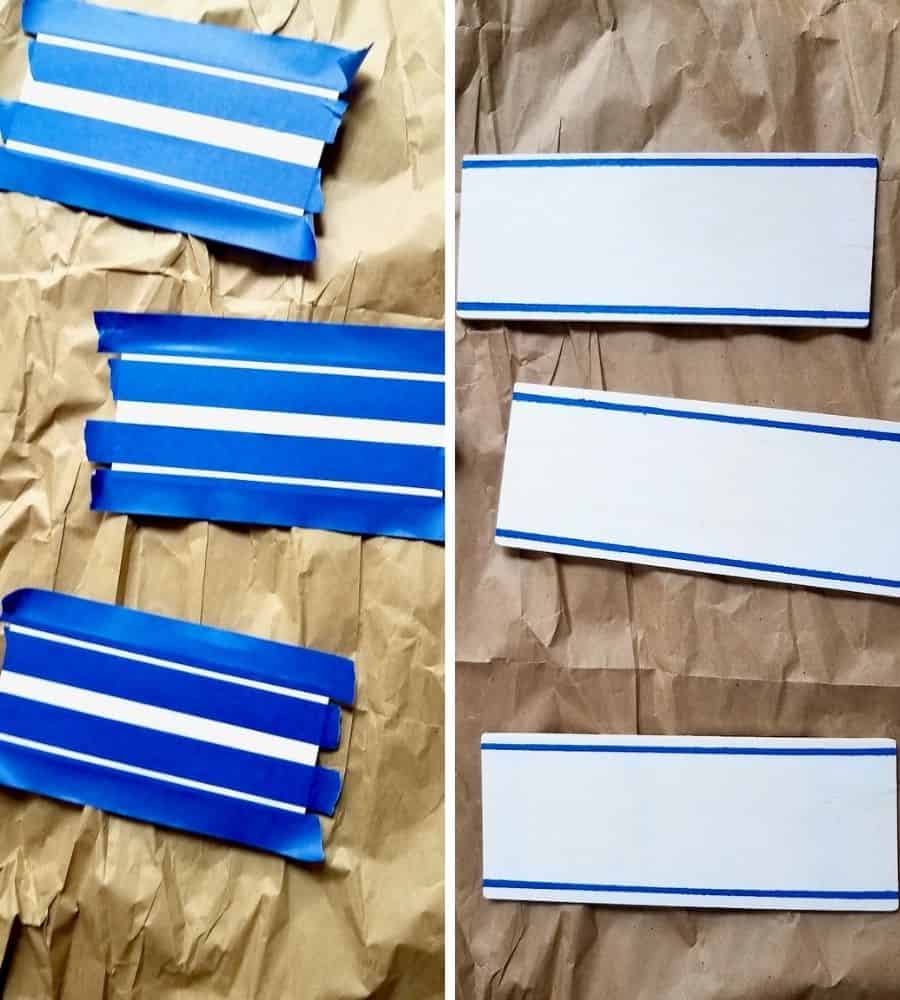
You can add some extra touches to take the signs up a notch. For the Radiant sign, I took a black sharpie and occasionally ran it on the outside edge of the wood to give it a more worn/farmhouse look. For the blue/white sign, I used painter’s tape to add blue lines to the top and bottom of each piece of wood.
Carefully cut out the calendar page you want to use. Line the wood slats up where they need to be cut and trace them. Then cut them out. (I forgot to take photos before I started cutting them out. Oops.)
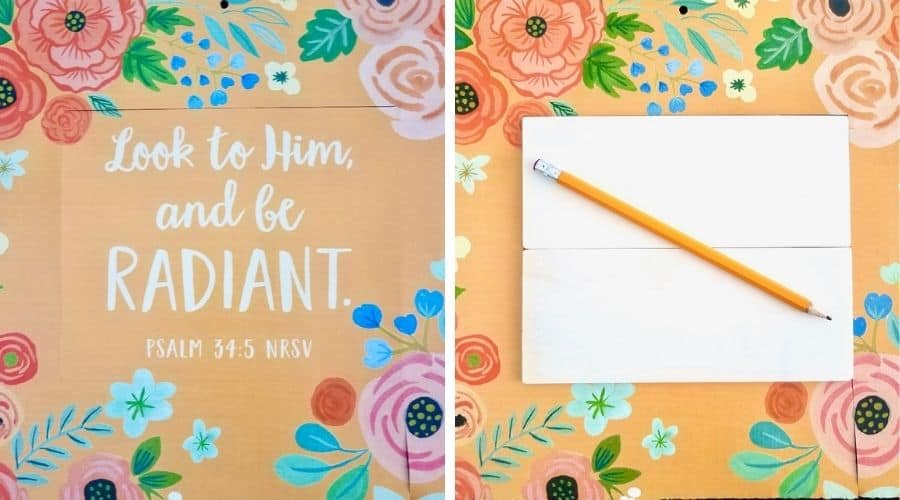
Once your calendar pieces are cut you can line them up on the wood slats to see how they fit. Cut any extra off until the words fit on the wood just right. I also cut out a couple of flowers from the dollar store calendar for the Radiant sign.
Now that you have all your pieces ready, you’ll use mod podge or Elmer’s spray adhesive to stick your calendar pieces to the wood. My first sign was the peachy/orange one and I used my homemade mod podge on it.
It was a bit watery and made things bubble up a lot. This was not the look I was going for. Real mod podge would probably not bubble up so much but it does bubble some.
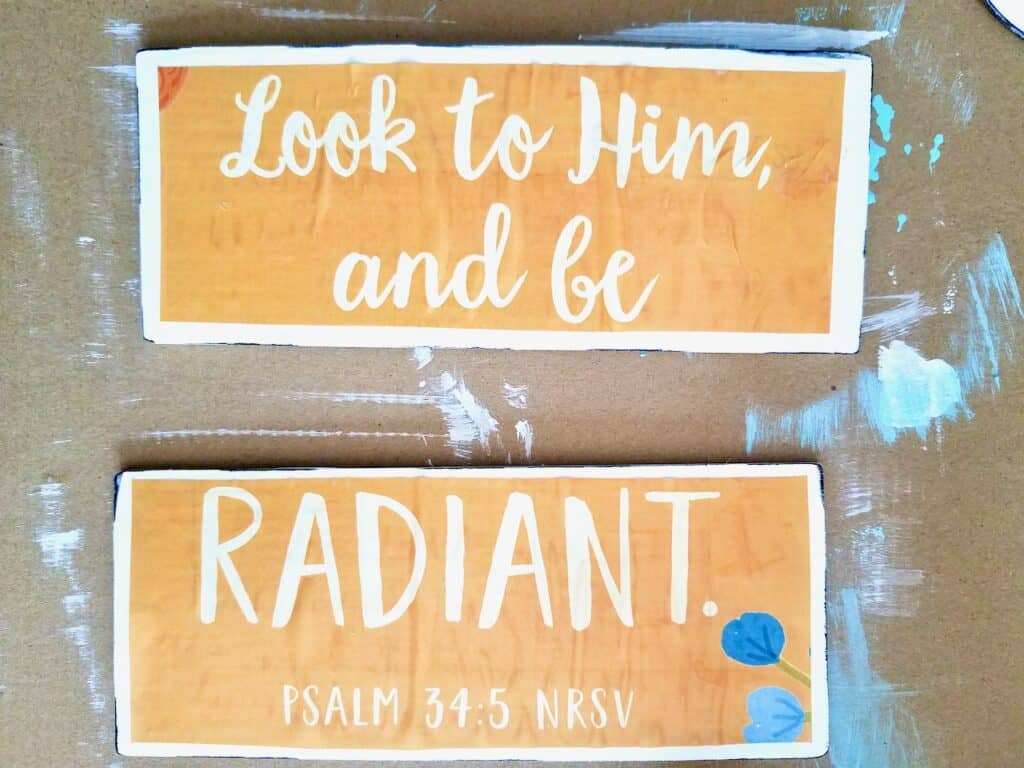
Since I cut out flowers for one sign I needed to use mod podge to add those onto the sign too. You’ll need to add the words with mod podge and then let that dry.
Then add the flowers using mod podge and let that dry. Then do a final layer of mod podge on the whole sign to make sure everything stays put.
The second pallet sign I made was was blue and white one and I used the spray adhesive on it. This made the calendar lay down nice and smooth. It looked much better so I would recommend this process.
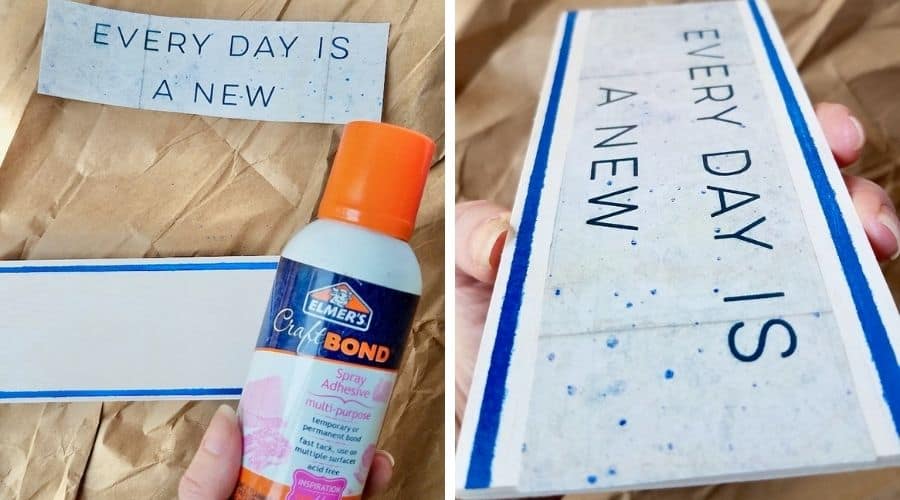
The blue sign only takes two steps since it doesn’t have flowers. Use the spray adhesive to stick the calendar pieces to the wood and allow them to dry. Then, paint on a thin layer of mod podge to seal the whole thing. The mod podge will create some bubbles but they will go away as it dries.
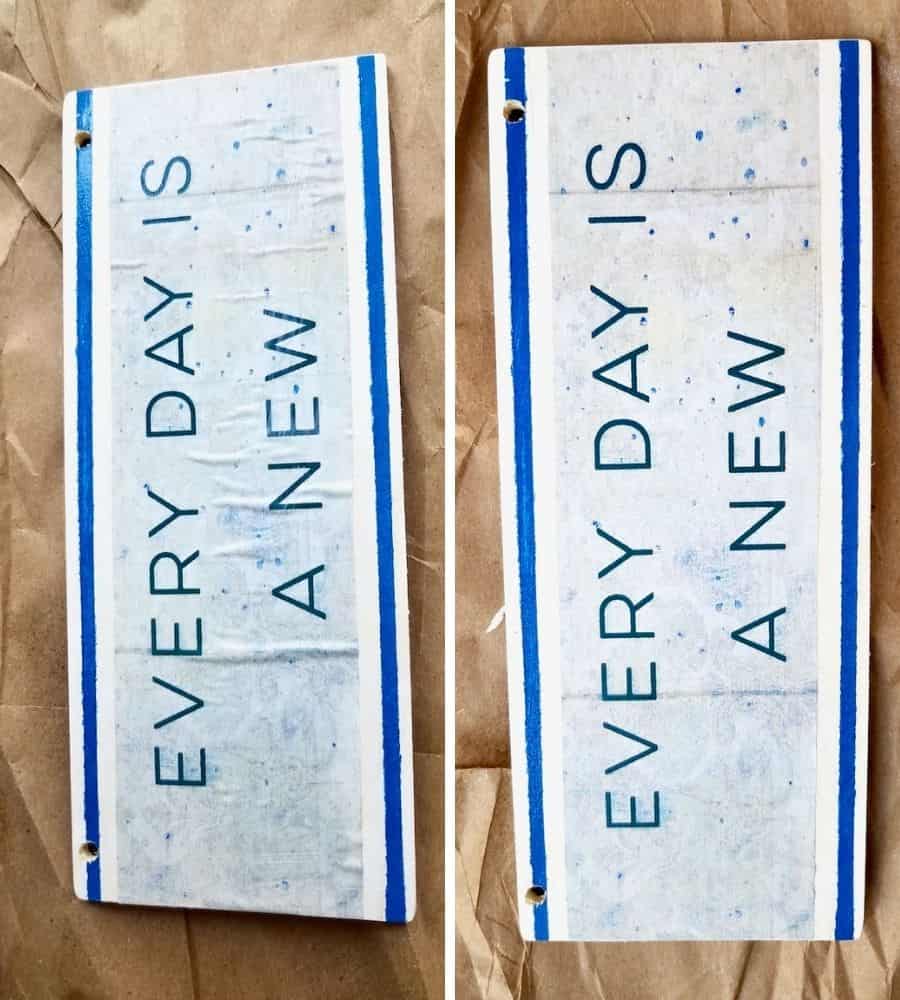
You can do the final layer of mod podge before or after you drill the holes in your wood slats. It really won’t make a difference.
Hanging Your Pallet Sign
There are two ways to add the twine to your sign. You can drill holes or you can use glue.
If you are drilling holes then you need to line your wood slats up in order of how they will hang and do your best to drill the holes in line with each other. (I totally didn’t get my slats in the correct order. It still turned out pretty good in terms of lining the holes up.)
You can totally get a ruler out and measure where each hole should go but I found eyeballing it to be much easier. My holes lined up great. It’s up to you.
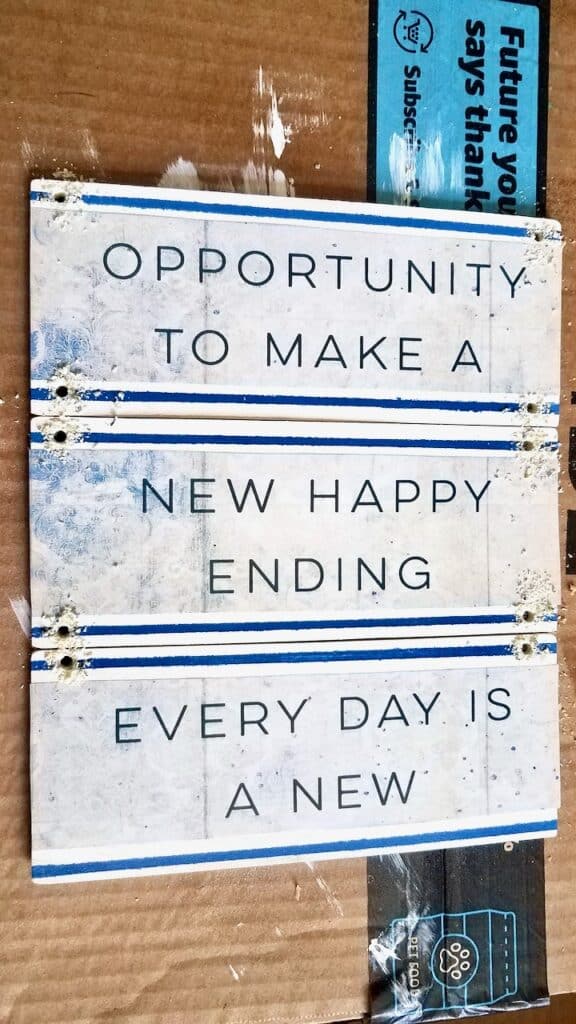
Once the holes are cut, you’ll thread the twine thru them starting with the bottom slat. I didn’t cut my twine until the end because I wasn’t sure how much I would need.
Just keep feeding the twine through the holes and adjusting until the whole sign is attached. Then, cut the twine leaving enough room to tie knots in both end pieces.
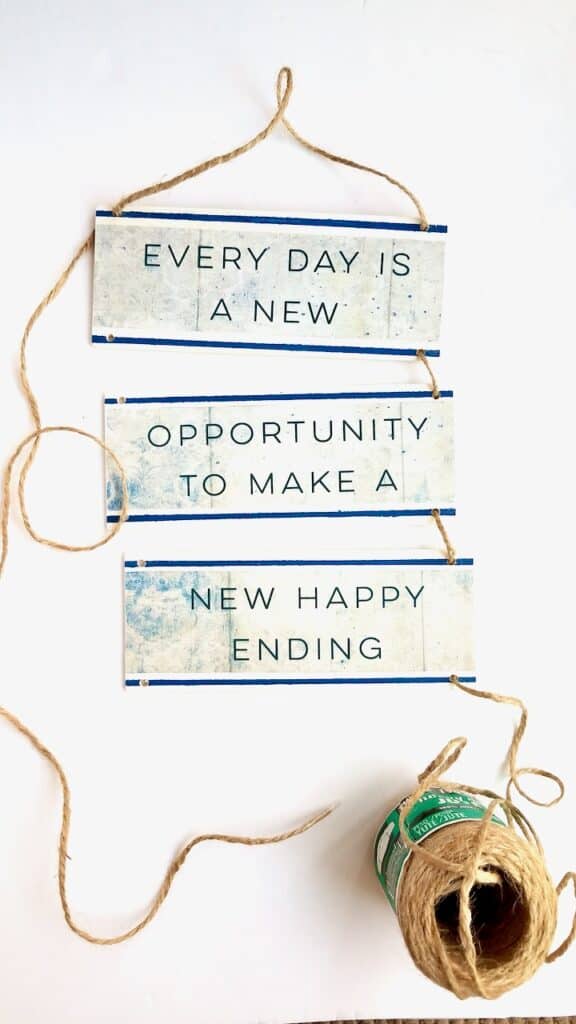
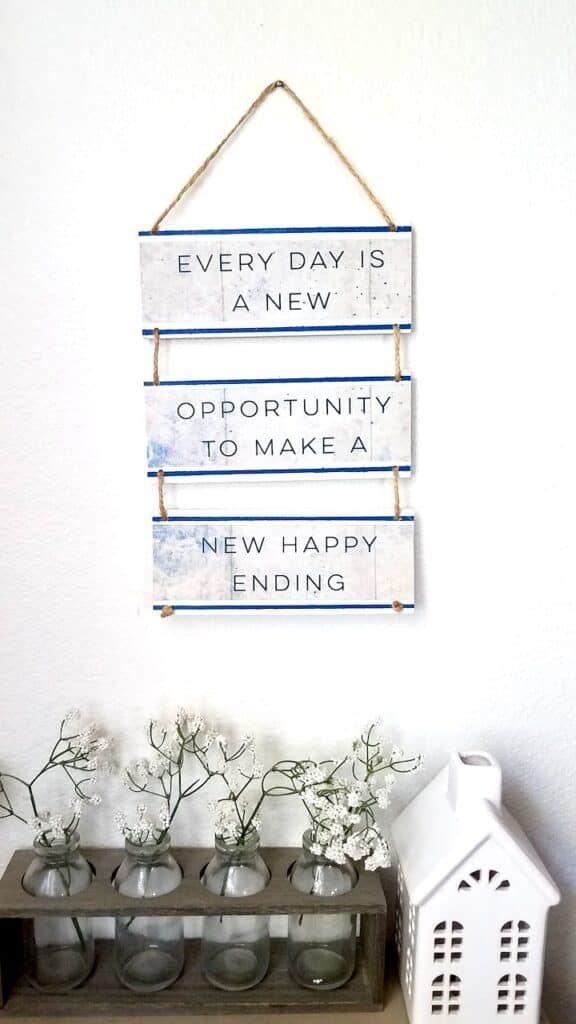
Once I tied off the ends, I added a bit of glue under each knot to make sure they stayed secure. Now the blue sign is done and looking super cute hanging up!
Don’t have a drill? No Problem!
If you don’t have a drill you can easily glue down the twine. I used a glue gun because the glue dries fast and secure.
Line your wood slats up exactly how you want them to hang but facing down. Make sure you’ve got the correct slat on top. Measure out the twine and then cut it to size.
Start by running a line of glue down one side of the top wood slat and then carefully press the twine into the glue. Then do the same thing on the other side.
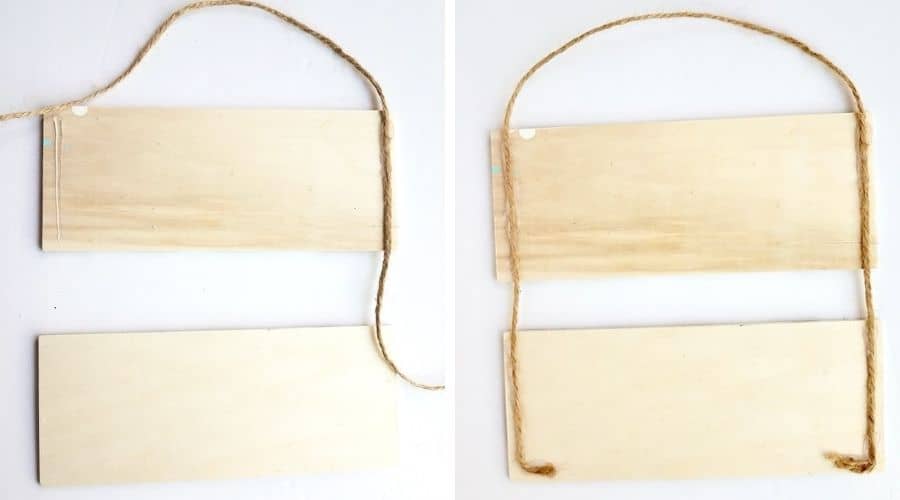
Now, do the same thing for the bottom slat on each side. I had a little extra twine so I glued it along the bottom but you can always cut it off. The glue version is a much faster process and still turns out cute!
Dollar Tree Calendar Craft
That wraps things up for another Dollar Tree Calendar craft. Remember, we’ve got a new craft to post every day this week so come back to see tomorrow’s craft.
I think these DIY Wood Slat Signs turned out adorable and I love to have some inspirational words up around the house to read daily.
The fun part about this craft is how versatile it is. You can pick which ever $1 calendar page you like best. Making crafts that fit your home style for a couple of bucks is always awesome.
Let us know what you think of this craft in the comments below! Will you be making one?
You Might Also Like:
DIY Wood Bead Sign Using a Dollar Tree Calendar
Decoupage Wood With Napkins| Dollar Store DIY
