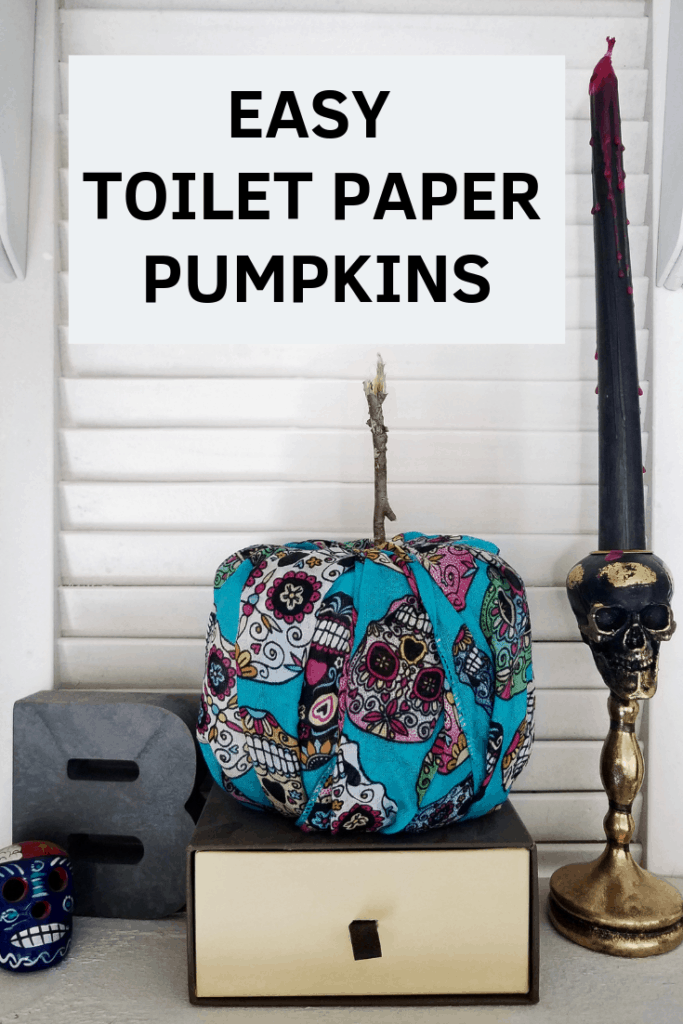
Easy Toilet Paper Pumpkins
Using supplies from around the house, these Easy Toilet Paper Pumpkins are made in minutes at virtually no cost. No need to store them after the Holidays, making them perfect Fall decor.
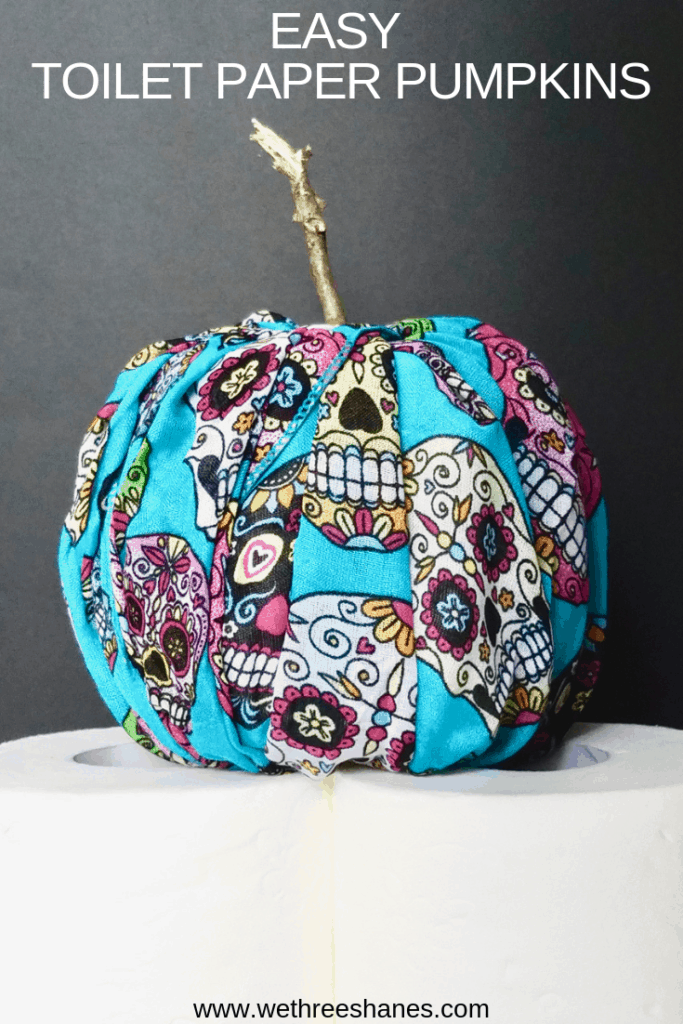
Easy Toilet Paper Pumpkins
Fall and Halloween decor is my favorite but I don’t have a ton of storage space to hold holiday decor the rest of the year. My family lives in a small apartment so there is very limited space for holiday extras. When I heard about Toilet Paper Pumpkins I knew I had to give them a try.
Toilet paper pumpkins are made with things you find around the house. When you’re done with them everything goes back to it’s original space in your home. No need to find storage for them. It’s the perfect Fall decor for those with less storage space.
They are so quick and easy to create too. You can make them in minutes by yourself or have the kids get involved. I love holiday crafts the kids can do that don’t make any mess. Plus they’re so cheap that each kiddo can make their own.
Supplies Needed for Toilet Paper Pumpkins
Only 4 things are needed to make these pumpkins.
- A Roll of Toilet Paper
- A Plastic Grocery Bag
- Scarf or Long Cut of Material – The scarf I used came from the Dollar Tree but you can use one you already own.
- Stem – I used a stick from outside but a wine cork or cinnamon stick would be adorable too.
How to Make Toilet Paper Pumpkins
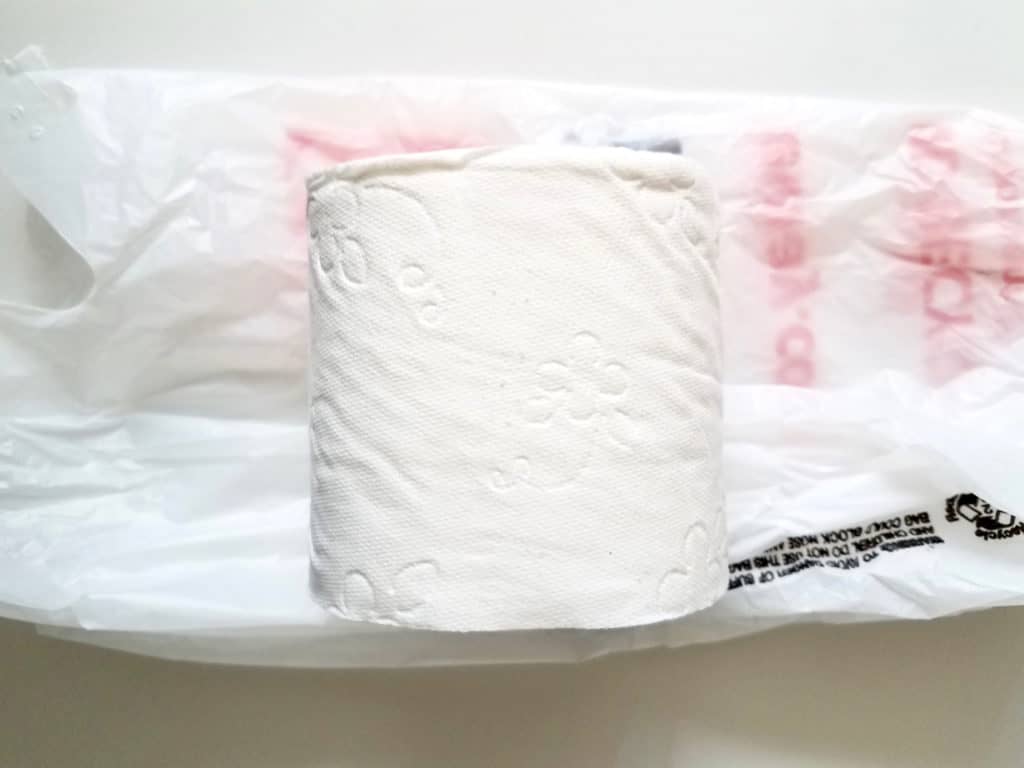
Step 1 – First you need to lay the plastic bag flat and then fold in half. Now roll your toilet paper up in the folded bag and secure with a piece of tape. This is adding a bit of shape and bulk to the toilet paper to give it more of a pumpkin shape.
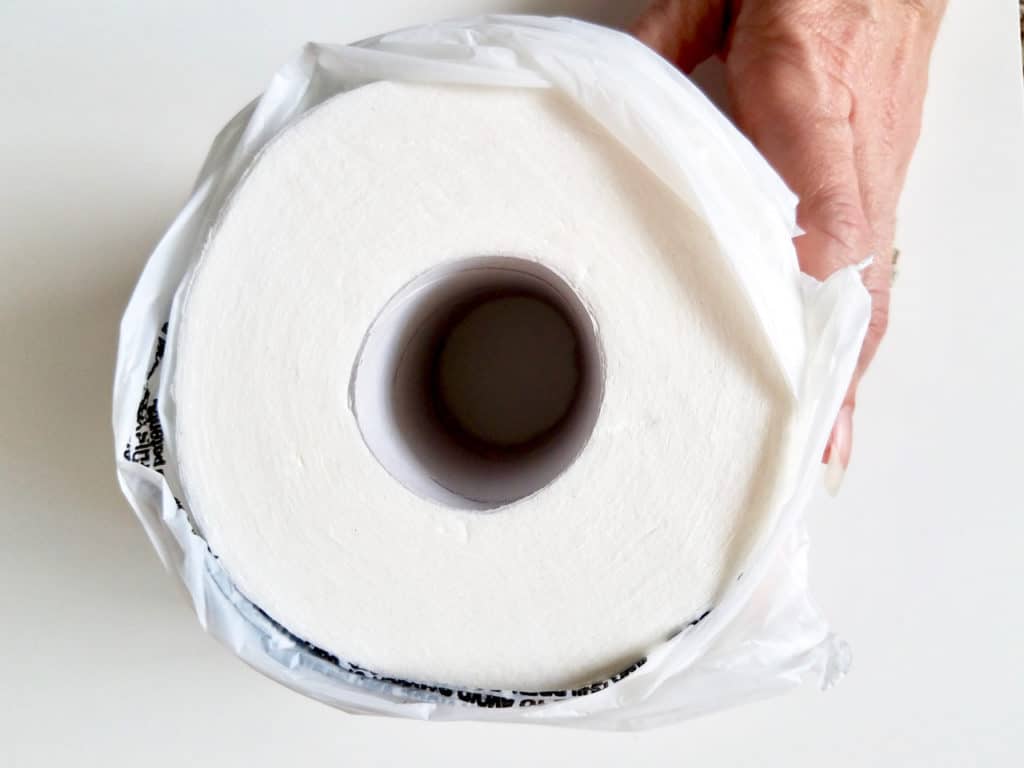
Step 2 – Next, grab your scarf and thread it through the toilet paper tube. You want a small piece of the scarf coming out the top of your toilet paper roll and the longer section coming out the bottom of the tube.
Step 3 – Now wrap the longer piece of scarf around the outside of the toilet paper roll and back down the top of the toilet paper roll.
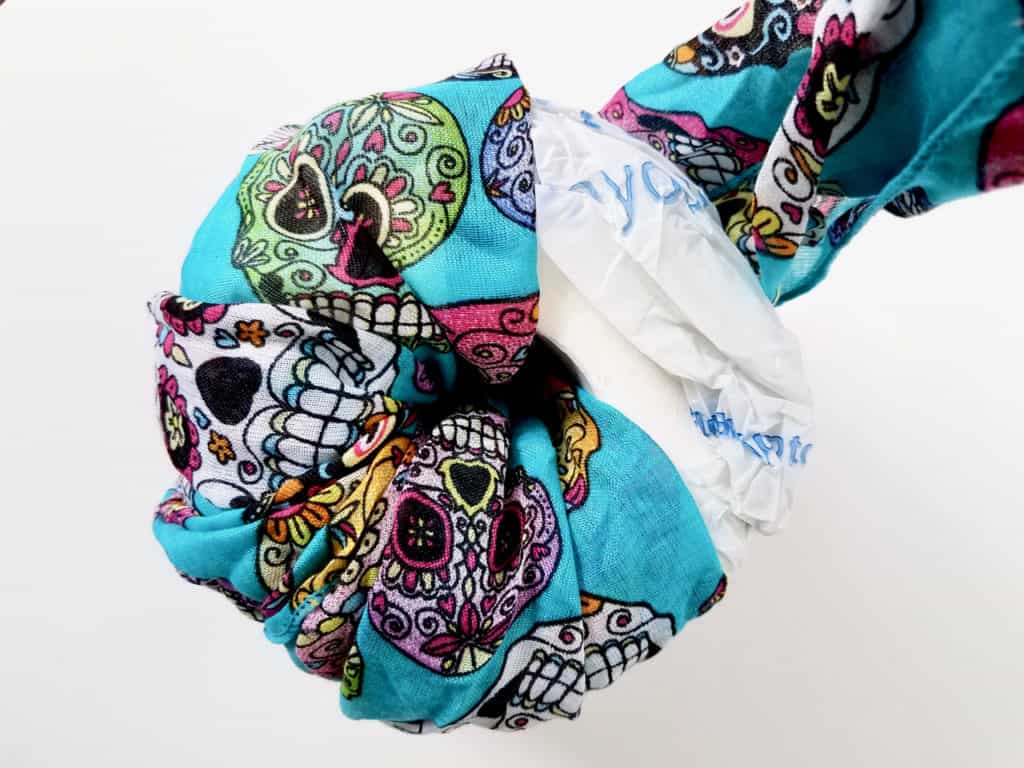
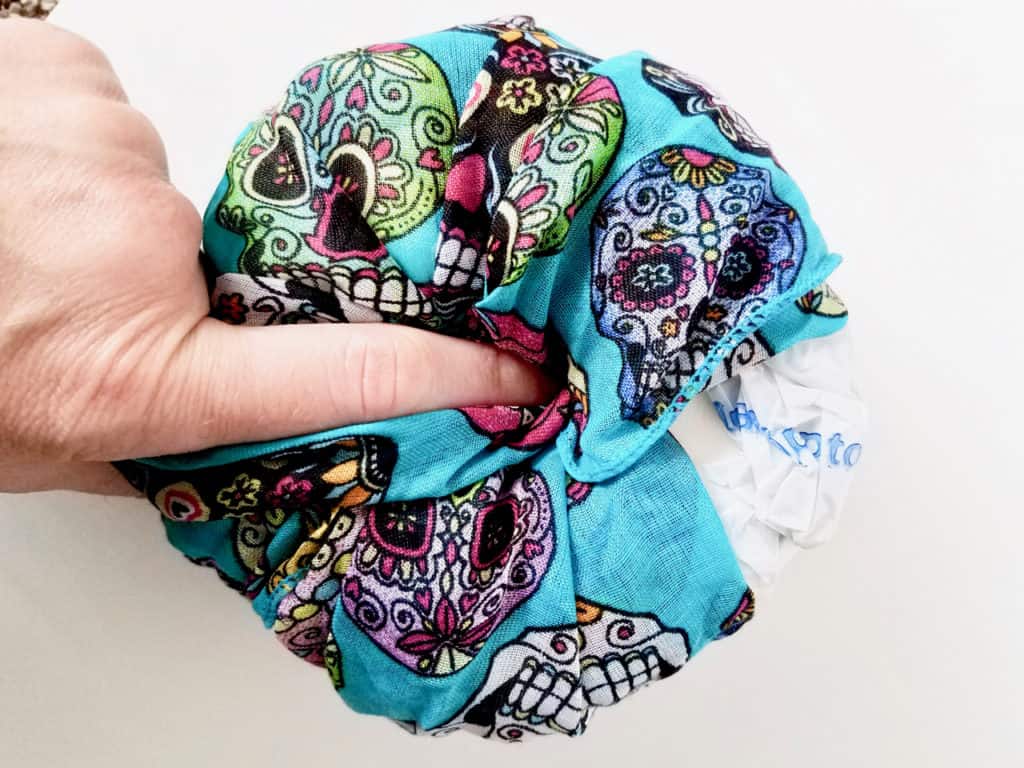
Step 4 – Continue to wrap the scarf around the toilet paper roll, while moving slightly to the right, until your roll is covered.
Step 5 – You can move the scarf around a bit until you get the pumpkin shape you desire.
Step 6 – Last thing is to add your stem. All you need to do is push your stem into the top of the toilet paper hole. You might need to push the fabric aside just to squeeze the stem in.
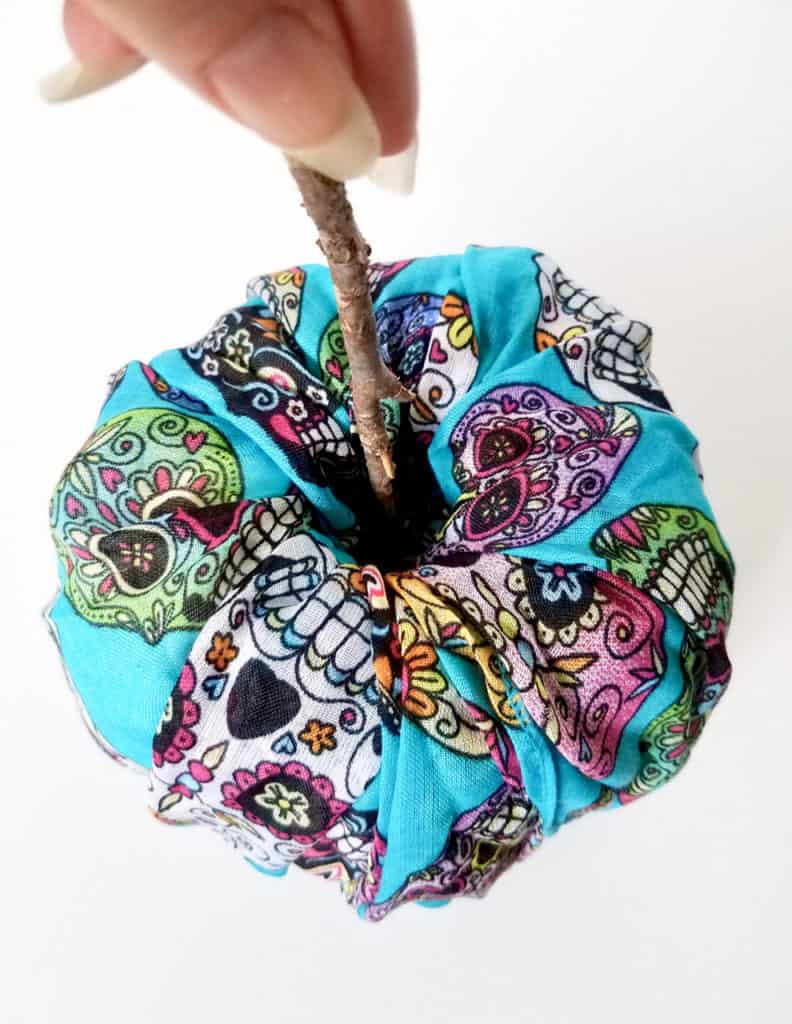
Now just find a place to display your ridiculously cute and easy toilet paper pumpkin! Don’t forget to pin for later!
