How to Make Cleaning Your Microwave Quick and Easy
Love your microwave oven, but hate cleaning it? You aren’t alone. But this post is not just going to help you get a clean microwave oven with less elbow grease, but keep it clean longer.

(THIS POST PROBABLY CONTAINS AFFILIATE LINKS. OUR FULL DISCLOSURE POLICY IS LONG & BORING BUT, YOU CAN FIND IT HERE.)
The Microwave, a Love/Hate Relationship
Microwave ovens are great. They can simplify our lives, and help us save time.
In our house, our microwave is one of our most used kitchen appliances. When you are using a microwave that much, you are bound to eventually have splatters, spills, and lingering odors.
Cleaning up dried on food can be a hassle if you just grab a sponge and muscle through it. No one wants that.
Here is what you need to know to make it quicker and easier to get the inside of a microwave sparkling clean… and then keep it that way longer.

Why Use More Natural Methods to Clean Your Dirty Microwave?
Here at WeThreeShanes, we always like to save money, not be wasteful, and to do things as safely as possible. The good news is, cleaning your microwave using natural cleaning products can accomplish all of these things.
Using microfiber cloths or reusable sponges instead of paper towels creates less waste. Using ingredients you already have at home instead of going out and buying a cleaner with harsh chemicals will save you money.
And not using harsh chemicals in your microwave will help keep those chemicals out of your food (which can happen if you use them to clean inside your microwave and fail to completely remove them while rinsing).
Method # 1 Cleaning Your Microwave with Vinegar
Before there were any cool gizmos and gadgets (like you will see in method #4) to help you clean your microwave, this easy to do method was the best way I found to get my microwave clean without a lot of effort. It uses natural ingredients, steam, and simple steps to get rid of that caked-on food or food debris.
You will need:
- A microwave-safe bowl
- 1 cup of White Vinegar
- 1 cup of water
- a clean sponge or microfiber cloth
- oven mitts
Pour your cup of water into your microwave safe bowl, and then add your cup of white vinegar. Place the bowl into the microwave and heat it for 5 minutes so the mixture boils and produces steam.
After the 5 minutes is over, leave the microwave closed for another 10 minutes. This keeps the steam in and doing all the hard work for you. It will help loosen the splattered, stuck-on food from the interior of the microwave. This way you won’t have to spend as much time scrubbing it.
It also gives time for the steam to cool down just a little to avoid scalding yourself. Even after 10 minutes the water/vinegar mixture and steam will still be very hot, use caution!
Once the time is up, use your oven mitts to very carefully remove the bowl with your water/vinegar mixture and set it to the side.
If there was any water that boiled over onto the glass tray on your microwave turntable, carefully wipe up the hot water with a clean cloth. Then using your oven mitts, you are going to remove your microwave’s removable parts (the glass tray, and turntable). Wipe them clean, and set them aside.
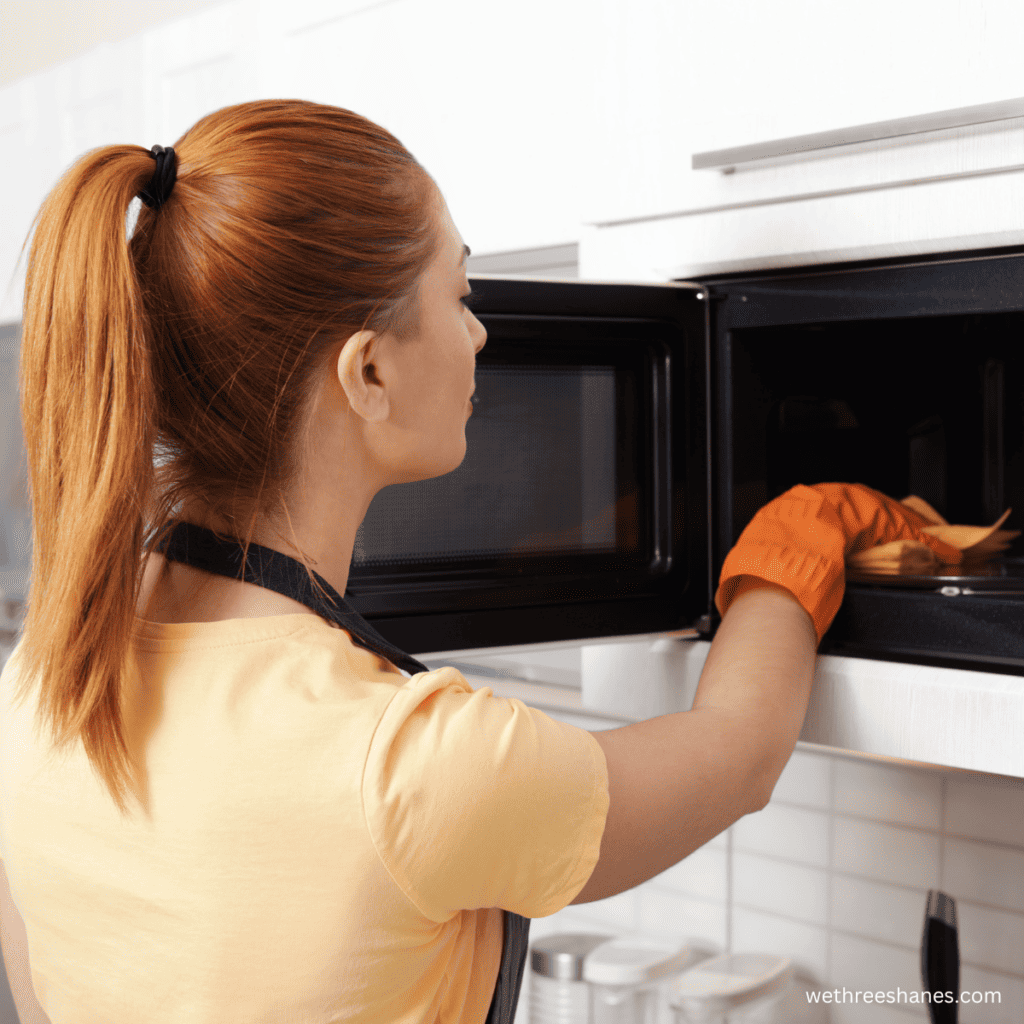
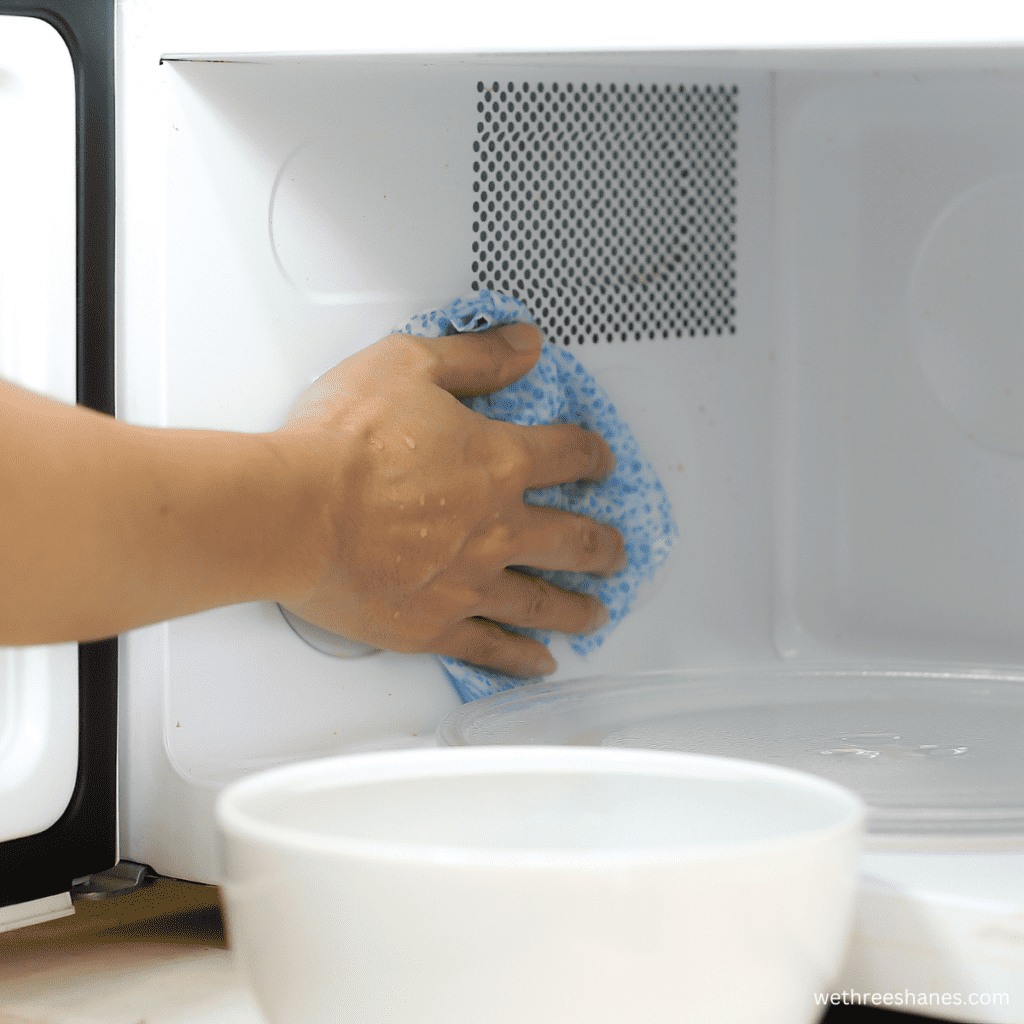
Now, use your damp cloth, or sponge to wipe down the interior surfaces. I like to start with the microwave door first so it doesn’t drip while I clean the rest of the inside of the microwave. Use a circular motion, and gently wipe up the condensation from the steam, and the baked-on messes.

Next, I wipe down the top, then walls, and finally the bottom of the microwave interior. If the cloth, or sponge starts to dry out, or I just want a little more cleaning power for a caked-on grime, I carefully dip the cloth or sponge into the vinegar mixture and continue to clean (remember this mixture will still be very hot).
Once clean, dry everything with a clean microfiber cloth. Carefully put your turntable and glass tray back in place, and you are done cleaning the inside of your microwave.
You can clean the outside of your microwave with this same water/vinegar mixture, and a microfiber cloth. Just make sure to ring out the cloth well after dipping it in the mixture so it isn’t sopping wet when you are cleaning the control panel.
If you have some really greasy finger prints on the outside, you can use an all purpose cleaner (I like the Mrs. Meyers all purpose spray). Just make sure you spray the cleaner on the cloth, and not directly on the control panel.
Method #2 Cleaning Your Microwave with Lemon Juice
If you have some extra stinky odors in your microwave (like from burnt popcorn), or you really have a hard time with the smell of vinegar, you can use this handy tip:

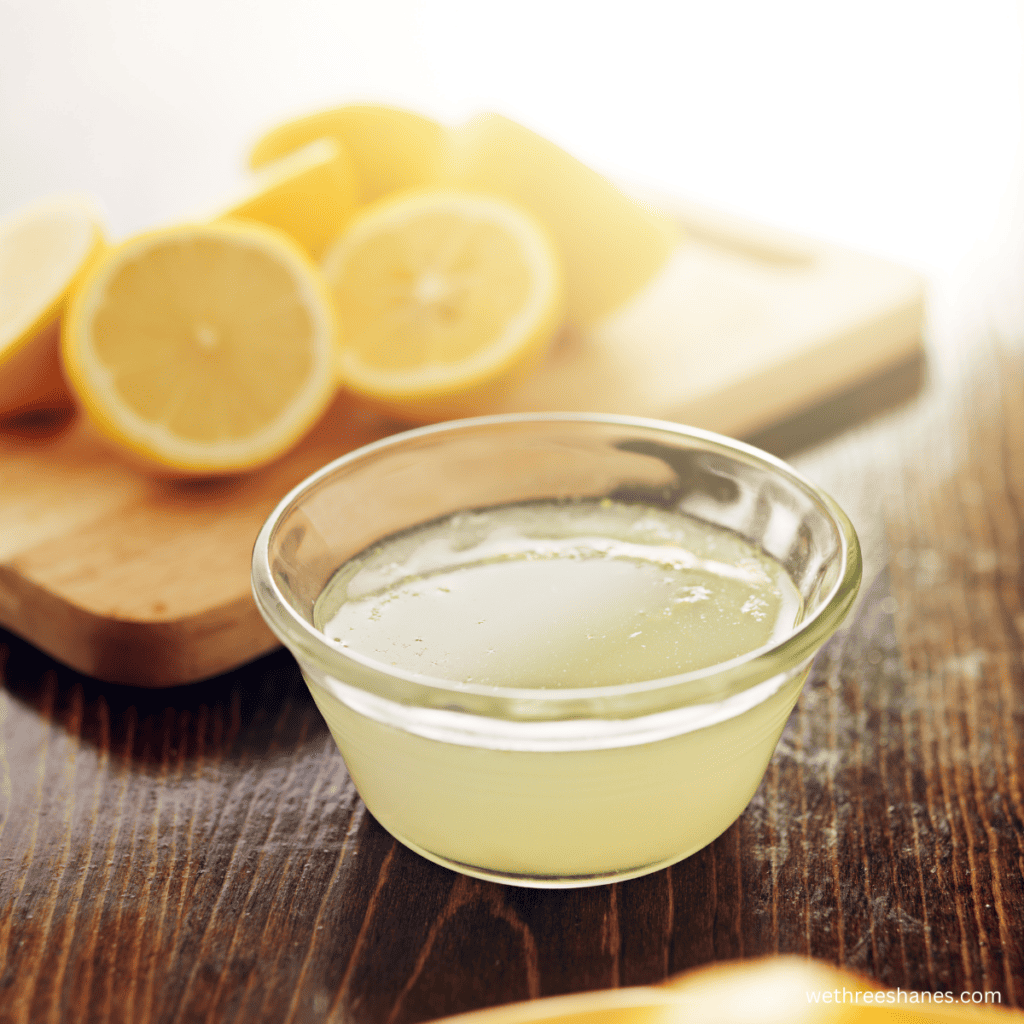
Make the same half water, half vinegar mixture used above and then add the juice from one lemon to it. The citric acid in lemon will help remove stinky scents from your microwave, and help balance the vinegar smell. Once you have added the lemon, just follow the same easy steps from method #1.
You can always use a couple drops of essential oil in stead of using fresh lemons. You can use any citrus oil but lemon and orange are my favorites.
Method # 3 Cleaning an Extra Greasy Mess in Your Microwave
If the mess in your microwave includes a lot of grease, like with tomato sauce, try this microwave cleaning hack:
Make the half water, half vinegar mixture we already went over, but this time add a few squirts of dish soap to the mixture. The dish soap helps cut the grease.
Follow the same steps as method #1, but this time when you dip your damp rag into the bowl of water mix, make sure to get some suds going. The suds will help break down the grease (remember to be careful while doing this since the water will still be hot).
Method #4 The Angry Mama
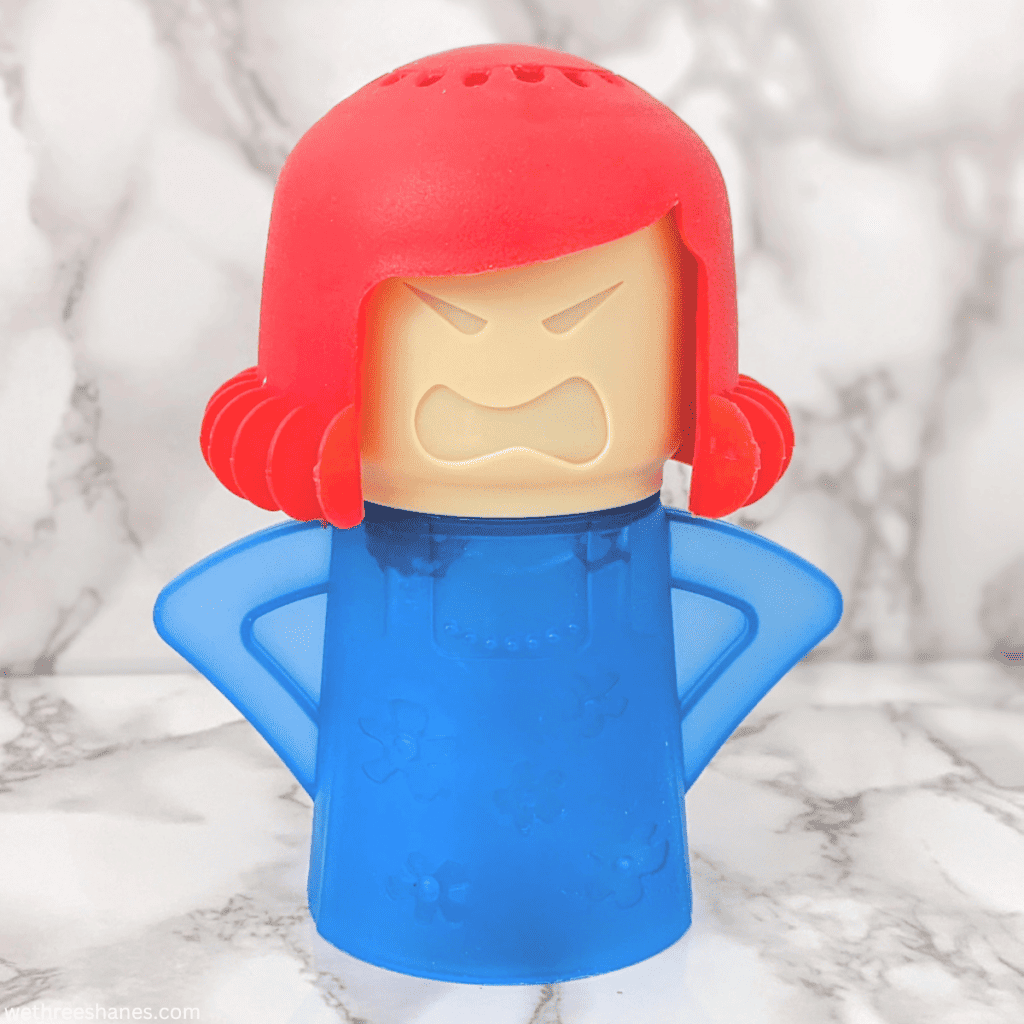
If you don’t want to have to worry about finding a microwave-safe container, then I have the tool for you. The Angry Mama is super affordable and on Amazon.

It uses a half and half mixture of water and vinegar, and makes it easy to know exactly how much to use with fill lines. You just remove the head, fill to the fill lines, put her head back on, then place her in the microwave.
Run your microwave for 7 minutes. The steam will come out of the top. Wait the 10 minutes for it to cool, and then continue the steps like you would in method #1.
I have used The Angry Mama and it works really well. It turns out a concentrated blast of steam to really blast stubborn stains. It is so affordable, makes the process easy, and is small and easy to store. I would highly recommend it.
Extra Tips and Tricks For Cleaning a Microwave
1. If your microwave is just a disaster, and you want to add a little more scrubbing power to your routine, you can add a little baking soda to any of the mixtures we already talked about or sprinkle a little directly into the microwave after the steaming set. The fine granules of the baking soda will give you a little more scrubbing power without having to add harsh chemicals.
2. Sometimes when liquids boil too fast they can become what’s called “superheated”. This happens when the water gets hot so fast, the bubbles that usually happen when liquid boils, don’t happen.
The liquid becomes volatile and can “explode”. This has been known to happen when heating liquid in the microwave, and exploding hot water can cause severe burns.
To avoid this in methods 1-3, I place a microwave safe object in the water to help facilitate bubbles rising to the surface. I like to use a cheap popsicle stick, but if you don’t have any of those, you could just use a wooden coffee stir stick, or even a wooden spoon.
How to Maintain Your Cleaned Microwave
Now that your microwave is sparkling clean, how do you best maintain it?
- Give your microwave a quick wipe down once a week. This can keep your microwave in good shape for longer before needing a major cleaning.
- Cover items you know might splatter. I have this set of 5 heat resistant, silicone microwave covers. I use them constantly and they are a lifesaver!
- Clean off splatters and spills right away. Sometimes someone forgets a cover, or we have a major spill, it happens. Just make sure to wipe it up right away before it gets baked on.
Do these 3 things, and you won’t have to do major cleanings near as often.

Cleaning Your Microwave Doesn’t Have to Be Hard
Now you have the tips to not only clean your microwave, but to keep it clean longer. Use the suggestions we have given to keep it clean and you can avoid lots of disasters.
But if a big mess does happen, or if your weekly microwave cleaning slips through the cracks, you will be prepared. Just use one of our methods and cleaning the baked on grime won’t be much of a chore anymore!
Have you been putting off cleaning your microwave because it’s such a chore? Try the Angry Mama, or one of our other cleaning methods and see how easy it really can be.
