Affordable Long Term Emergency Food Storage
Do you want to start a long term emergency food storage? Are you concerned that it might be complicated and really expensive?
This emergency food storage guide will teach you how to store your first 100 pounds of food, for up to 25 years, at an affordable cost. It includes simple instructions, tips, and even step by step photos.
(THIS POST PROBABLY CONTAINS AFFILIATE LINKS. OUR FULL DISCLOSURE POLICY IS LONG & BORING BUT, YOU CAN FIND IT HERE.)
What is Long Term Food Storage, and Why Have It?
There are two types of food storage you can have, long term and rotating. I think it is important to have both.
Rotating Food Storage
Rotating food storage is a supply of food storage where you build a base, and then rotate through it. The size of this storage would be up to you and depend on your families needs.
For example, maybe your family uses a lot of tomatoes. Then you would want a larger supply on hand. As you use those cans of tomatoes, you buy the same number so you always have a supply on hand. Basically you have a rotation of foods you often use.
This is the best way to avoid waste when doing food storage, and it makes sure you are using foods you normally have in your diet. There are a few down sides though.
The food can take up a lot of space, and it can be expensive to have a rotating food supply large enough for an emergency that extends into a prolonged time. This is where long term food storage comes in.
Long Term Emergency Food Storage
Long term emergency food storage is food you store that is more shelf stable, so it can last a long time. Most food from the grocery store has a shorter shelf life that last from days, to months, to at most a few years. Canned food typically will last the longest of the food sold at the grocery store, and it is a few years at best.
Long term storage means you are taking food that is relatively shelf stable and packing it in a way that keeps oxygen and sunlight out. This will keep the elements and pest out of your food so it can last for an extended amount of time.
The staples of long term emergency food storage are rice and beans for reasons we will discuss below. But other items you could eventually add to your long term food storage that can last for an extended amount of years if stored properly are lentils, sugar, honey, and dehydrated foods.
Long term emergency food storage is for extended emergencies. This is not food you will be rotating through in your day to day life. Once it is sealed, you do not want to open it until you absolutely have the need, because once it is opened and again exposed to oxygen, it will need to be used in a timely matter (whatever its normal grocery store shelf life would be).
The benefit to having some emergency long term food storage is it can bulk up your rotating food supply with needed calories if a long term emergency meant you had to stretch out your supply. If you could not replenish your food supply any time soon, it is a much cheaper way to get a decent amount of calories put away.
This guide is a way to get started with this supply. It is giving you a nice start of 100 pounds. How long this amount would last would depend on the size of your family, and how well you were rationing it with your other supplies. But, it is a great start and will give you the skills needed to continue on with your food storage if you want to add to it in the future.
Rice and Beans: Affordable, Long Term, Emergency Food Storage
Why start with rice and beans? Rice and beans are not only extremely shelf stable, and affordable, but together they make a complete protein. This means that together, they contain the nine essential amino acids that our body cannot produce on its own.
Long Term Rice Storage
For day to day eating, brown rice is the healthier choice, but when you want food storage that will last, you want to choose a white rice. Brown rice has a higher oil or fat content, and oils and fats go rancid much faster than other foods.
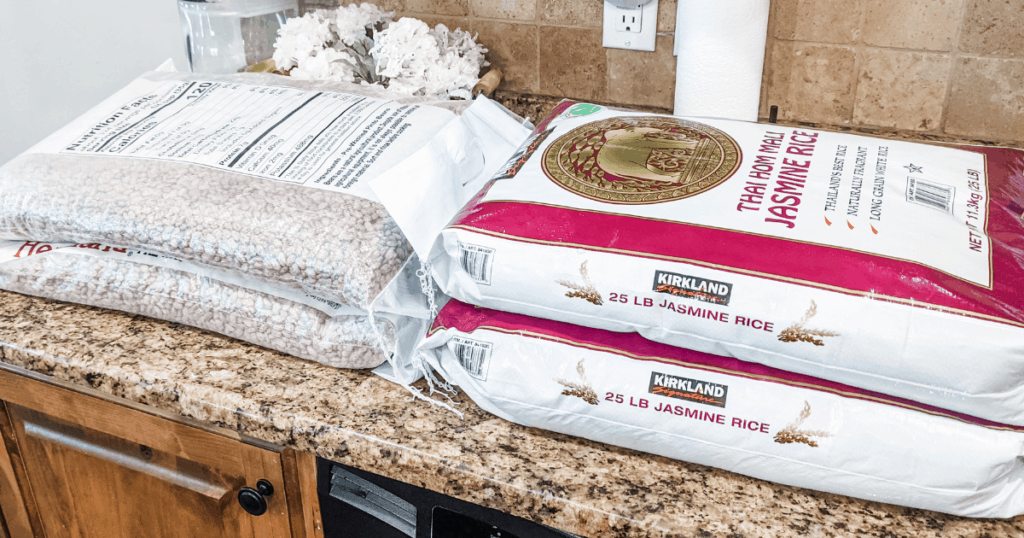
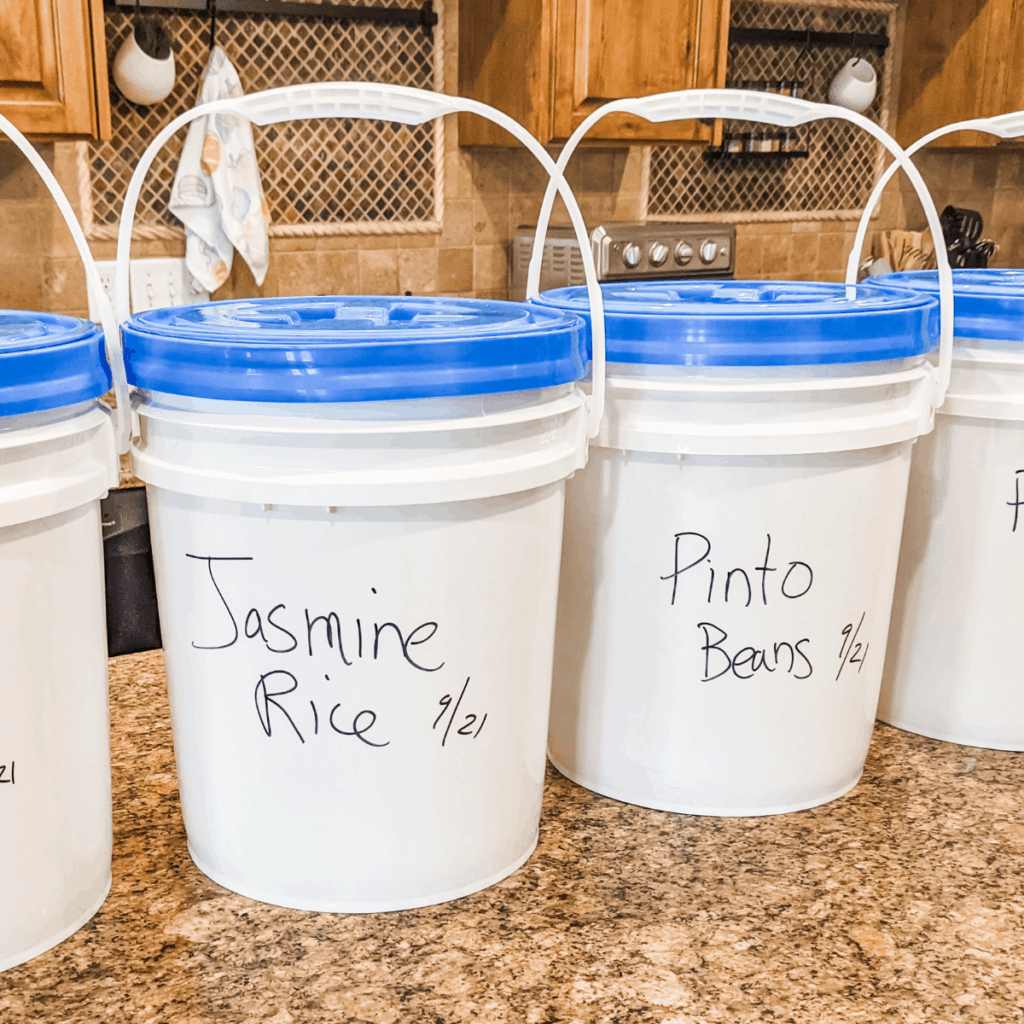
So, if you are storing rice for long term storage, choose white rice. In this post, I am storing Jasmine rice, just because it is the rice our family prefers, but any white rice will do. And regular white rice will be even more affordable.
Long Term Dry Bean Storage
As for beans, choose any dry bean you like. We chose Pinto because they were so affordable. They also don’t have a strong taste, so they are easy to combine with other foods.
Our bags are 25 pounds each, and we got two bags of rice and two bags of beans. We purchased these 4 bags from Costco. All 4 bags together where well under $100 at the time of purchase here in Utah. Together they will provide 156,240 calories! (78,480 calories in rice, and 77,760 calories in beans.)
What You Need for Long Term Storage
If you plan on this food being part of your long term storage, you will have to make sure it is stored correctly. To do this, you need the following items:
- 5 gallon buckets (4 of them. I recommend getting these locally as they are expensive on Amazon. Check out survival stores, grocery stores during their case lot sales, or even places like Home Depot and Lowe’s.)
- Lids for your buckets (4 of them. I prefer Gamma lids because they can be screwed on and off and don’t require you to get a special tool to remove your lid each time. I would also get these local so you can inspect the lid and seal for quality.)
- 5 gallon Dry Pack Mylar Bags (at least 4, but I buy them in packs of 10 with oxygen absorbers to save money since I plan to keep expanding my food storage.)
- 10-2000cc Oxygen Absorbers
- Level (this is what I suggest you use, and use in the photos, but you could use anything with a longer flat narrow surface like a extra piece of ply wood with a one inch edge.)
- If you don’t want to use the iron method, you can use a hair straightener set to about 350 degrees. You would trim off the excess bag first, and then use the straightener along the top to seal the bag (remembering to leave room for air expulsion and your oxygen obsorbers before closing completely).
Let’s Get Started!
Now that you have everything you need together, let’s get started.
Step 1 – First, you will have to get your lids on your buckets. This can be difficult, and is why you have the mallet. Screw off the middle part of your Gamma lids, and mallet down the outside ring onto your bucket.

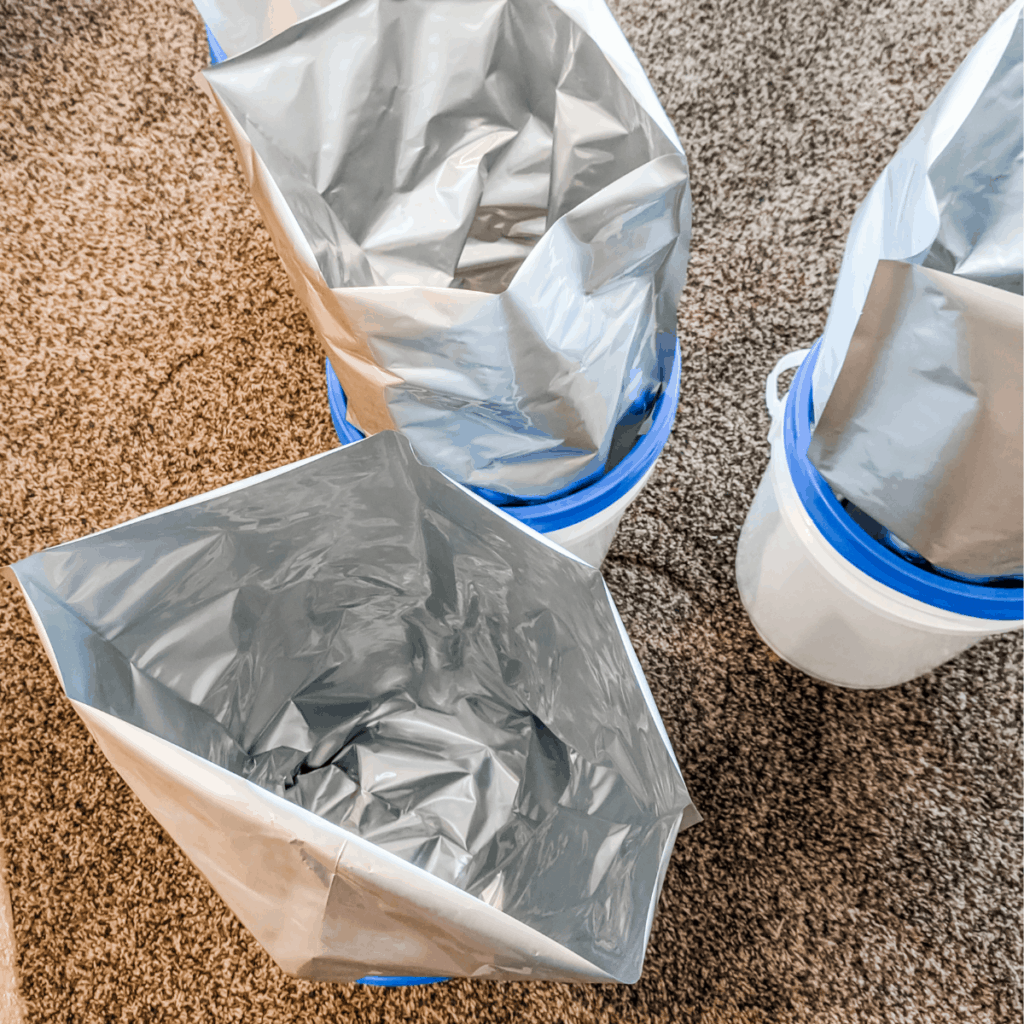
Step 2 – Once your lids are on, you will open up your Mylar bags and set one inside each bucket.
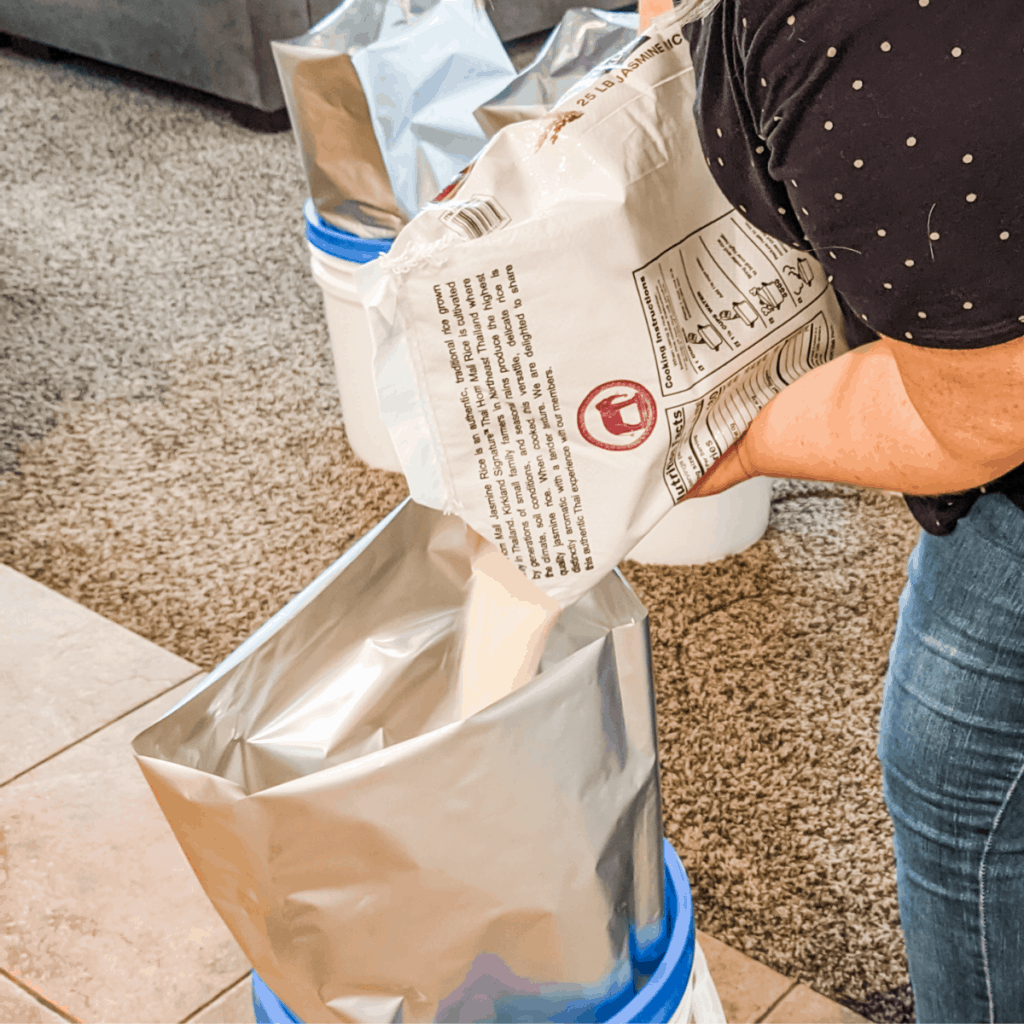
Step 3 – Carefully add one of your 25 pound bags of your rice or beans.
Step 4 – Take your level and fold both sides of the bag over it. Then take your iron and press it across your mylar bag for a few seconds on each section down the level. The heat will seal the bag shut.
But DO NOT seal the bag completely yet. Leave a space large enough to get your oxygen absorbers through.
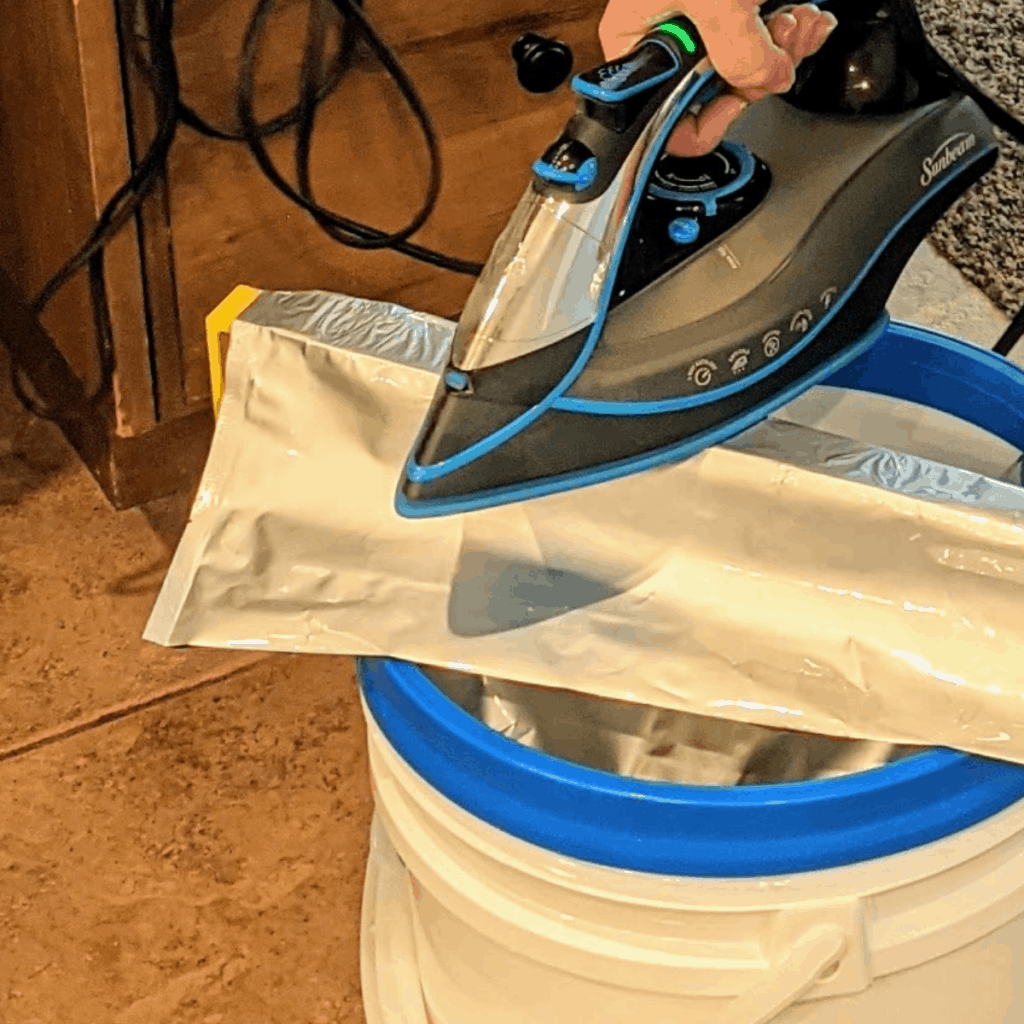
Step 5 – Add your oxygen absorbers. You will add 2 of the 2000cc oxygen absorbers to each rice bag and 3 to the beans.
This is because the pieces of rice are smaller and therefore sits closer together. This means it will already have less oxygen in the bag.
Step 6 – Once you have added the absorbers, push out any remaining air that’s left in the bag. Pull the bag back over the level, and then seal off the rest of the bag with the iron.
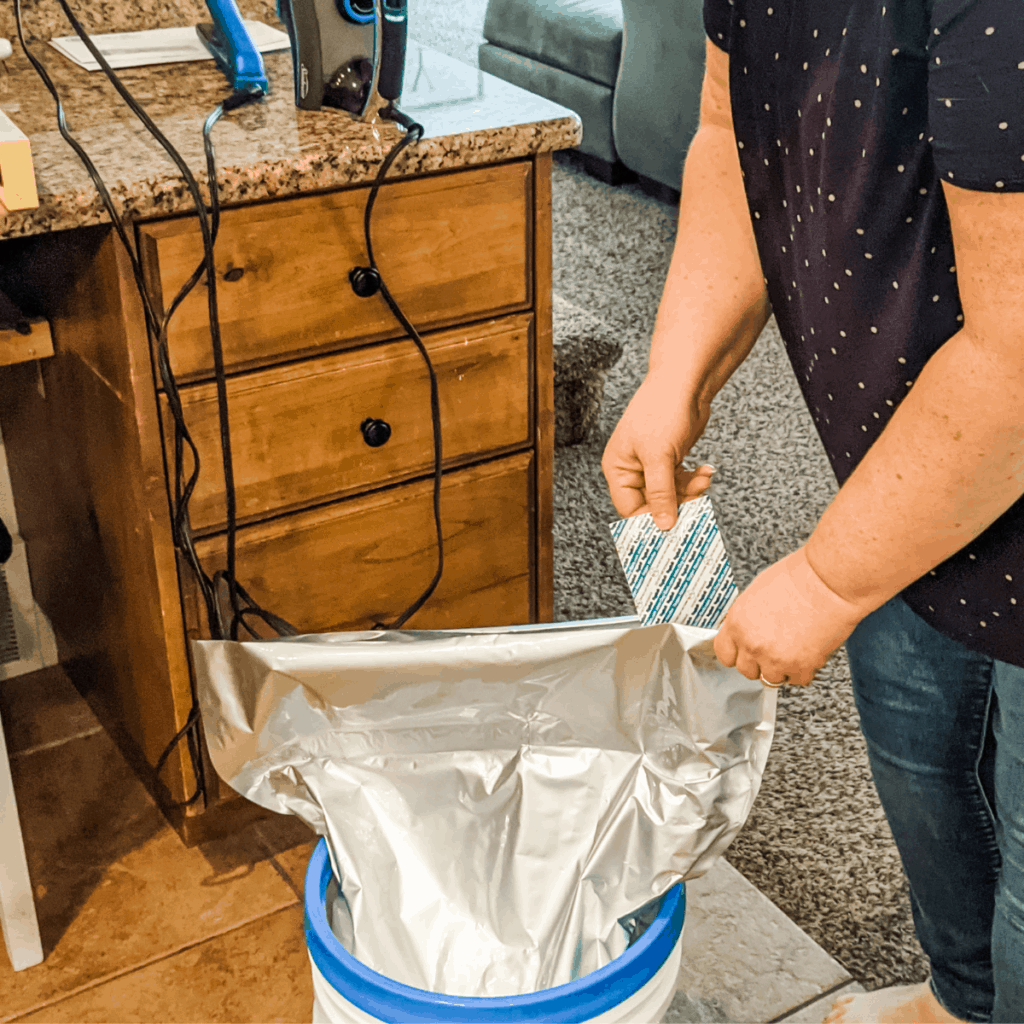
Step 7 – Check your bag for any leaks by running your fingers inside near the seal. Then push down on the bag and make sure no air is escaping.
Step 8 – Once your bag is sealed, you can cut off the excess bag above the seal (making sure not to cut the seal) and push the bag down into the bucket.
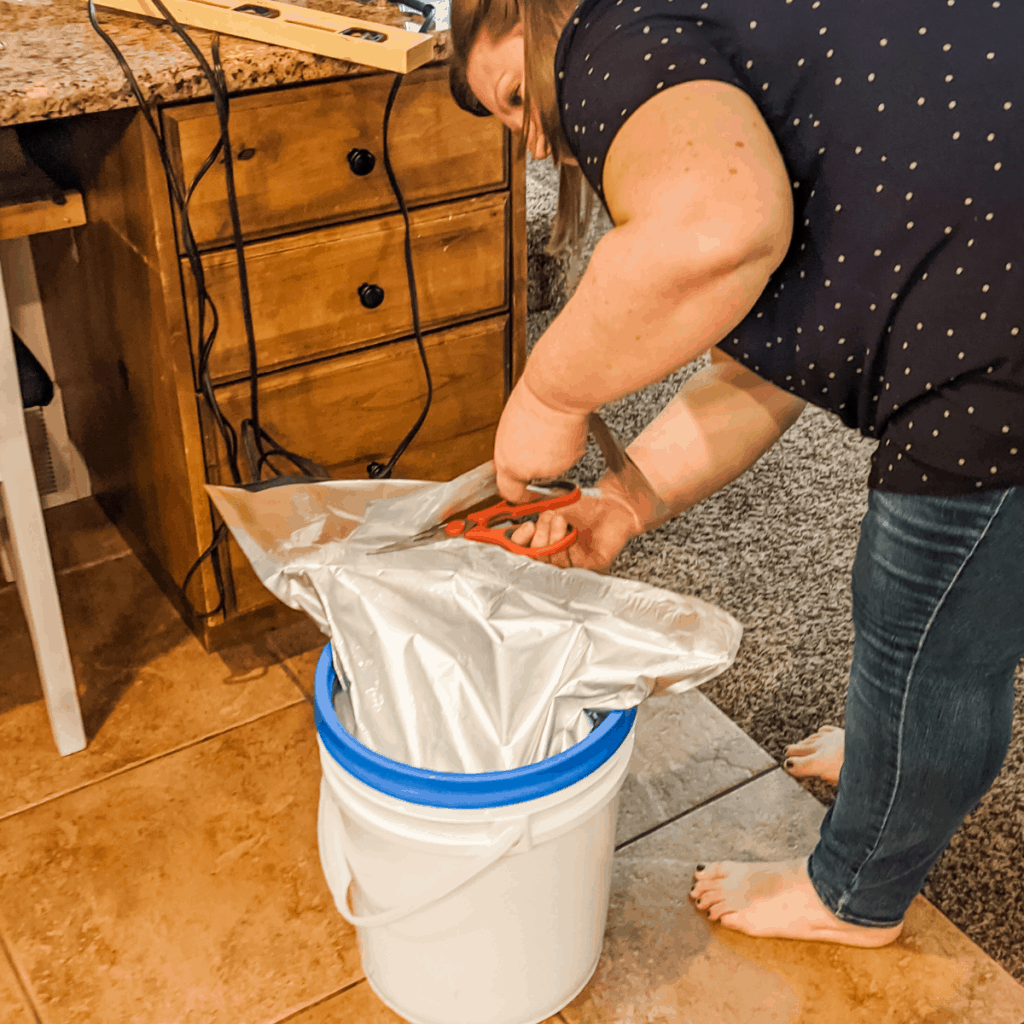
Step 9 – Now you can label your bucket and screw on your lid. I like to write what type of food is in the bucket and the date I sealed it.
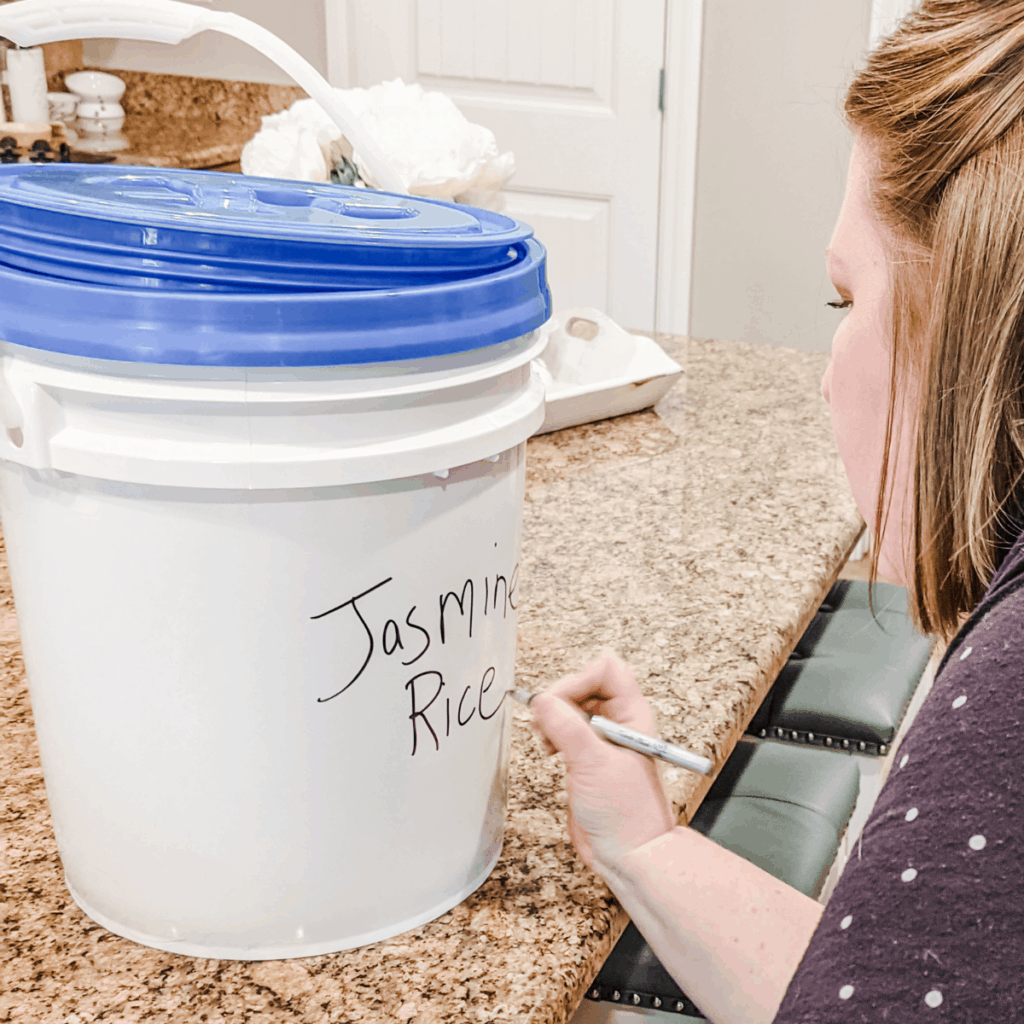
Now you will just repeat that for each of your 25 pound bags of food, and you will have 100 pounds of long term, emergency food storage! Amazing job!
Tips For Making Long Term Food Storage Last
They are a few more things you can do to make sure your food storage last through the years. Here are some tips you’ll want to try:
- Try to keep long term food storage at a stable temperature. 70 degrees and under is ideal, so try not to store your buckets of food in some place like a garage where the temperature can be extreme.
- Keep your food away from light. The mylar bags and buckets already help with this, but you still don’t want them in a sunny spot.
Basically, your long term storage is best kept in a cool, dark place. Pantries, closets, or even basements can usually work as good places for your storage.
- Don’t forget that water is not only important to store for drinking in an emergency, but for cooking as well. Your rice and beans will not be worth much to you if you don’t have water to cook them with. So as you continue to build your food storage, remember to build your water storage as well.
- This method works for grain type foods like rice, beans, wheat, lentils, oats, etc. but can not be used for every type of food. Foods with high fat content will not be shelve stable for years and years no matter how they are stored. Also things like sugar do not do well with oxygen absorbers, as they can actually change the texture and flavor. Make sure to look up the food you are storing before you start the process so you know what is appropriate, and if needed how many oxygen absorbers to use.
- If you want to watch a video tutorial, I highly recommend the video from the City Prepper on Youtube. It is excellent.
Starting long term food storage might seem intimidating at first, but if you follow these steps, you can get your first 100 pounds affordably. Set a goal to get those first 100 pounds of basics and you will know you have a solid foundation and can build from there. The best time to get started is now!
