How to Make Greeting Cards With Napkins
Learn how to make greeting cards for any season or reason out of cute napkins you may find at any store.
(THIS POST PROBABLY CONTAINS AFFILIATE LINKS. OUR FULL DISCLOSURE POLICY IS LONG & BORING BUT, YOU CAN FIND IT HERE.)
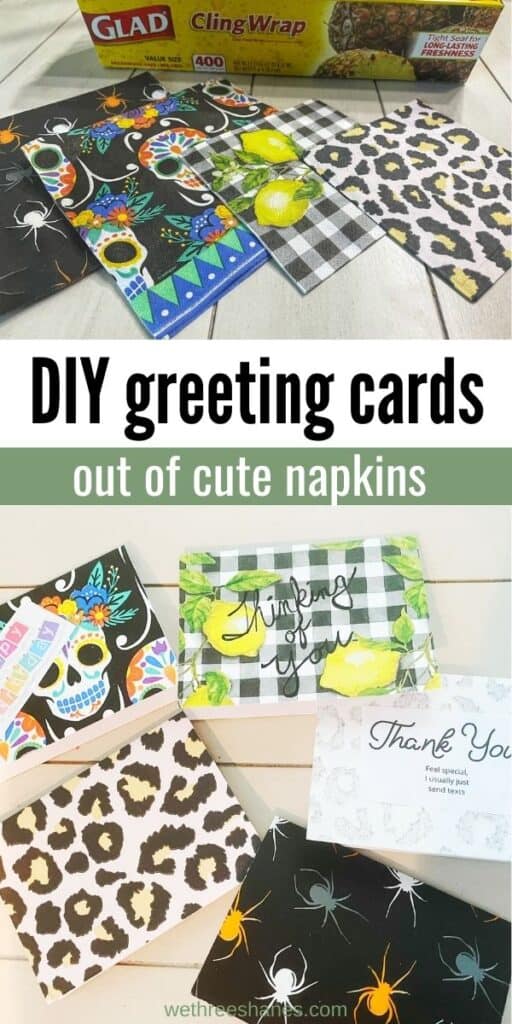
Learn how to make greeting cards out of cute napkins
Remember greeting cards? I feel like no one gives them out any more. Even if you do, you buy them at the store.
I used to love making greeting cards because it is so much more personal and you get to customize it any way you want. This is definitely an art that has kinda died out. So why not custom make some cards ready to hand out for a plethora of reasons.
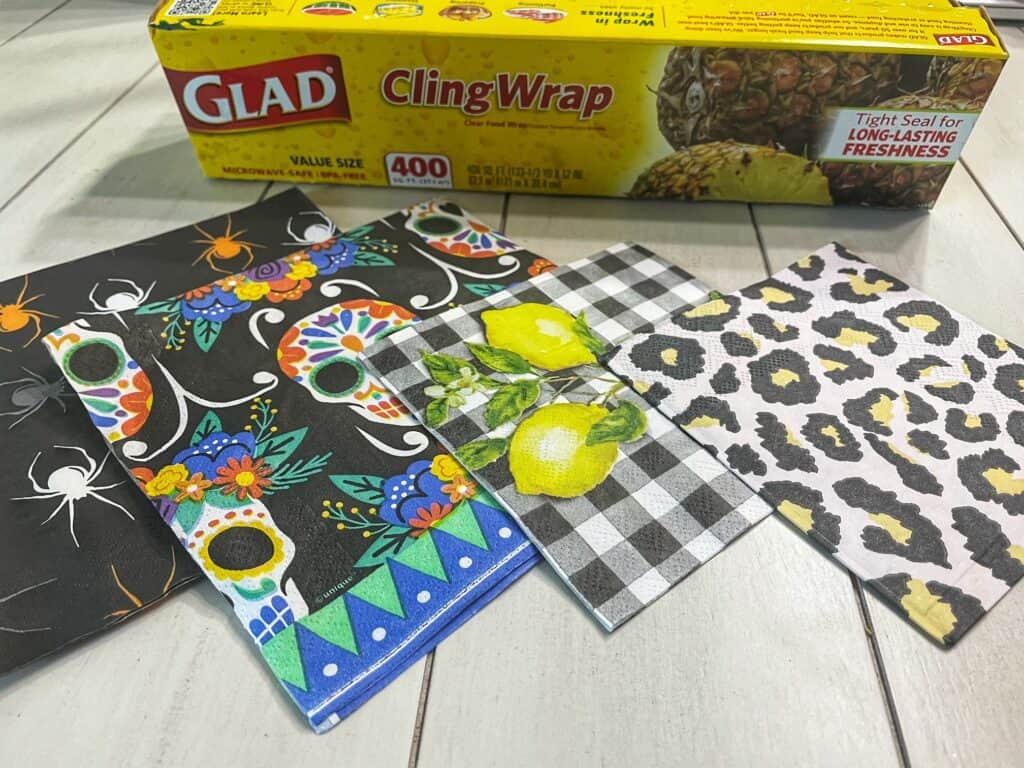
What Do You Need To Get Started
- Card Stock or Blank cards
- Plastic wrap (any brand)
- Napkins
- Scissors
- Iron and ironing board
These are so simple and turn out really cute. I love halloween and so I was having a ball finding cute napkins to make cards for this post.
You can even turn these into invitations if you are having a Halloween party. And it does not matter what kind of napkins. Any kind should work.
You don’t need to add any words to your cards but if you do then you’ll need writing supplies or a cutting machine. A Cricut Joy would be a great addition to this project. If you’ve never heard of one then you should check out this Cricut Joy review to see if it’s right for you!
How to Make Greeting Cards With Napkins
Step 1 – What you want to do first to get started is figure out how big you would like your greeting cards to be. I ended up using blank cards because it was easier but you are more than welcome to use card stock.
I looked up what the standard sizes are and found two options. The first is 8.5″ x 5.5″ which when folded becomes 4.25″ x 5.5″ Also, 11″ x 8.5″ which once folded becomes 5.5″ x 8.5″ and lastly, 10″ x 7″ which becomes 5″ x 7″ after folded.
Once you decided which size you would like, cut your card stock and fold in half.
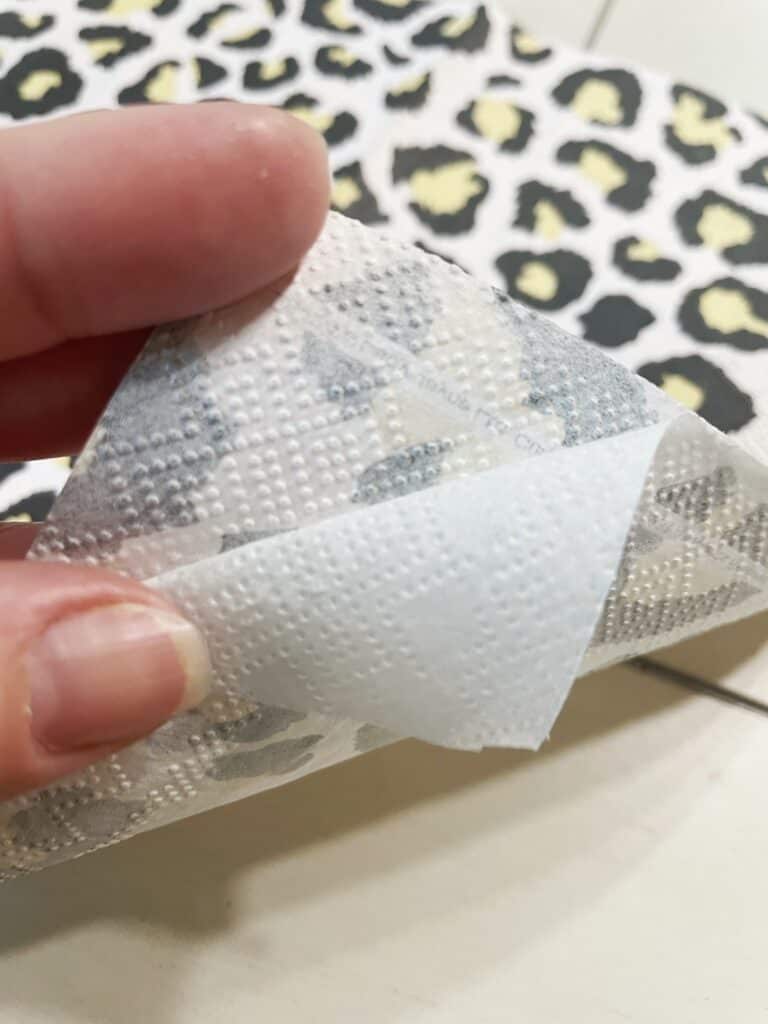
Step 2 – Next, we need to get out our napkins. I ended up with two different kind of napkins. One was a two ply and one was 3 ply.
The funny thing is, I didn’t bother to find that out a head of time. This is actually important because you want there to only be the one ply left for your greeting card.
The first time I tried making a greeting card with the 3 ply napkin, it would not stick and I was getting frustrated. Then I kinda had a forehead slap moment and once I fixed it, it worked perfectly fine.
So take your napkin and peel it apart. You need only the layer with the printed design on it.
Step 3 – Once you’ve got your napkin down to one layer, you want to cut out a piece the same size as your card. I did the full length of the card but you could do only the front if you want to. Whatever works for you, works!
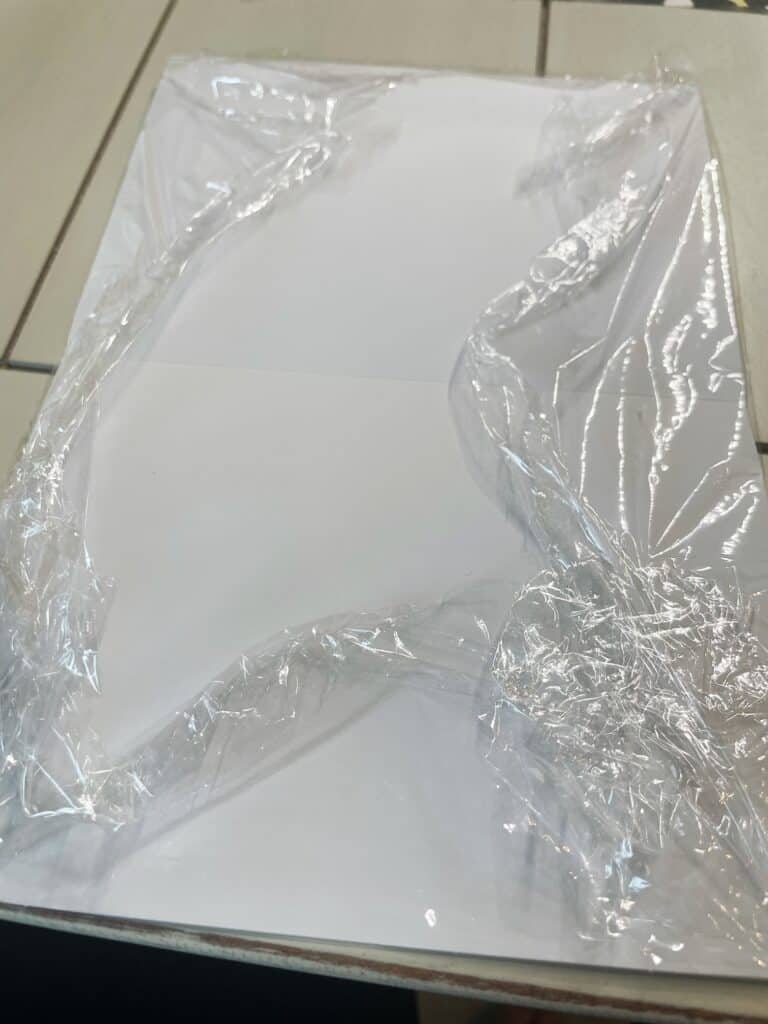
Step 4 – Rip a piece of plastic wrap bigger than the card. Cutting plastic wrap with scissors is impossible so don’t even try. Take it from me and just rip it off. It doesn’t matter if it runs over the edge.
Step 5 – You are going to “layer” your card; card stock on the bottom, plastic wrap on top of that and then the napkin on top of the plastic wrap.
You want to align it up as perfectly as you can make it.
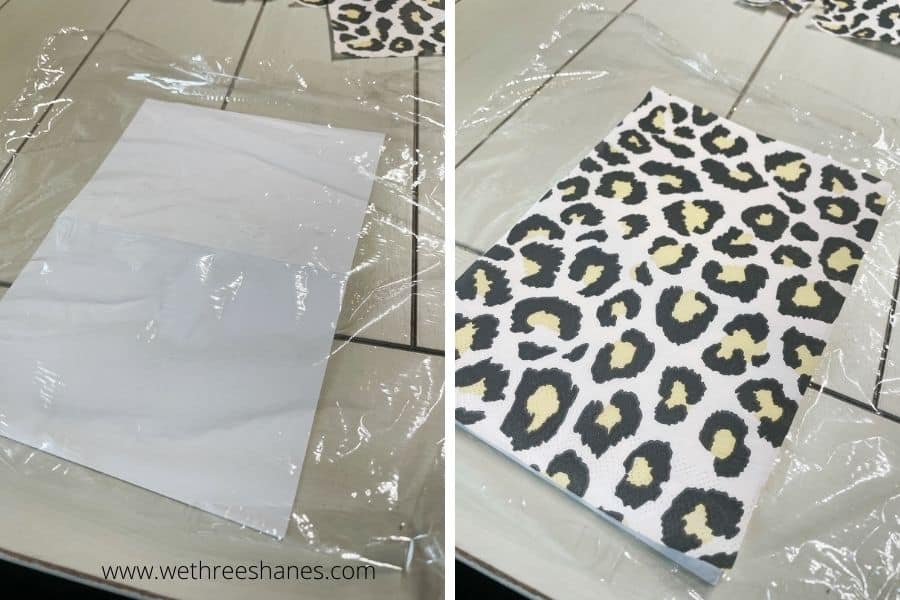
Step 5 – Next, you are going to iron right over the 3 layers. The plastic wrap melts to the napkin and to the card stock fusing them together. This is why you want only one ply left of your napkin. It just won’t stick with two layers still.
Now let me pause for a minute. I know what you are thinking. Won’t the plastic wrap melt to my iron, ironing board or the back of the greeting card?
The answer is yes, however once it cools off it peels right off. At least that’s what my experience was. If this makes you too nervous, then by all means make sure you have something on top of the greeting card like another napkin or a paper towel, to catch the melted plastic wrap that is hanging over the sides.
I found the easiest thing to do for me was to wrap the plastic wrap all of the way around to the back or inside of the card. Once it cooled off I was able to easily just peel the plastic wrap off. Another good tip is to get everything lined up best you can, and then just trim the card down after the napkin is melted on.
That’s a Wrap!
And that is it folks! You’ve made your own greeting card. Isn’t it so simple?!
I love the variety of this craft too. And just so y’all know, I thought the first cheetah print card was ruined because I tried melting two layers on it. Once I peeled it off, the ink had stained the card stock but I was able to use it as a card anyway.
In fact, I love the way that one turned out. Then I was also able to re-use the cheetah napkin on a new card as well. When you mess up while crafting, just keep going.
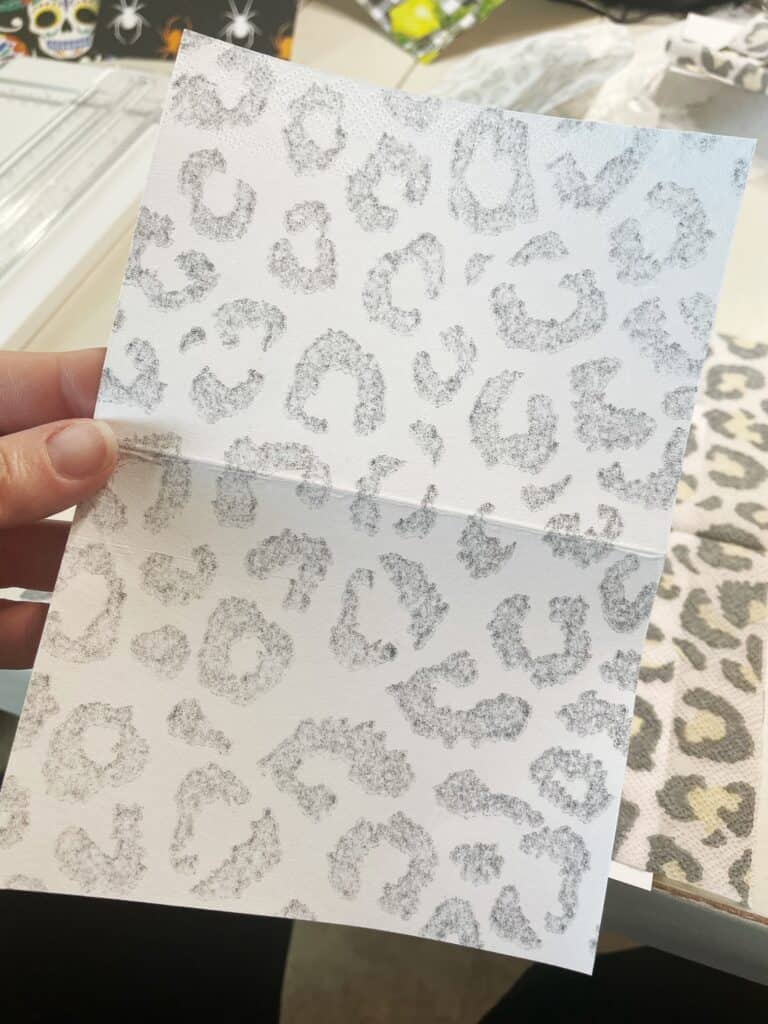
Once your napkin is melted on the card stock, you can leave the card as is or embellish it. Turn your new cards into birthday cards, thank you cards, friendship cards or even invitations to a party. Really the possibilities are endless.
If you bought cute napkins to make some of our other cute napkin crafts, you probably have left overs any ways. So go make yourself some cute cards.
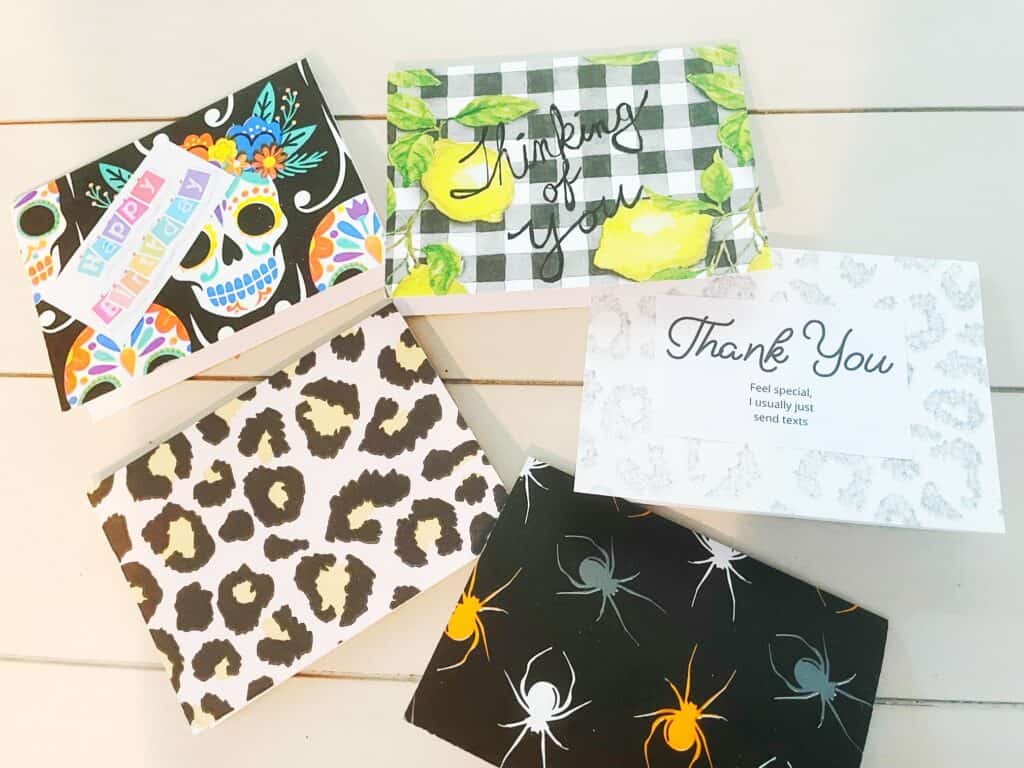
These also make great gifts themselves. I had a friend make me a 10 pack of homemade greeting cards for my birthday once and it was great having them on hand for those times I forget a friend’s birthday or need a quick thank you card for one of my kids teachers.
