How to Decoupage Rocks With Napkins
Learn how to use mod podge and napkins to transform rocks into fun and pretty decor for your garden this summer.
Today I’m going to show you how to decoupage rocks with napkins. You can use scrapbook paper and fabric too but I love how seamless the napkins look when using mod podge.
There are so many ways to make super cute rocks using this method. The napkins you choose can change up the style of your rocks so much.
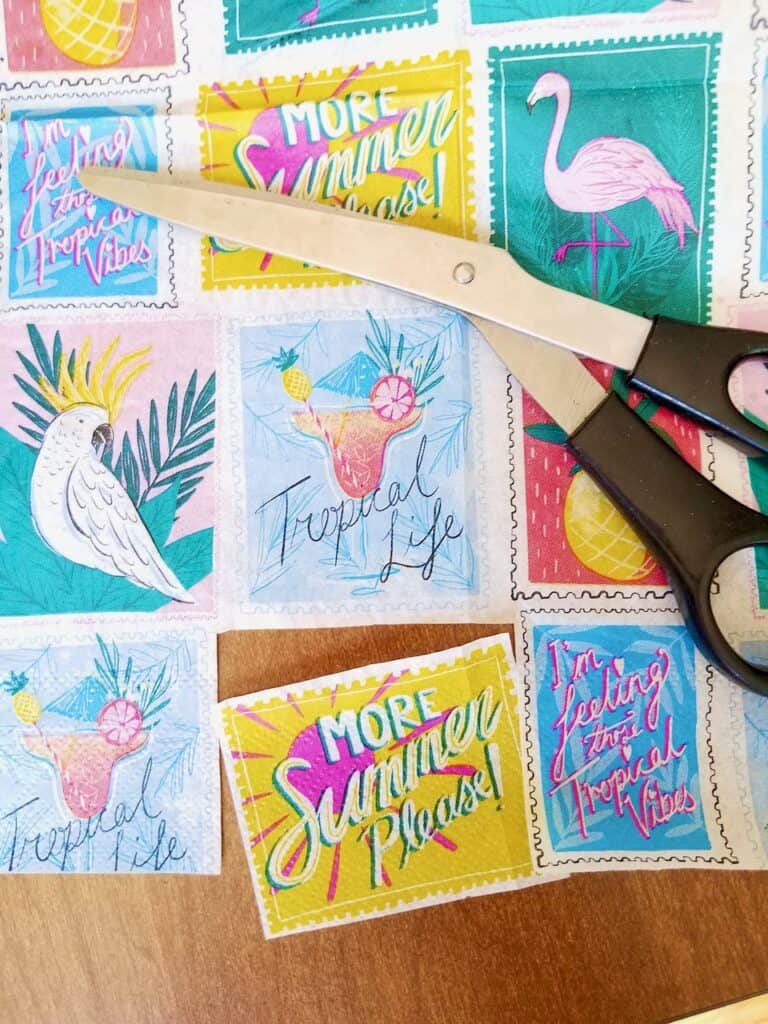
Today I chose a fun set of napkins from the dollar store and a pretty set of garden napkins from a super cute garden store near my house. The first set of napkins give your decoupage rocks a super fun vibe while the garden napkins look so delicate and pretty.
The first set will look great in a rock garden. The second set is perfect for a flower bed or cottage decor.
Last year when we were stuck at home a ton we ended up painting rocks a lot. We saw a lot of rock gardens popping up around our area. It was fun to add to them and to see them grow. It gave people in the community a reason to get outside, feel connected, and get creative while social distancing.
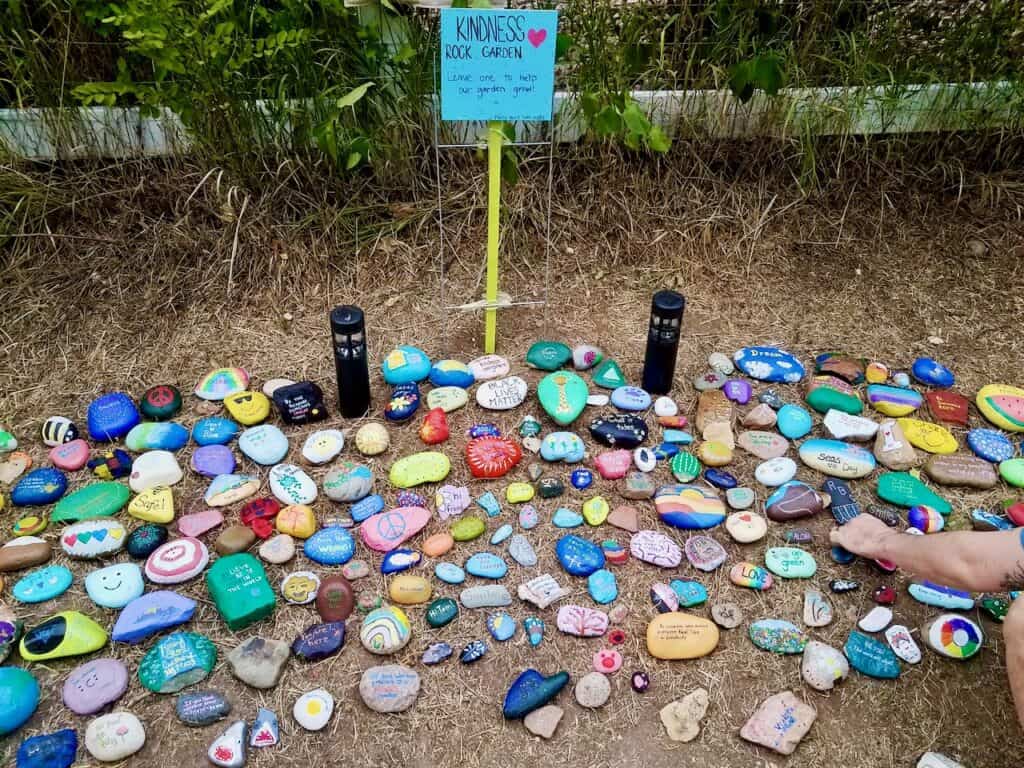
While we got pretty good at painting rocks we started to run out of ideas and got a little bored after a while. I remembered my previous decoupage crafts and decided to try to mod podge some rocks.
Some of the rocks were a hit and some were not. If you follow this tutorial and my tips then you’ll end up with some fun rocks of your own to add to your garden or maybe even start a community rock garden of your own.
(THIS POST PROBABLY CONTAINS AFFILIATE LINKS. OUR FULL DISCLOSURE POLICY IS LONG & BORING BUT, YOU CAN FIND IT HERE.)
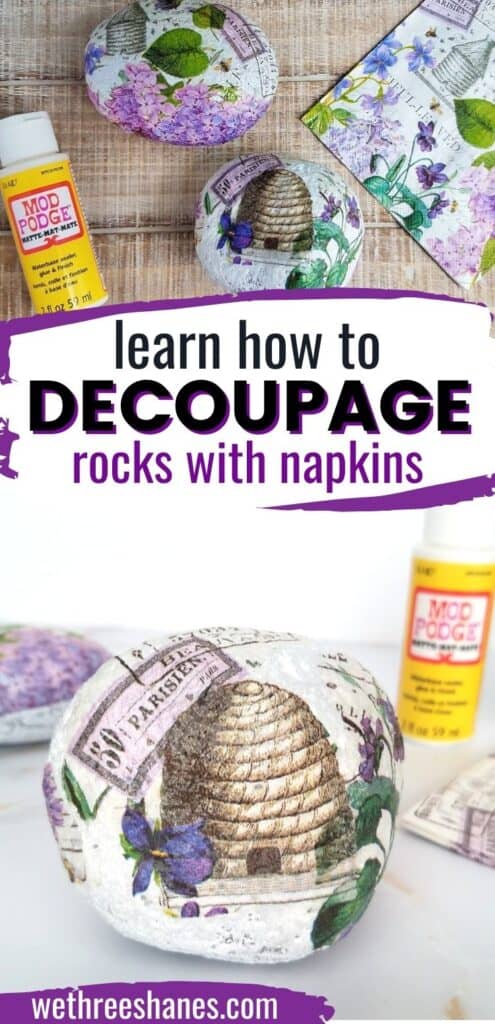
Supplies You Need to Decoupage Rocks
I had most of my supplies on hand but if you don’t it still shouldn’t get to expensive.
- Rocks
- Paint – preferably white
- Mod podge
- Napkins
- Scissors
- Sealing Spray
I got the rocks I used for this decoupage craft from my back yard. You can send your kids on a little rock hunt to bring some in. If you don’t have any rocks at home you can buy them from hardware stores.
I used 3 sets of napkins for this mod podge project but that was just to see how different designs turned out. I found the napkins with a light or white background looked best on the rocks.
There were two napkins sets that I like the most for this rock craft. One I got from the garden store near my house and the other was from the Dollar Tree.
The mod podge also came from the Dollar Tree. It’s a pretty small bottle but I still have over half of it left after using it for all 3 of these decoupage crafts from this week. You can obviously pick up a bigger bottle from just about any craft store or craft section of a store.
While I did paint some rocks with colors that matched the napkin colors, I didn’t like the way they turned out as much. If I were doing them again I’d stick with white or very light colors so the napkins pop more. The napkins can get a bit see-through once the mod podge is being used and the dark paint makes the napkins a bit less noticeable.
I always use an acrylic sealing spray to seal the rocks once they are completely dry. This helps protect them and give them a nice sheen which helps make the colors on the rocks brighter.
I used the mod podge brand of spray sealer but you can use any brand you want. The mod podge brand seems to run a bit more expensive. It just happened to be the only one I could find at the store when I ran out of another brand.
How to Mod Podge Rocks With Napkins
Once you’ve gathered all your supplies it’s time to get started.
- Start by giving all your rocks a good cleaning to remove dirt and debris. This is another great task for your kids to do. Send them out with a bucket of soapy water so they can drop the rocks in as they find them. Then they can scrub them and leave them outside to dry.
- While the rocks are drying you can start pulling your napkins apart. Napkins come in two or three-ply and you need to get them down to one so the work better with the mod podge.
- Now, grab your one-ply design piece and cut out the design elements you want to use on your rocks.
- Paint your rocks a light color and let them dry. There is a good amount of waiting during this project so things can dry. Be aware it takes a good amount of time start to finish when working with mod podge.
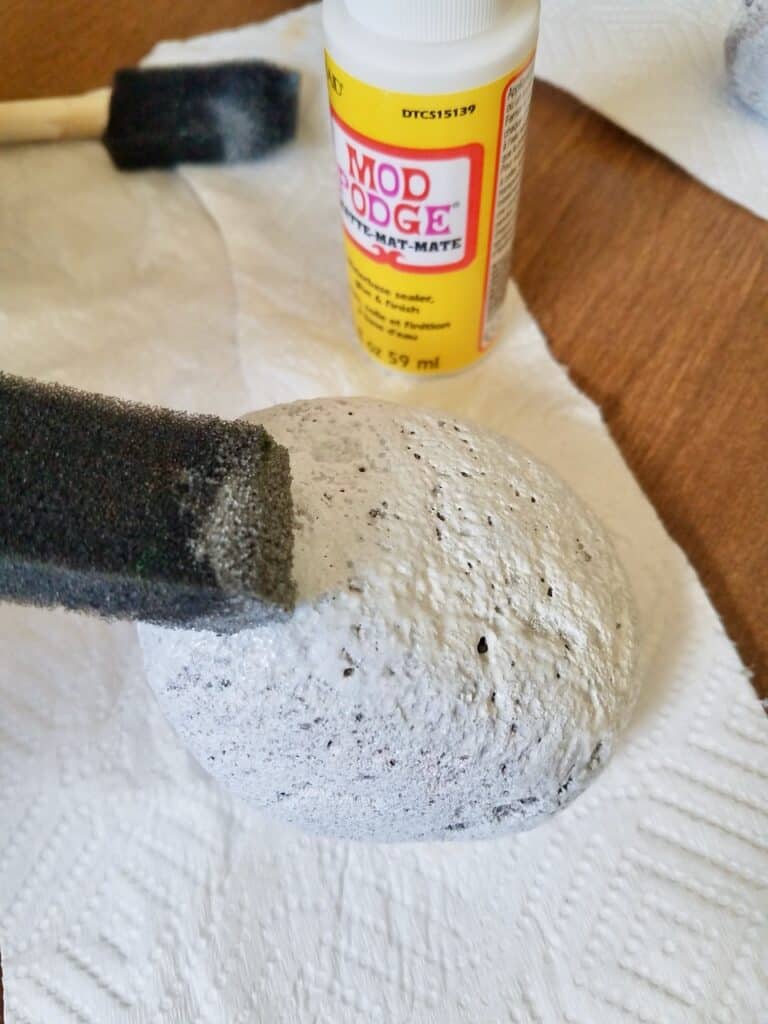
- Once the rocks are dry you want to work with one at a time until you have mod podged all the napkin piece to one side. If you are setting the rocks down then you most likely only need to decoupage one side. If you want the whole rock covered then you’ll work on one side and let it dry then flip it over to work on the other side.
- Put a thin layer of mod podge on the rock then smooth a piece of napkin out over it. Continue this process until all the pieces are on. Then carefully cover the rock in another layer of mod podge to seal the napkin pieces in. Set it aside and work on another rock.
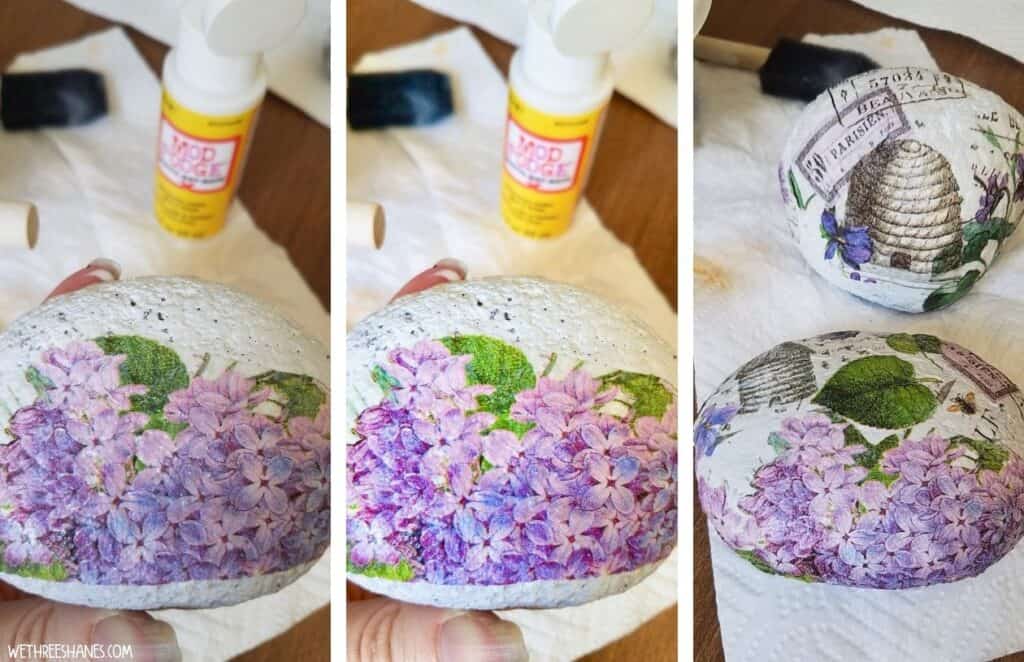
- Once the rocks are dry you can add another layer of mod podge to the whole rock and then once your rocks are all dry take them outside for a spray of the acrylic to make extra sure they are ready to be set outside in the elements.
Decoupaging Rocks Craft
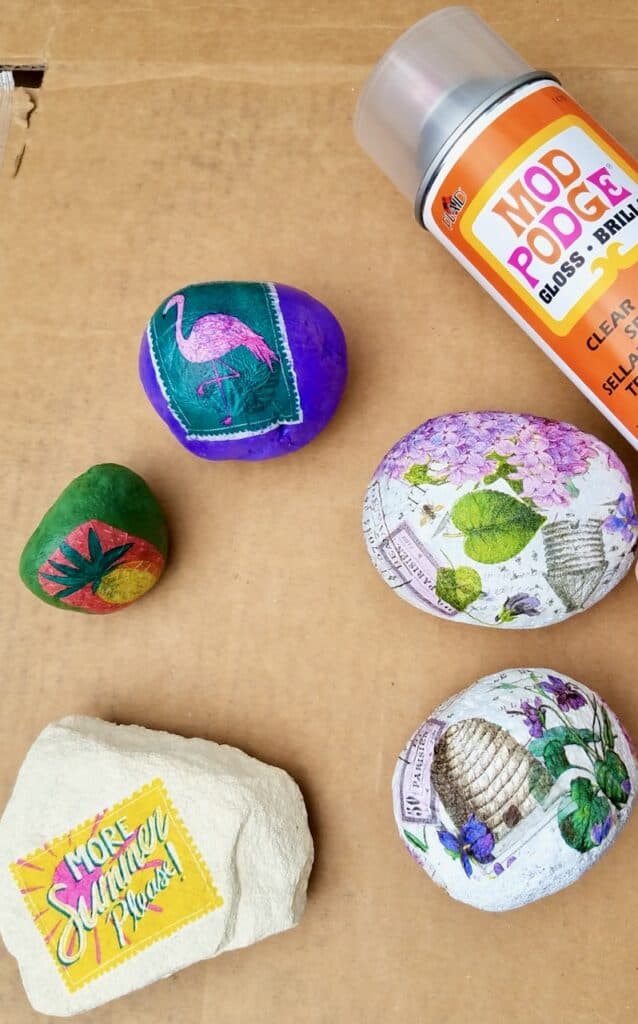
You can see from the photo above the two different styles of decoupage rocks I ended up with. The tropical napkins from the Dollar Store were fun to use because of the bright colors and prints.
You can see that the pineapple on the green rock doesn’t stand out too much. It doesn’t have a white border like the flamingo does so it blends into the paint more. I would definitely paint that rock a lighter color next time so that the pineapple stands out more.
The flower garden garden rocks are so pretty! The white paint really helped the napkin’s prints stand out more and blends the edges better for a seamless look.
I planned on putting all of the decoupage rocks in my neighbors rock garden but I might keep one of the purple flower ones because of how cute they turned out. If I don’t keep one then at least I get to see it when I take my dogs on a walk.
Do you think you’ll try to decoupage some rocks? What style will you try, fun and bright, garden, or something else? Let us know in the comment section below.

I like the idea of creating a kindness garden and letting passers-by take a rock. I’d like to use positive message daily calendar pages. do you think I’ll be successful following the napkin instructions with a little thicker paper. Kind of as thick as quality printer paper is my guess. thank you for your tutorial. If you believe there is a better option to accomplish my desired outcome, I’d appreciate your reply. thank you in advance.
I think printer paper should work but I’ve never tried it before. I would make sure the rock is a little bigger than the quote so that the paper doesn’t have to form to the curves of the rock. I hope that makes sense. Good luck on your kindness garden. It’s a lovely idea!
Thank you for sharing this. I’ll do rocks this summer but now I’m finding other items.
Thanks again!
You’re welcome. Rocks are my favorite thing to decoupage but I love finding other cute stuff to decoupage too. Have fun find other items and creating cute stuff!