How to Decoupage Terra Cotta Pots With Napkins
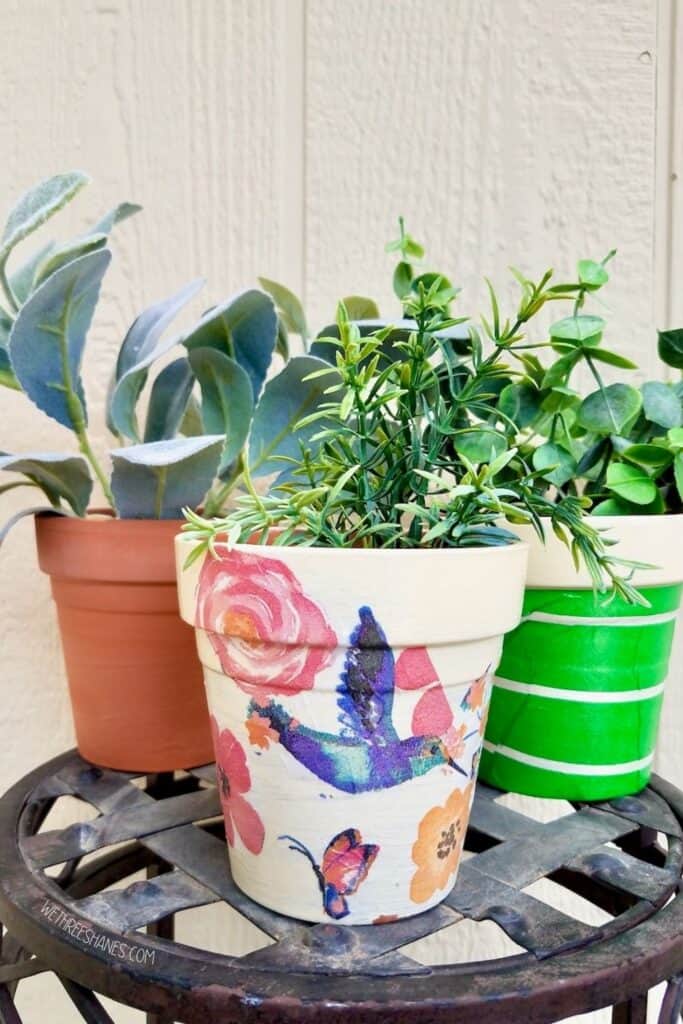
Make these adorable decoupage terra cotta pots with mod podge and napkins. It’s a simple craft that adds tons of personality to your summer and spring home decor.
I love pots! There are a ton of varieties out there and they really add to the style of your home. A combo of solid color pots and fun, bright patterned pots might be my favorite. A little grounding and whimsy.
Terracotta pots are beautiful on they’re own but they are also easy to change up with a bit of paint, napkins, and mod podge. I’ve been wanting to decoupage terracotta pots for quite sometime so I’m excited to finally show you how to do this fun project.
(THIS POST PROBABLY CONTAINS AFFILIATE LINKS. OUR FULL DISCLOSURE POLICY IS LONG & BORING BUT, YOU CAN FIND IT HERE.)
Supplies Needed for Your Clay Pots
If you’re a big crafter you most likely have a lot of the supplies on hand and this craft won’t cost you too much. However if you need to buy everything on the list then things can get pricy. Each pot won’t use up much of the supplies so you’ll have plenty left over for more DIY projects.
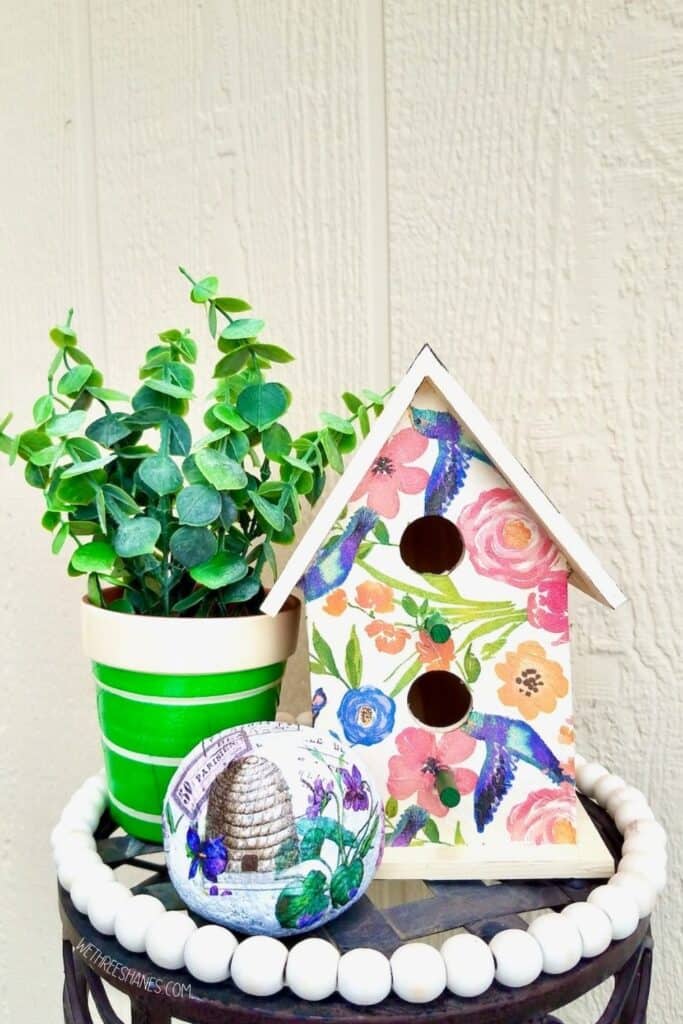
Try our decoupage rocks, decoupage birdhouse, or decoupage dollar store wood crafts with your leftover supplies.
- Terra cotta pots – I got my small pots from Walmart, in the craft section, for $0.99.
- Napkins – check the Dollar Store, garden shops, or Amazon
- Primer or Clay Pot Sealer
- Paint
- Mod Podge – any mod podge will work but I prefer the waterproof one for this project
- Paint brushes
- Spray sealer
Both napkin sets I used came from the Dollar Tree but I later found some pretty floral napkins at a garden shop and can’t wait to try them too. I cut shapes from the spring napkins and used the green stripe whole. The stripes are tricky to get straight so I don’t suggest using them.
If you want to wrap your clay pot in a whole napkin, without cutting, then I’d go with a different pattern that is a bit more forgiving. With the pot narrowing at the bottom it makes it impossible for the napkin to wrap around the pot evenly. This means your lines won’t be even.
I just put the prettiest side of the lined pot facing forward and put the crooked lines in the back. The pot still turned out pretty cute.
How to Mod Podge Napkins on Pots
This is a pretty simple project so there are only a couple steps. There are two ways you can work with the napkins but the basic steps to the project are the same.
Step 1. – Clean your pots with a damp rag to get any dust and dirt off and then seal your pots, inside and out, with either a paint primer or a clay pot sealer. If you plan on using the pots inside with fake plants then this step isn’t necessary.
Step 2. – Next, you need to paint your pots in some light colors. Light colors, especially white, will make the pattern on your napkin stand out more. Because the napkins are thin, the paint will show through a bit so you want to pick light colors that compliment your napkin colors.
I used acrylic paint but you can use just about any paint you want. If you have chalk paint or spray paint at home already then use it.
Step 3. – Once your paint has dried, you’ll stick the napkins on your clay pot with mod podge. First, you need to separate the layers of the napkins so you’re left with one ply. Then you can glue the whole napkin on your pot or you can cut the patterns out from your napkin and glue them on separately.
For the green stripes I used the whole napkin trimmed to just over the size of the pot. I poured mod podge directly on the pot and then smoothed it out with a paint brush. Then smoothed the napkin over it.
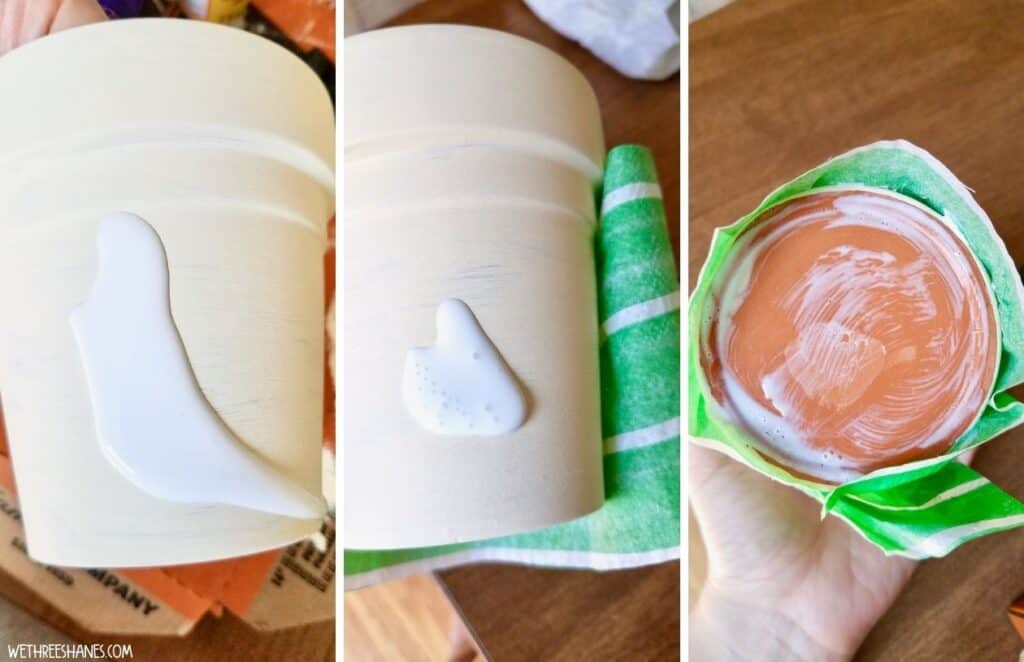
Then I turned the pot around and did the same thing on the other side. Once the napkin has been smoothed out, you want to put a bit of mod podge on the bottom of the terra cotta pot and smooth the edges of the napkin over the bottom edge and onto the bottom of the pot.
It’s okay to overlap the edges of the napkin a bit if you need to. Just make sure to put a bit of mod podge down before you push the napkin on top of the other napkin edge.
If you are not using the full napkin sheets and are using cutouts instead then you only need to put mod podge on as you go. Figure out where the piece of napkin will go on your pot, put enough mod podge down to cover the area, put the napkin piece on, and move on to the next spot.
Step 4. – Let the napkin dry in place for a bit and then add a layer of mod podge over the entire pot. Let it dry and then repeat this step so you have two layers of mod podge on over the napkin.
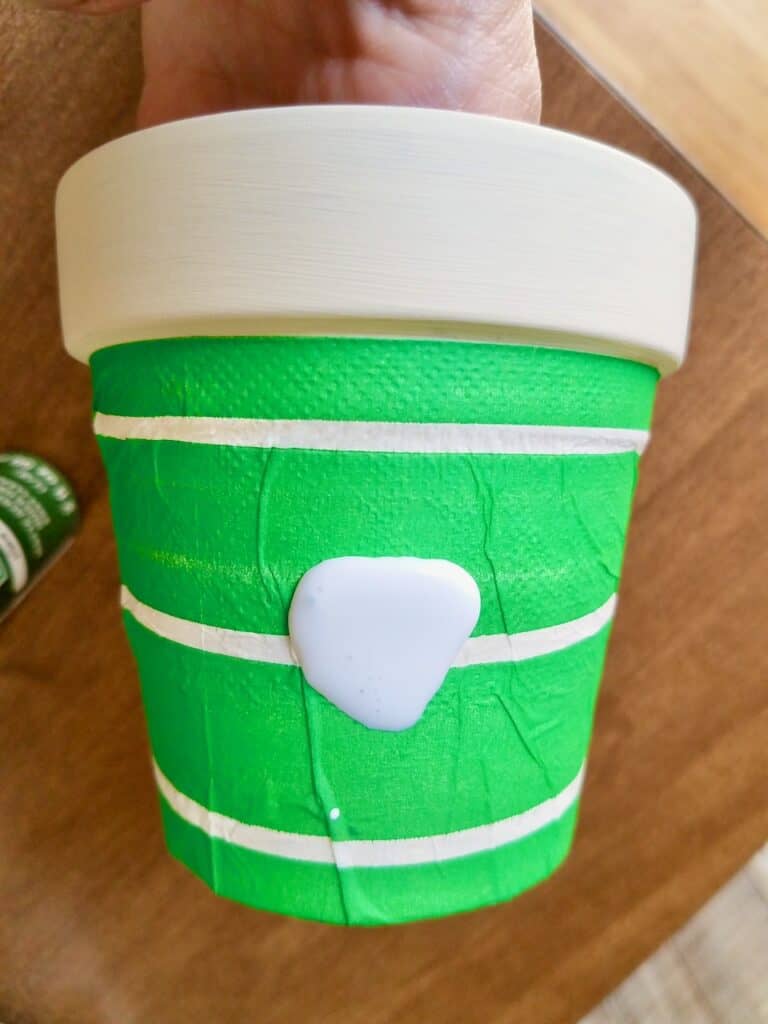
Step 5. – Take the pots outside and spray them with the sealing spray. This will protect the mod podge napkins from the elements and to keep the colors bright.
Let the decoupaged pots sit for a couple of days to really cure. Then it’s time to add some plants to your new pots.
Tips for Decoupaging Pots
These pots are so fun to make. Here are a couple more tips to make these pots really last.
- Don’t set your pots outside where rain can fall directly on them. If you used the dishwasher safe mod podge your pots should be okay otherwise I’d keep them close to the house so there’s a bit of protection from the wall and overhang.
- You can use plastic wrap to smooth the napkins onto your pot. This can prevent tears in the napkin. I never do this because I find it to be a bit tricky and I don’t mind a bit of wrinkle on my pots.
- Decoupage is not about being perfect so embrace the wrinkles and tears that happen. They just give your pot more character.
- Don’t be afraid to try something different. Try decoupaging with fabric instead of napkins. Try crumbling the napkin before applying it to give your pot a more weathered look. This tutorial is what worked for me. It’s not the end all be all so try new things.
- If you plan on doing a couple of pots then look for napkins in coordinating colors and patterns so they look good together. I bought a couple different styles of napkins to see what I liked but none of them look good together. Next time I’ll make sure things match better.
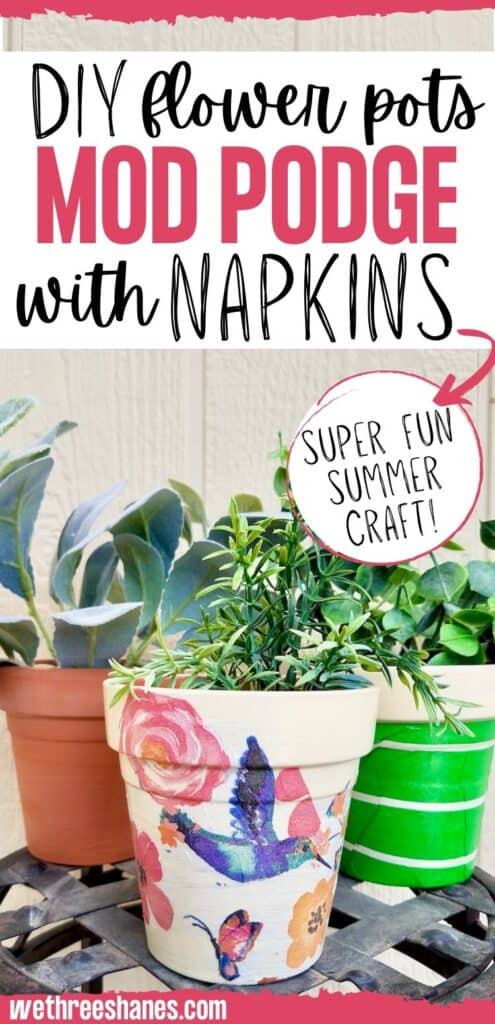
Decoupage Flower Pots Craft
Just a warning, once you start decoupaging these pots your going to want to do more of them. They are so versatile. They can go indoors or outside. You can put fake plants or real ones in these decoupaged pots.
The small pots from Walmart are perfect for an herb garden so pick up your favorite herbs while your there too. Decoupage the pots in coordinating colors and put them in your kitchen window for the cutest herb garden you’ll ever see. They also make a great home warming gift from the heart.
Let us know in the comments if you have any questions about this decoupage pot project. Enjoy some crafting!
