How to Make a Simple Christmas Floral Arrangement
Learn how to make a simple Christmas Floral Arrangement with this step-by-step tutorial. Using Dollar Store supplies or natural elements from outside your home, will keep this project budget-friendly while still producing a beautiful display.
(THIS POST PROBABLY CONTAINS AFFILIATE LINKS. OUR FULL DISCLOSURE POLICY IS LONG & BORING BUT, YOU CAN FIND IT HERE.)
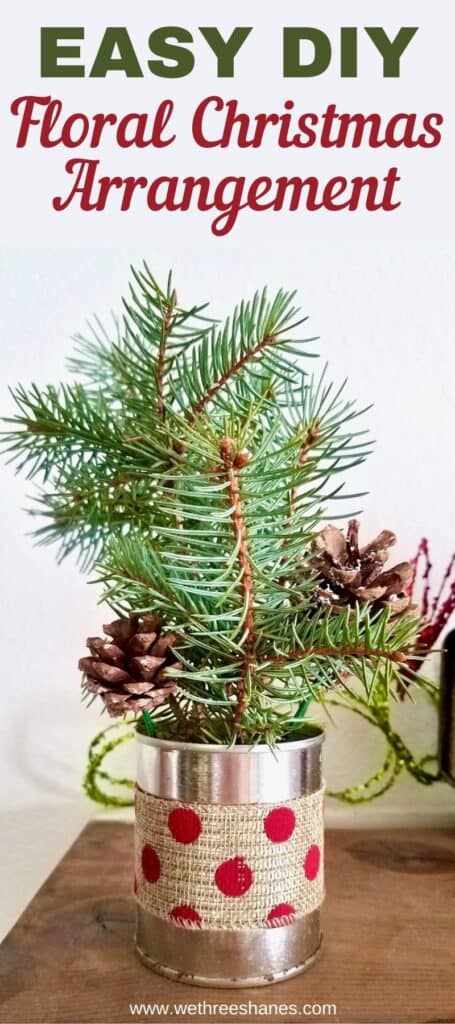
DIY Holiday Floral Arrangement
A couple of years ago, I was shopping the after Christmas sale at Jo-Anns. I always shop after Christmas to get the best discounts. There was a super cuteChristmas floral arrangement that I got for a couple of bucks. It’s one of those piece that can be put just about anywhere and look good.
The original price was around $25 which to me is pretty crazy for something you can make for much less so, that’s what I decided to do. Making your own floral arrangement can seem like a tricky task but it’s actually quite easy. Anyone can do it if you follow a couple rules.
Rules for Flower Arrangement
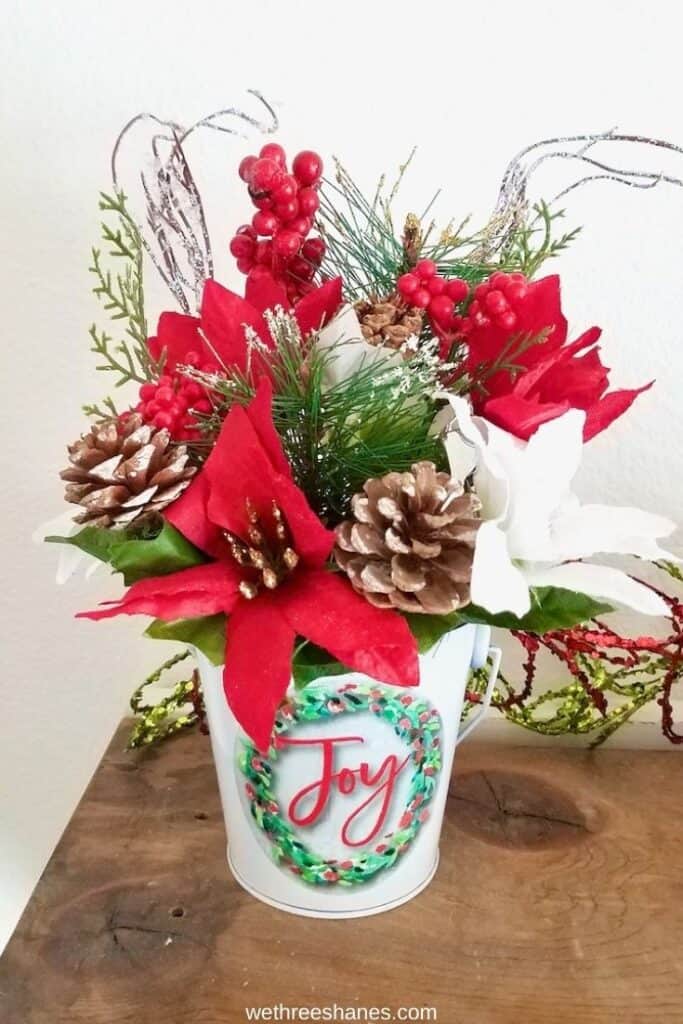
Today, I am showing you how to make two Christmas Floral arrangements. One, uses artificial floral and the other is a very simple natural arrangement.
Rule #1 – Proportion is important. The size of the container your floral arrangement will go in, determines the size of the end bouquet. The first Christmas arrangement is done in a small bucket from the Dollar Tree. If the pieces I use are too tall they will look silly in the small tin.
The smaller, natural arrangement is even smaller than the first one so it needs way less floral pieces to balance things out. If I tried to stick lots of flowers, pine, and pine cones in this one it would overwhelm the small tin and throw off the simplicity of the piece.
You also need to decide where your piece will be placed. If it’s going to sit on a shelf in a bookcase, then a smaller size would be perfect. On the other hand, if you have a large, 12 person table and you want your floral arrangement to be the centerpiece then you’ll need to up the scale of the arrangement or it will get lost on such a large area.
Rule #2 – Vary the Types of Floral. When making an arrangement, you want to use different types of floral for added texture. Find materials that will look good together and compliment each other. For these holiday arrangements I chose pine clippings, pinecones, poinsettia flowers, red berries, and sticks with an icy look to them.
These will all look good together and will fit in with the Christmas theme.
Rule #3 – Use the tallest pieces first. In my arrangement, the tallest pieces are two glittery sticks and larger berries. I placed them towards the back of the arrangement on either side to balance things out, with the berries in the middle. The tall pieces will decide how tall the whole arrangement is, so cut them down, from the bottom, if they stick out too much.
Rule #4 – Create Dimension. You don’t want your Christmas floral arrangement to be all one height. You want a rounded/3D look so make sure to vary the size of the flowers and pieces you pick. You also want some pieces towards the back and some towards the front.
Supplies Needed to Make a Floral Arrangement
The amount of supplies need for this quick craft will depend on which floral arrangement you’re making and how big you want it to be.
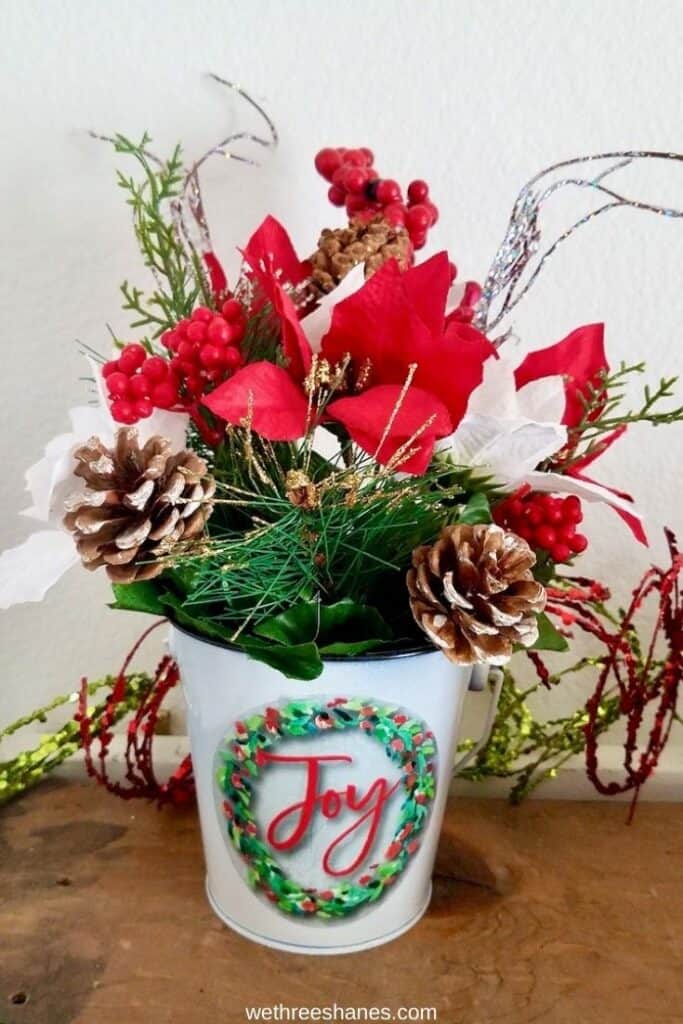
For the first Dollar Tree arrangement I grabbed:
- 4 fake floral bunches in a variety of Christmas elements.
- A small bucket from the floral section.
- Window clings in a Christmas style I liked.
- Floral foam from the floral section.
- And because the bucket I found was blue, I used white spray paint I had at home.
- You also need spray glue like Elmer’s craft bond or spray adhesive.
- Scissors
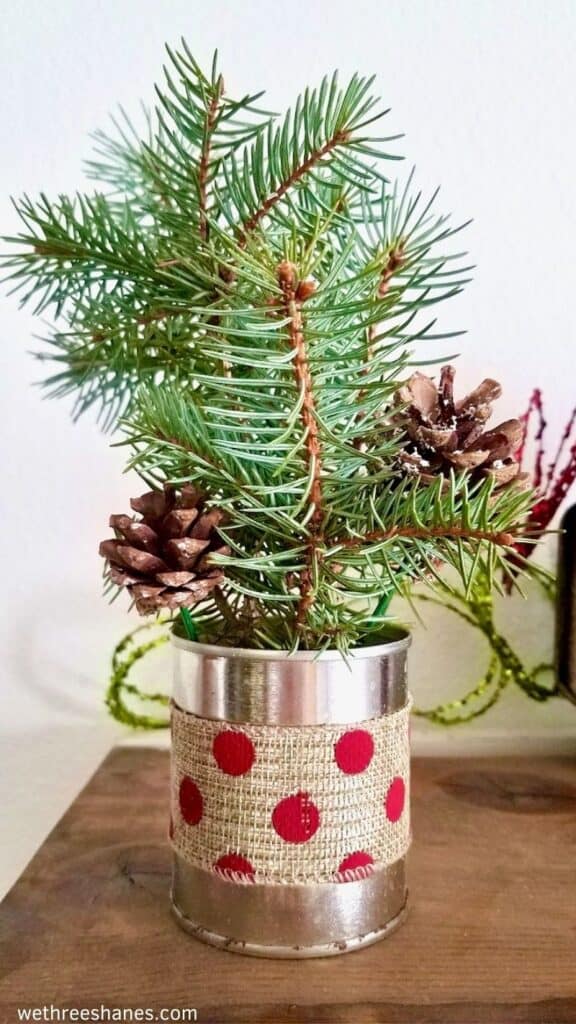
For the smaller, natural floral arrangement you need:
- A used tin can that’s been washed and dried.
- Ribbon or burlap – I got mine from the Dollar Tree Christmas section but there’s more in the floral section as well.
- Pine clippings from your yard or a neighbors with permission.
- Pinecones collected from the ground or from the Dollar Tree.
- Sticks from your yard if you didn’t buy pinecones from the floral section at the Dollar Tree.
- Hot glue
- Scissors
How to Make a Christmas Floral Arrangement
For some people, rules are helpful and make things a lot easier because you know exactly what steps to follow. For others, rules can be overwhelming because you feel like it’s a lot to follow to get things perfect. But, I promise you, these DIY holiday arrangements are really easy to make so just follow along as I make them and you’ll end up with something beautiful to display.
Let’s Get Started
We’re going to start with the containers for our Christmas floral arrangements.
Step 1 for the Dollar Tree arrangement – The first bucket is from the dollar store. It was blue so I spray painted it white and then I used a black sharpie to draw along the top of the bucket to add a little farmhouse charm.
Step 2 – Decide on which window cling I wanted to use. You don’t need to use one but I like the festiveness it added to the piece. Just spray the back of the cling with some of the spray adhesive and stick it on the bucket.
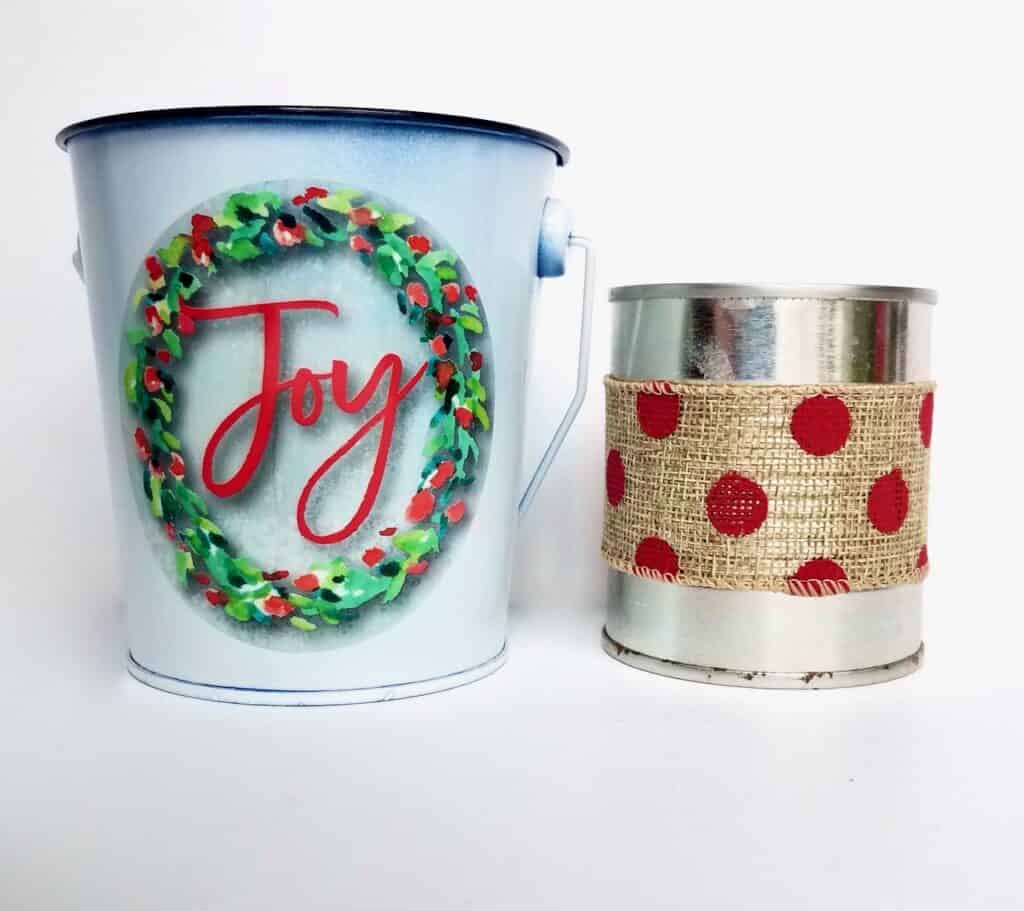
Step 1 For the simple version of this craft – I saved a small tin can I had used earlier in the week. Use what ever size can you want. Wash it out and dry it off.
Step 2 – Add some ribbon, burlap, or twine around the top or middle of the can. I chose a burlap and polk-a-dot pattern from the Dollar Tree. I used my glue gun to secure it to the can.
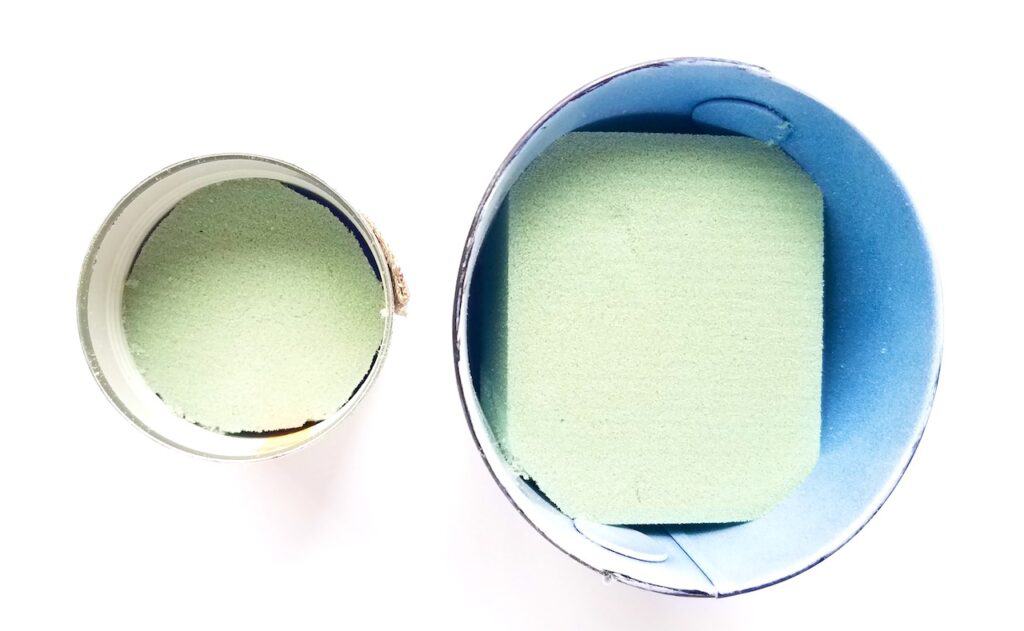
Step 3 for both – Grab your floral foam and flip the can or bucket on top of it. Trace around the container and then use a craft knife to cut away just inside the traced line. Push the floral foam into the base. If it doesn’t fit then cut a bit more off. Now you’re ready to add the floral elements.
You can really add a custom look to your arrangement by changing up the container you use to hold the floral elements. Use jars, pitchers, boxes and other things that you already have around your home. Here’s how a quick arrangement looks in the old flour sifter I usually have on a shelf in my kitchen.
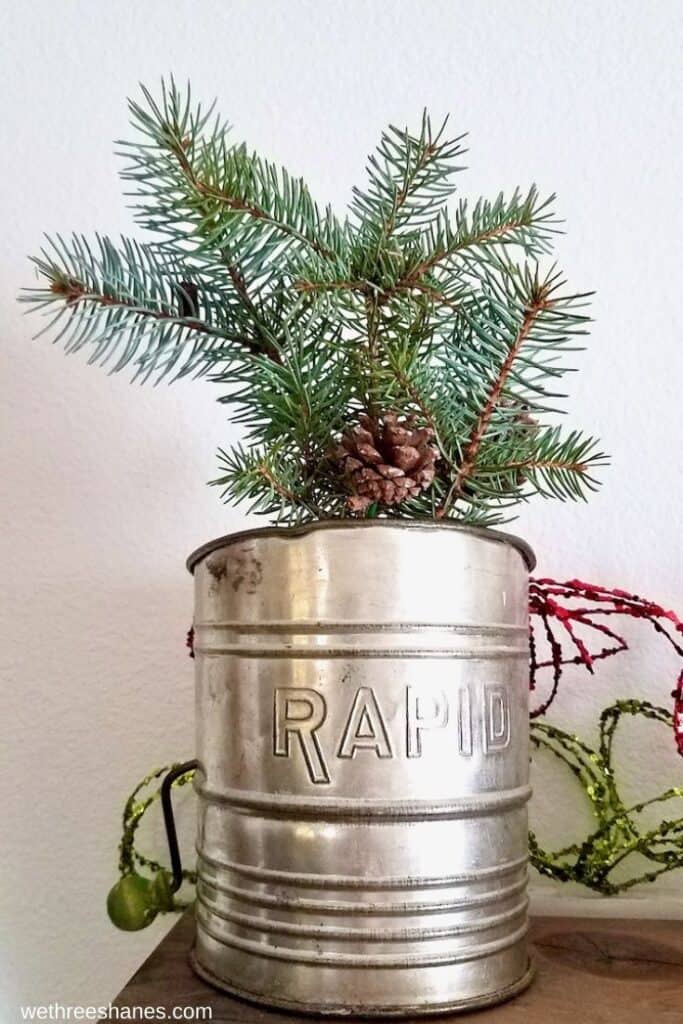
It really is fun to customize your Christmas floral arrangement so it looks best in your home. That’s why I love DIY crafts. I can make them look however I want and they look better in my house.
Dollar Tree Arrangement
It’s time to make your Christmas arrangement using fake floral. I got mine from the Dollar Tree but you can get them from any where. Dollar Tree has the best prices but you can find nicer floral at places like Michaels, Hobby Lobby, or Jo-Ann Stores. It all comes down to how much you want to spend.
Step 1 – Your base is all ready, so now you’ll grab your taller pieces and push them into the foam where you want them to go. If they seem too high you can take them out, cut a bit off the bottom, and then push them back in.
How you plan on using your floral arrangement will depend on where you place these taller pieces. If, like me, you are going to put yours on a shelf so the back is against the wall, then you’ll want to place tall pieces towards the back/wall side of the container. If you want to use your floral arrangement as a centerpiece for your Christmas dinner then you want taller pieces in the middle of the container.
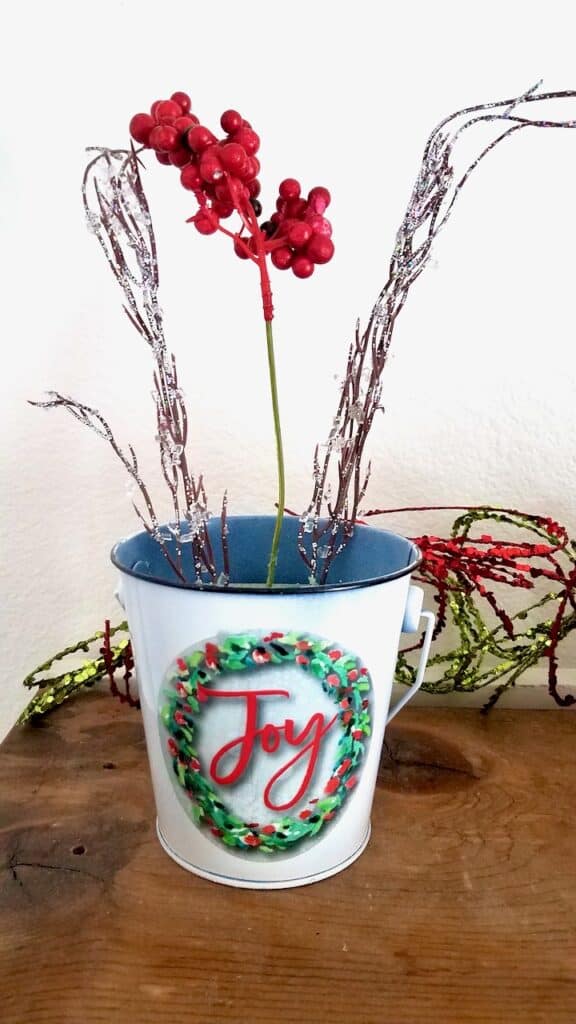
Step 2 – Next, place some of the flowers in front of the tall piece or around the tall pieces if you’re making a center piece.
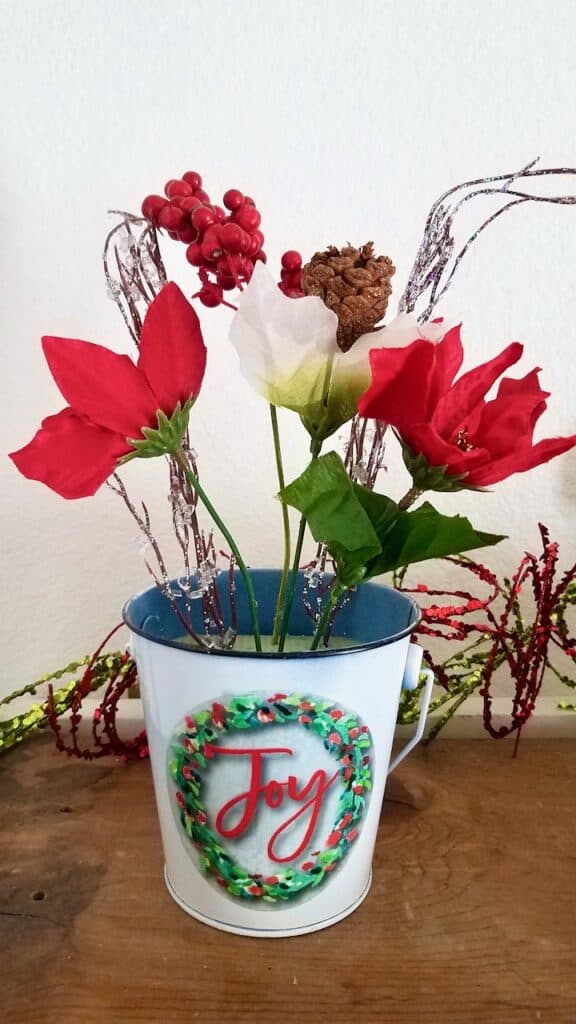
Step 3 – Lastly, use the rest of the pieces to fill in the front or around the pieces that are already in the container. Remember, the fake floral has wire in them so you can bend the pieces a bit if you don’t like the way they are sitting.
You can also take pieces out of the floral foam to trim them or to simply change the placement a bit. If you do it too much you’ll start to use up too much foam so be careful how many times you do this.
Simple Holiday Floral Arrangement Using Natural Elements
The second arrangement is a minimal one using stuff from around your home and yard. I went outside and clipped a stick with pine needles on it. I had two pinecones left from the Dollar Tree supplies but you can get these from outside too and a couple extra sticks.
Step 1 – Place one big stick with pine needles right in the middle of the foam in the tin can. Then add some smaller sticks around the big one.
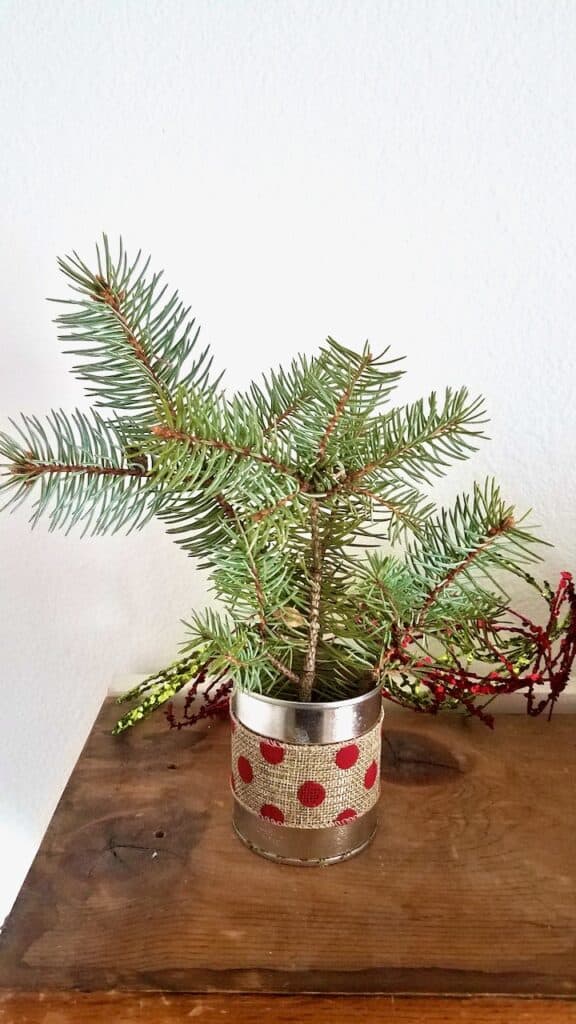
Step 2 – Place your pinecones. If you have store bought pine cones that are already attached to a stick, then you can push them in to the foam where you want them to go.
If, however, you have pinecones and sticks from outside then you’ll need to cut the sticks to the length you want them and then use your glue gun to glue the pinecones to the top of each stick. Then you’ll push them into the foam the same way you did everything else.
Optional – You can add other fun things like red berries if you want a pop of color but I really like the simplicity of the piece as it is.
Find a shelf to place your new Christmas decor on. Since this uses natural elements, the pine needles will eventually dry out and fall off if you bump them. Otherwise, they should stay just fine for a month of two.
When you’re ready to pack things away, simply recycle the natural elements and toss the foam in the trash. Or, you can wrap the can with the foam still inside and use it next year. You should be able to get a couple of years use out of the foam before you need to replace it.
Make Your Own Christmas Floral
I hope you can see how easy it is to make your own Christmas floral arrangements. It’s nice to be able to make decor that will fit the style of your home without breaking the bank. I like to place these around my house and on my porch. They add a bit of holiday cheer where ever they are set.
Do you use more store bought or handmade items in your home during the holidays? We’d love to hear about it in the comments!
