How to Make a Homemade Rice Pack for Heating or Cooling
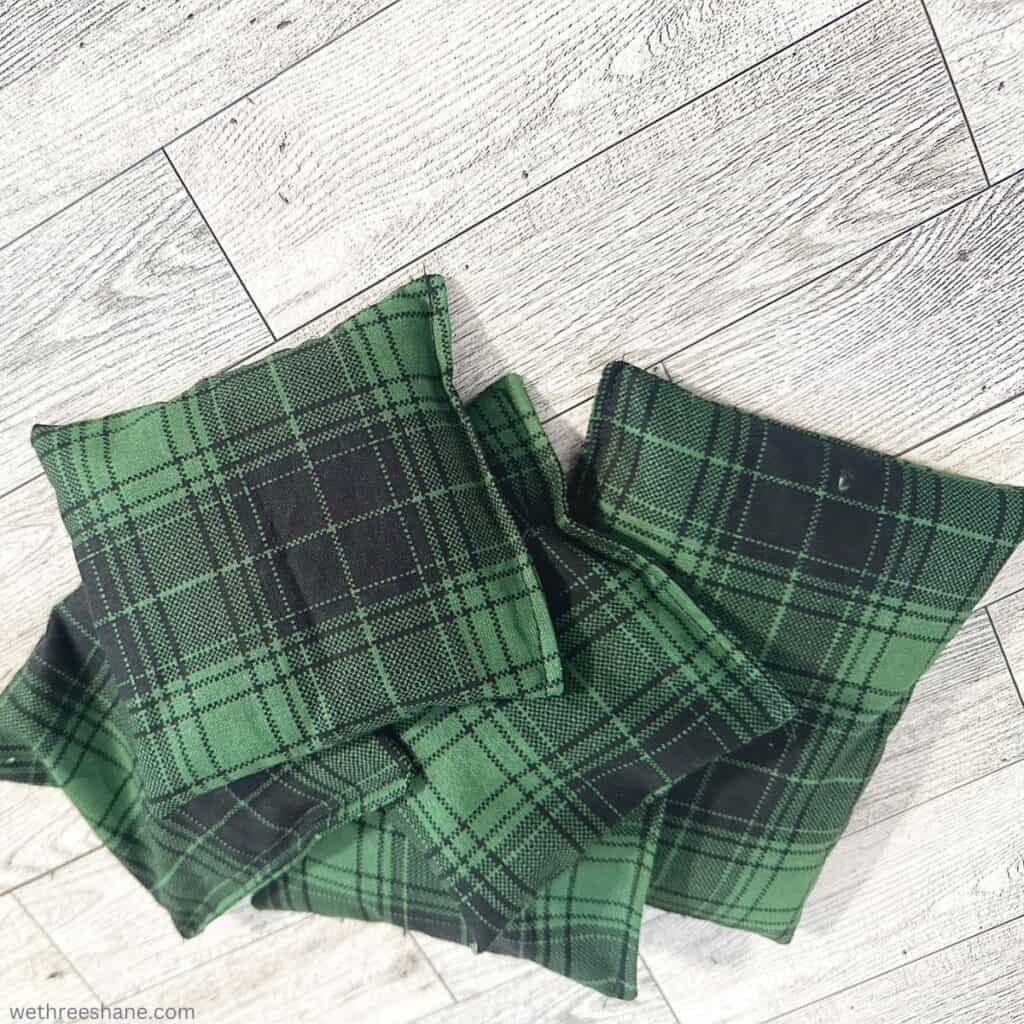
Learn how to make this DIY rice pack that can be heated up or cooled down for all different kinds of aches and pains. Makes for a wonderful homemade present for Christmas or any occasion.
(THIS POST PROBABLY CONTAINS AFFILIATE LINKS. OUR FULL DISCLOSURE POLICY IS LONG & BORING BUT, YOU CAN FIND IT HERE.)
How to Make a Homemade Rice Pack
Homemade rice packs come in so handy for all kinds of aches and pains. They can be heated in the microwave or cooled off in the freezer.
They make great gifts for friends and family. I love to make them as teacher gifts during the holidays. They are personal, homemade and everyone could use them. What is not to love about that?
This is a quick DIY. Depending on how many you want to make, you can be one and done in less than 30 minutes.

What Kinds of Thread and Material To Use
These rice packs can be heated up by adding them to a microwave. When heating up fabrics you want to be sure to use 100% cotton fabric and thread or linen. Using a polyester for example, can cause a fire. We do not want a fire!
What is the Best Filling For Rice Packs?
Lots of people use different things but the most common is long grain rice.
Personally, I use rice because it’s cheap and easy to buy at the store if you don’t already have some in your pantry. Just make sure you aren’t using minute rice.
Many people suggest Jasmin Rice because it has a pleasant scent but I wouldn’t go out of my way to buy it if it’s not already in your pantry. I’ll talk about this later in the post but you can always add essential oils if you want a scent in your rice pack.
Other recommendations are flaxseed, whole kernel corn, lentils, or even cherry pits.
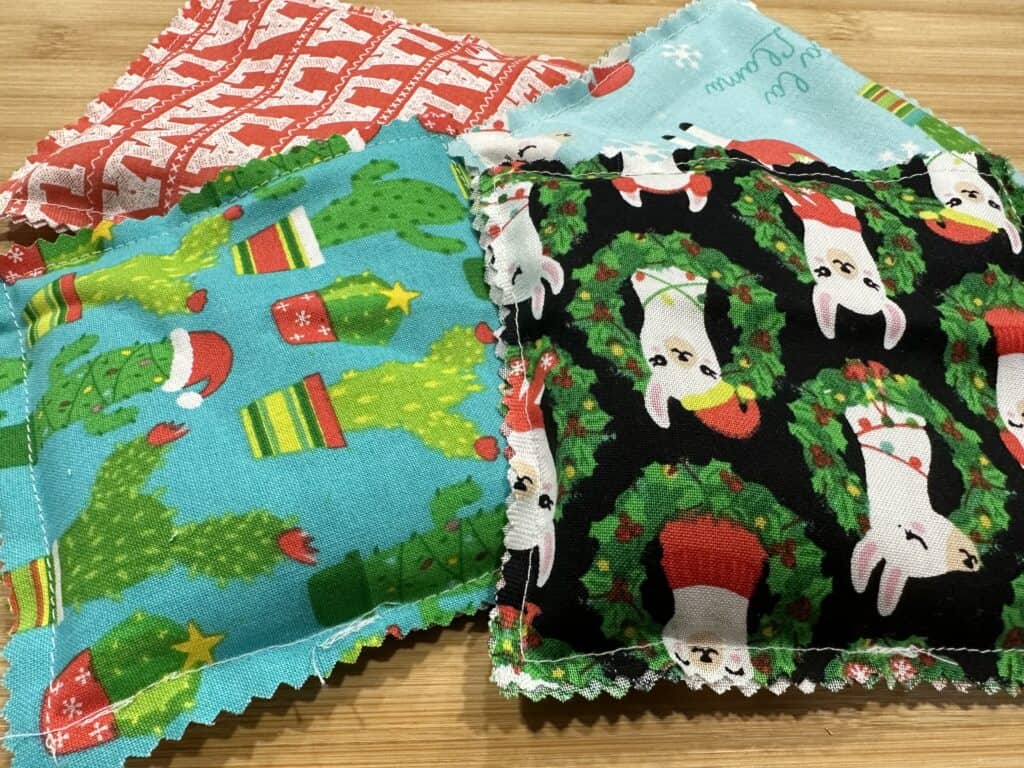
Supplies Needed
- Sewing Machine (or a needle and thread)
- Filling of your choice
- Cotton/Linen Fabric
- 100% Cotton Thread
- Scissors or Pinking Shears
- Dr. Pepper (okay I guess this one is optional)
DIY Rice Pack Sewing Instructions
There are two ways to make these. I will show you both just in case.
The first way is with Pinking Shears. These are scissors that cut the fabric in a shape that makes it really hard for the fabric to fray thus saving you some time on turning things right side out. I feel it adds a little style as well.
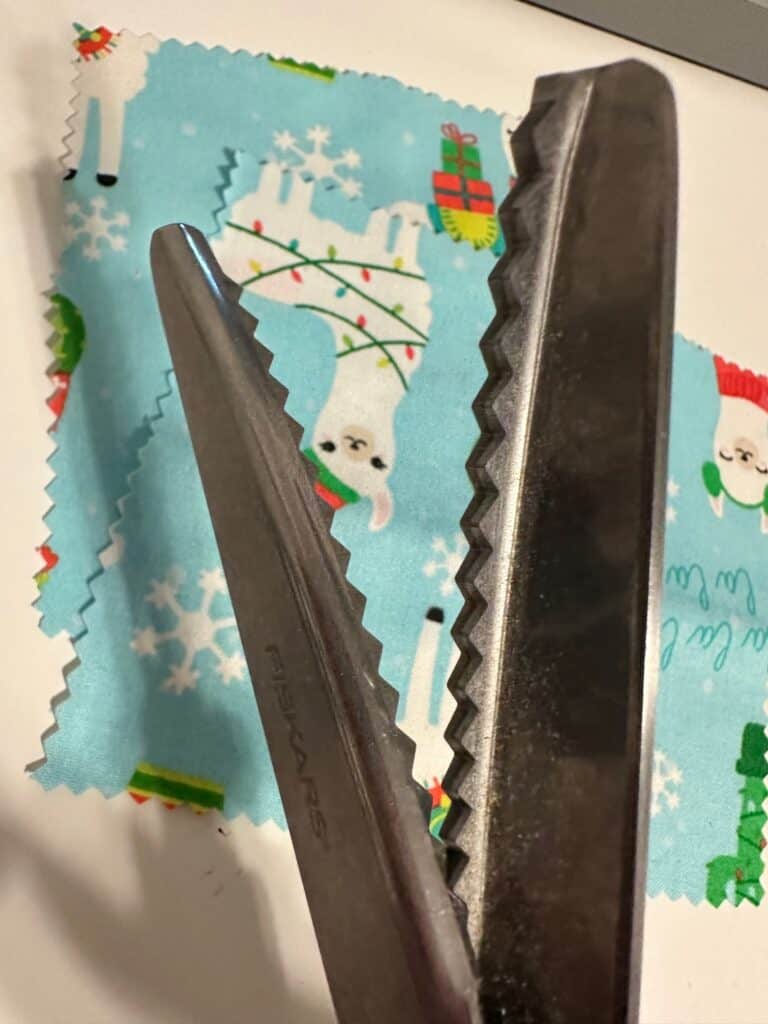
However, I know not everyone has pinking shears and might not want to buy them for this project. I will say though, if you enjoy sewing projects like this then they are totally worth owning.
Step One – Cut out your fabric. I used something called a fat quarter for my fabric. The ones I got were folded nicely around a 6 X 6 inch card board square. I decided to use that as my template. You can do smaller if you prefer.
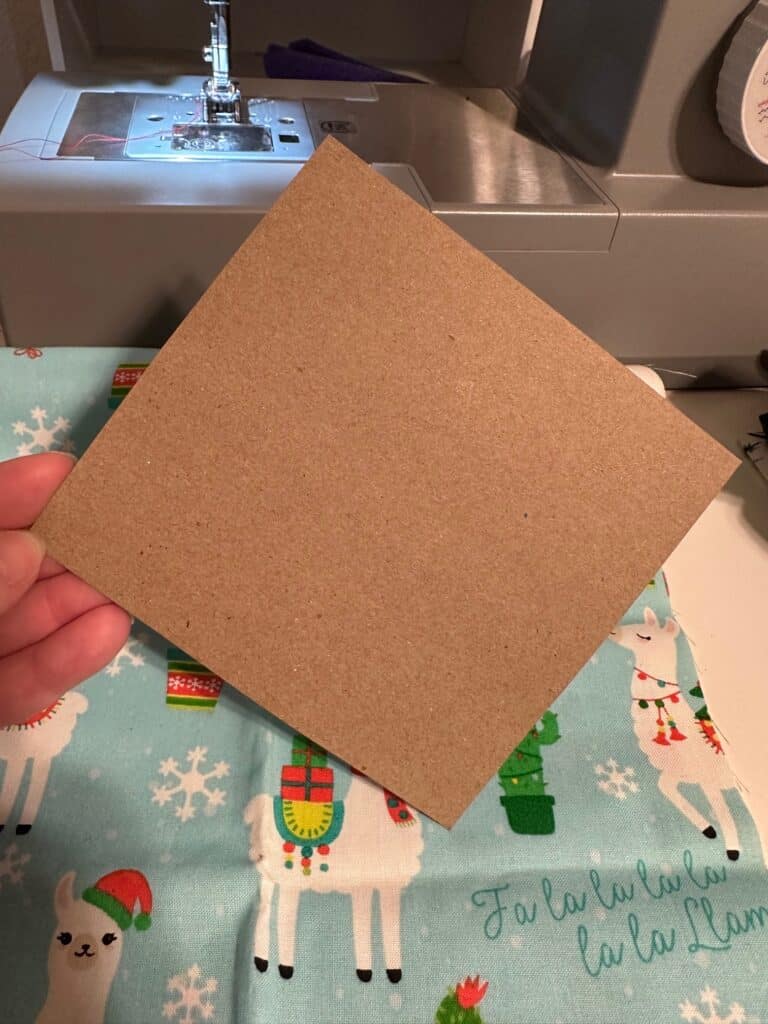
Cut out your 6 X 6 inch squares, two for each hand warm, and then place them wrong sides facing in and cut all of the way around with your pinking shears. It should look like this.
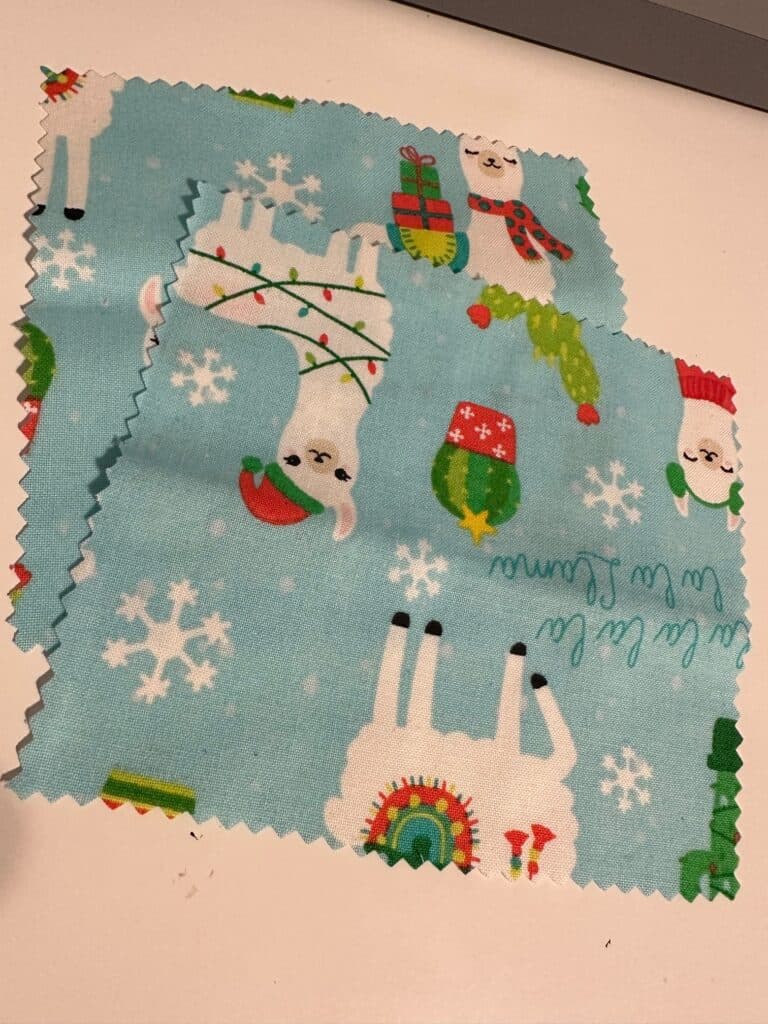
Step Two – Sew around all four sides but leave a 1 to 2 inch opening, allowing you to fill with your filling.
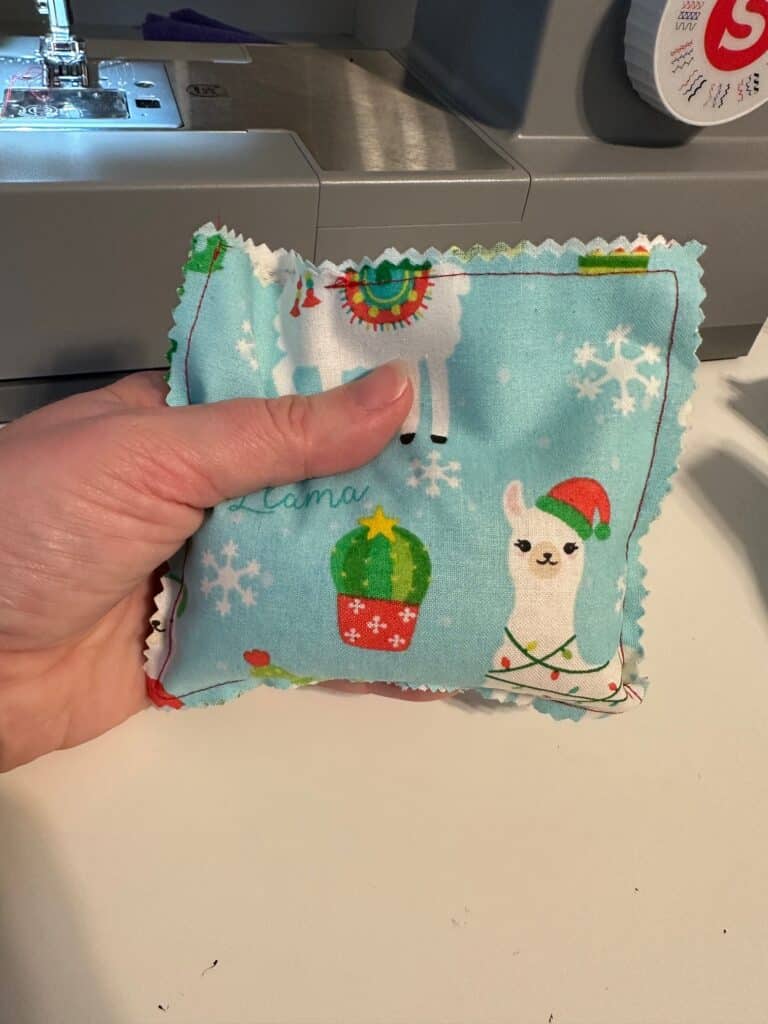
Step Three – Using a funnel or a spoon, pour rice into hand warmer to about the half way point. Putting too much rice in will make it super difficult to sew the hole closed. Plus, it won’t be as comfortable when using.
Step Four – Sew the hole closed. That is it! This is one reasons I love making these with the pinking shears because it is so darn easy.
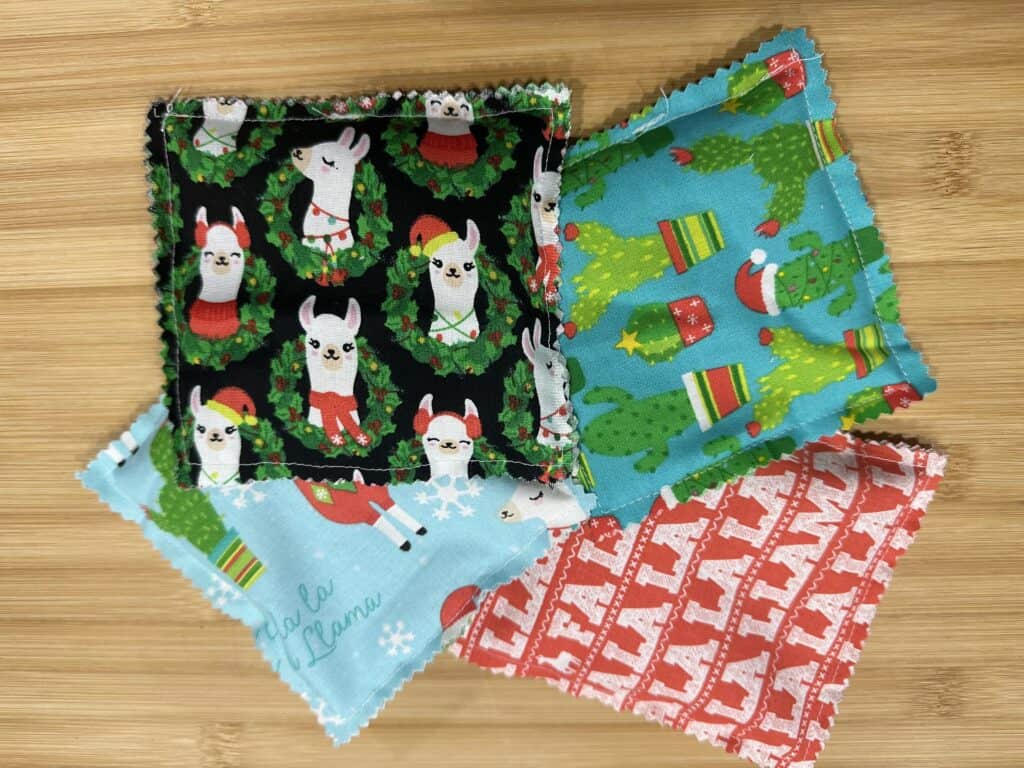
Making Hand Warmers Without Pinking Shears
Step One – Cut out your fabric into two 6 X 6 inches squares for each hand warmer you plan to make.
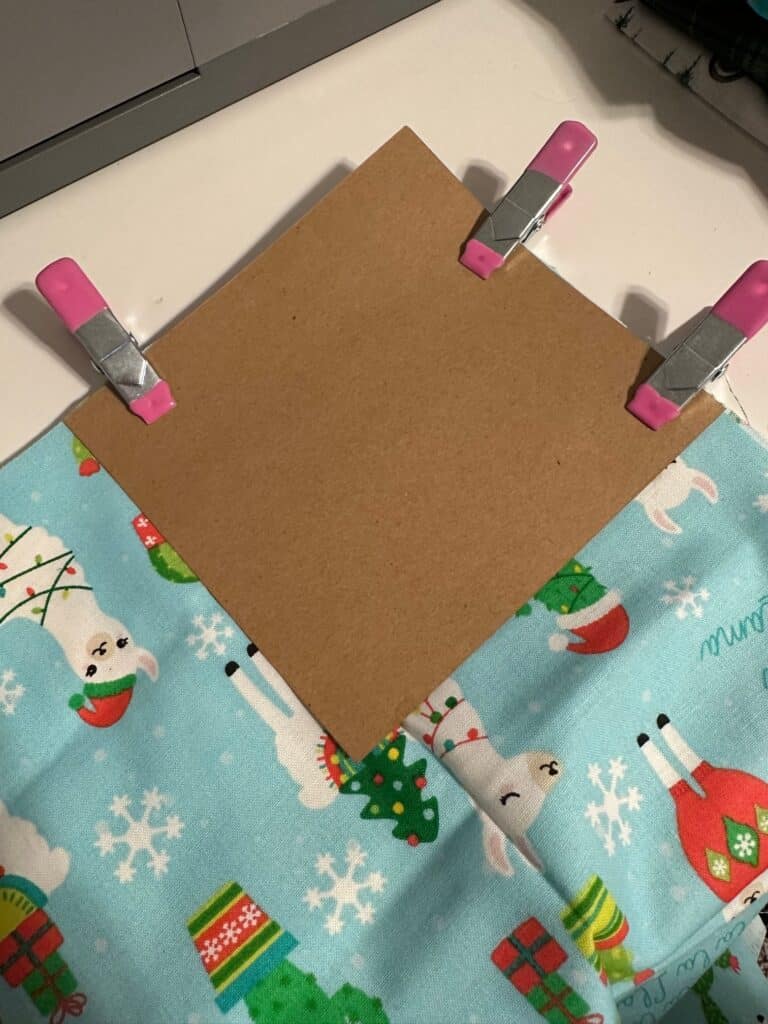
Step two – With right sides faces each other, sew along all for sides but leave a 1 to 2 inches hole for turning.
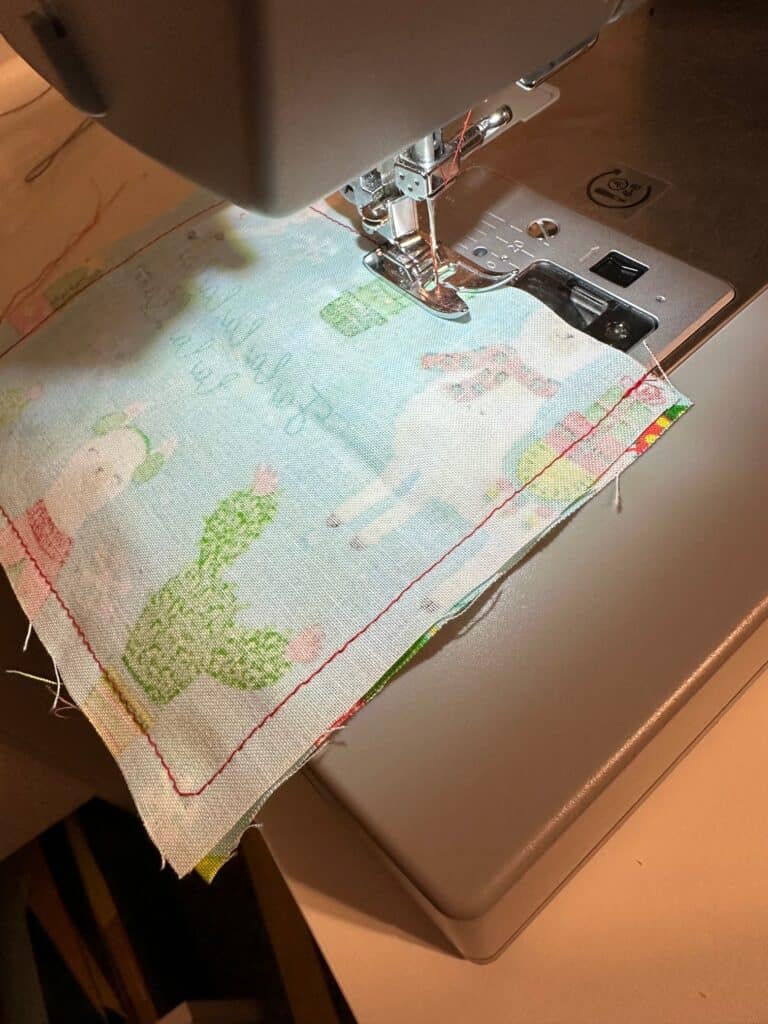
Step Three – You want to clip the corners so that when you turn your fabric right side out, you can get crisp corners on your hand warmer.
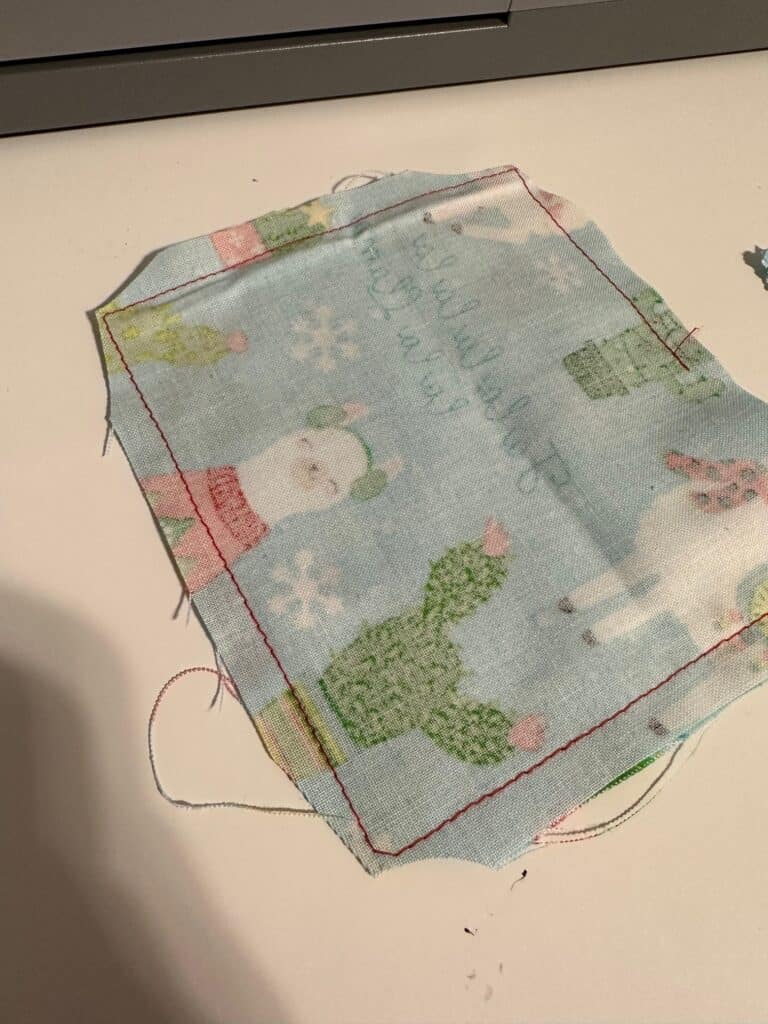
Step Four – Using hole in fabric, turn fabric right sides out. Use your fingers or a smaller object like a pencil to push the corners out to make them as crisp as possible.
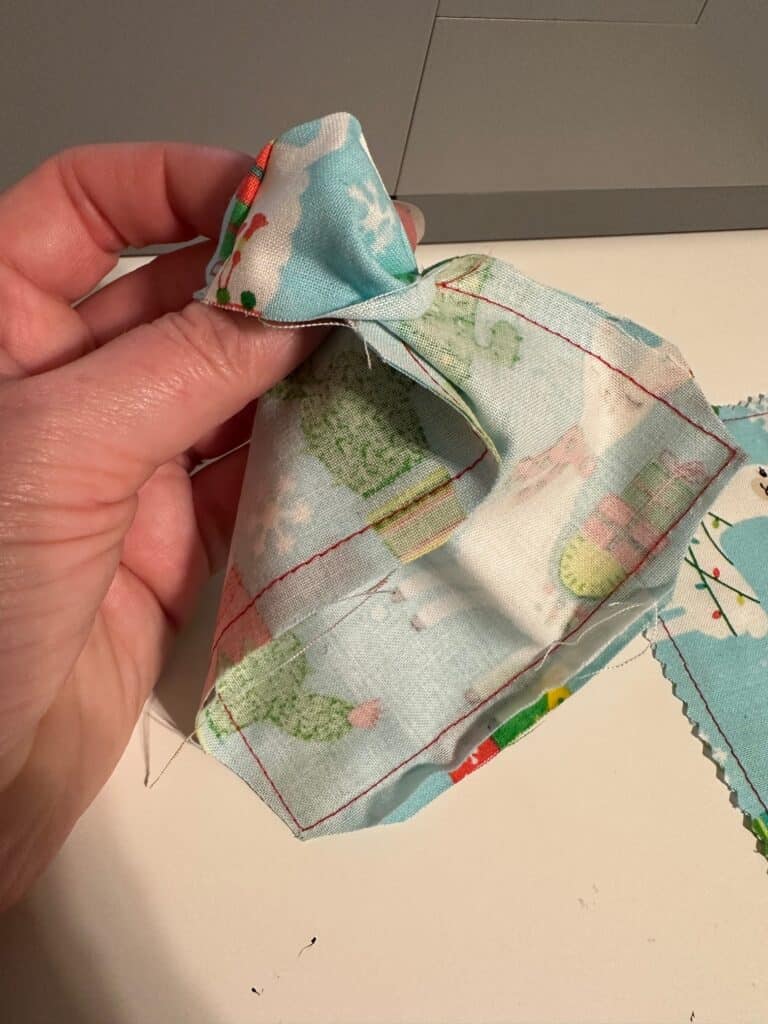
Step Five – Using a funnel or a spoon, dump filling into hand warmer, again filling about half way.
Step Six – Find the hole and push the sides down into it to make it even with the rest of your fabric.
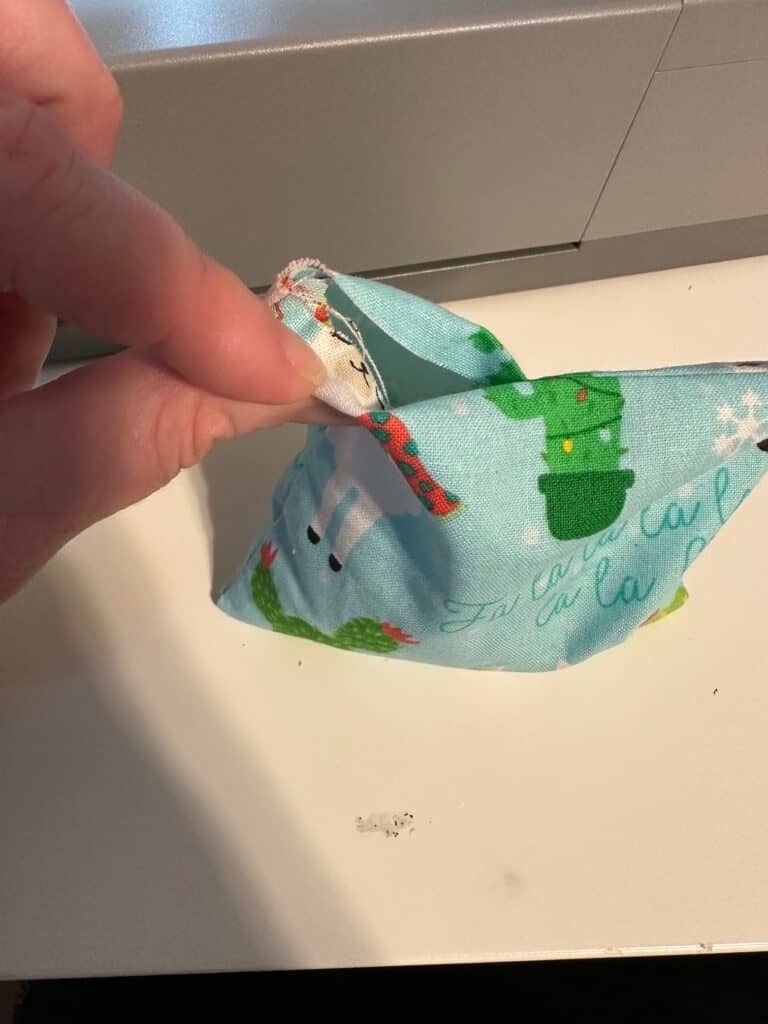
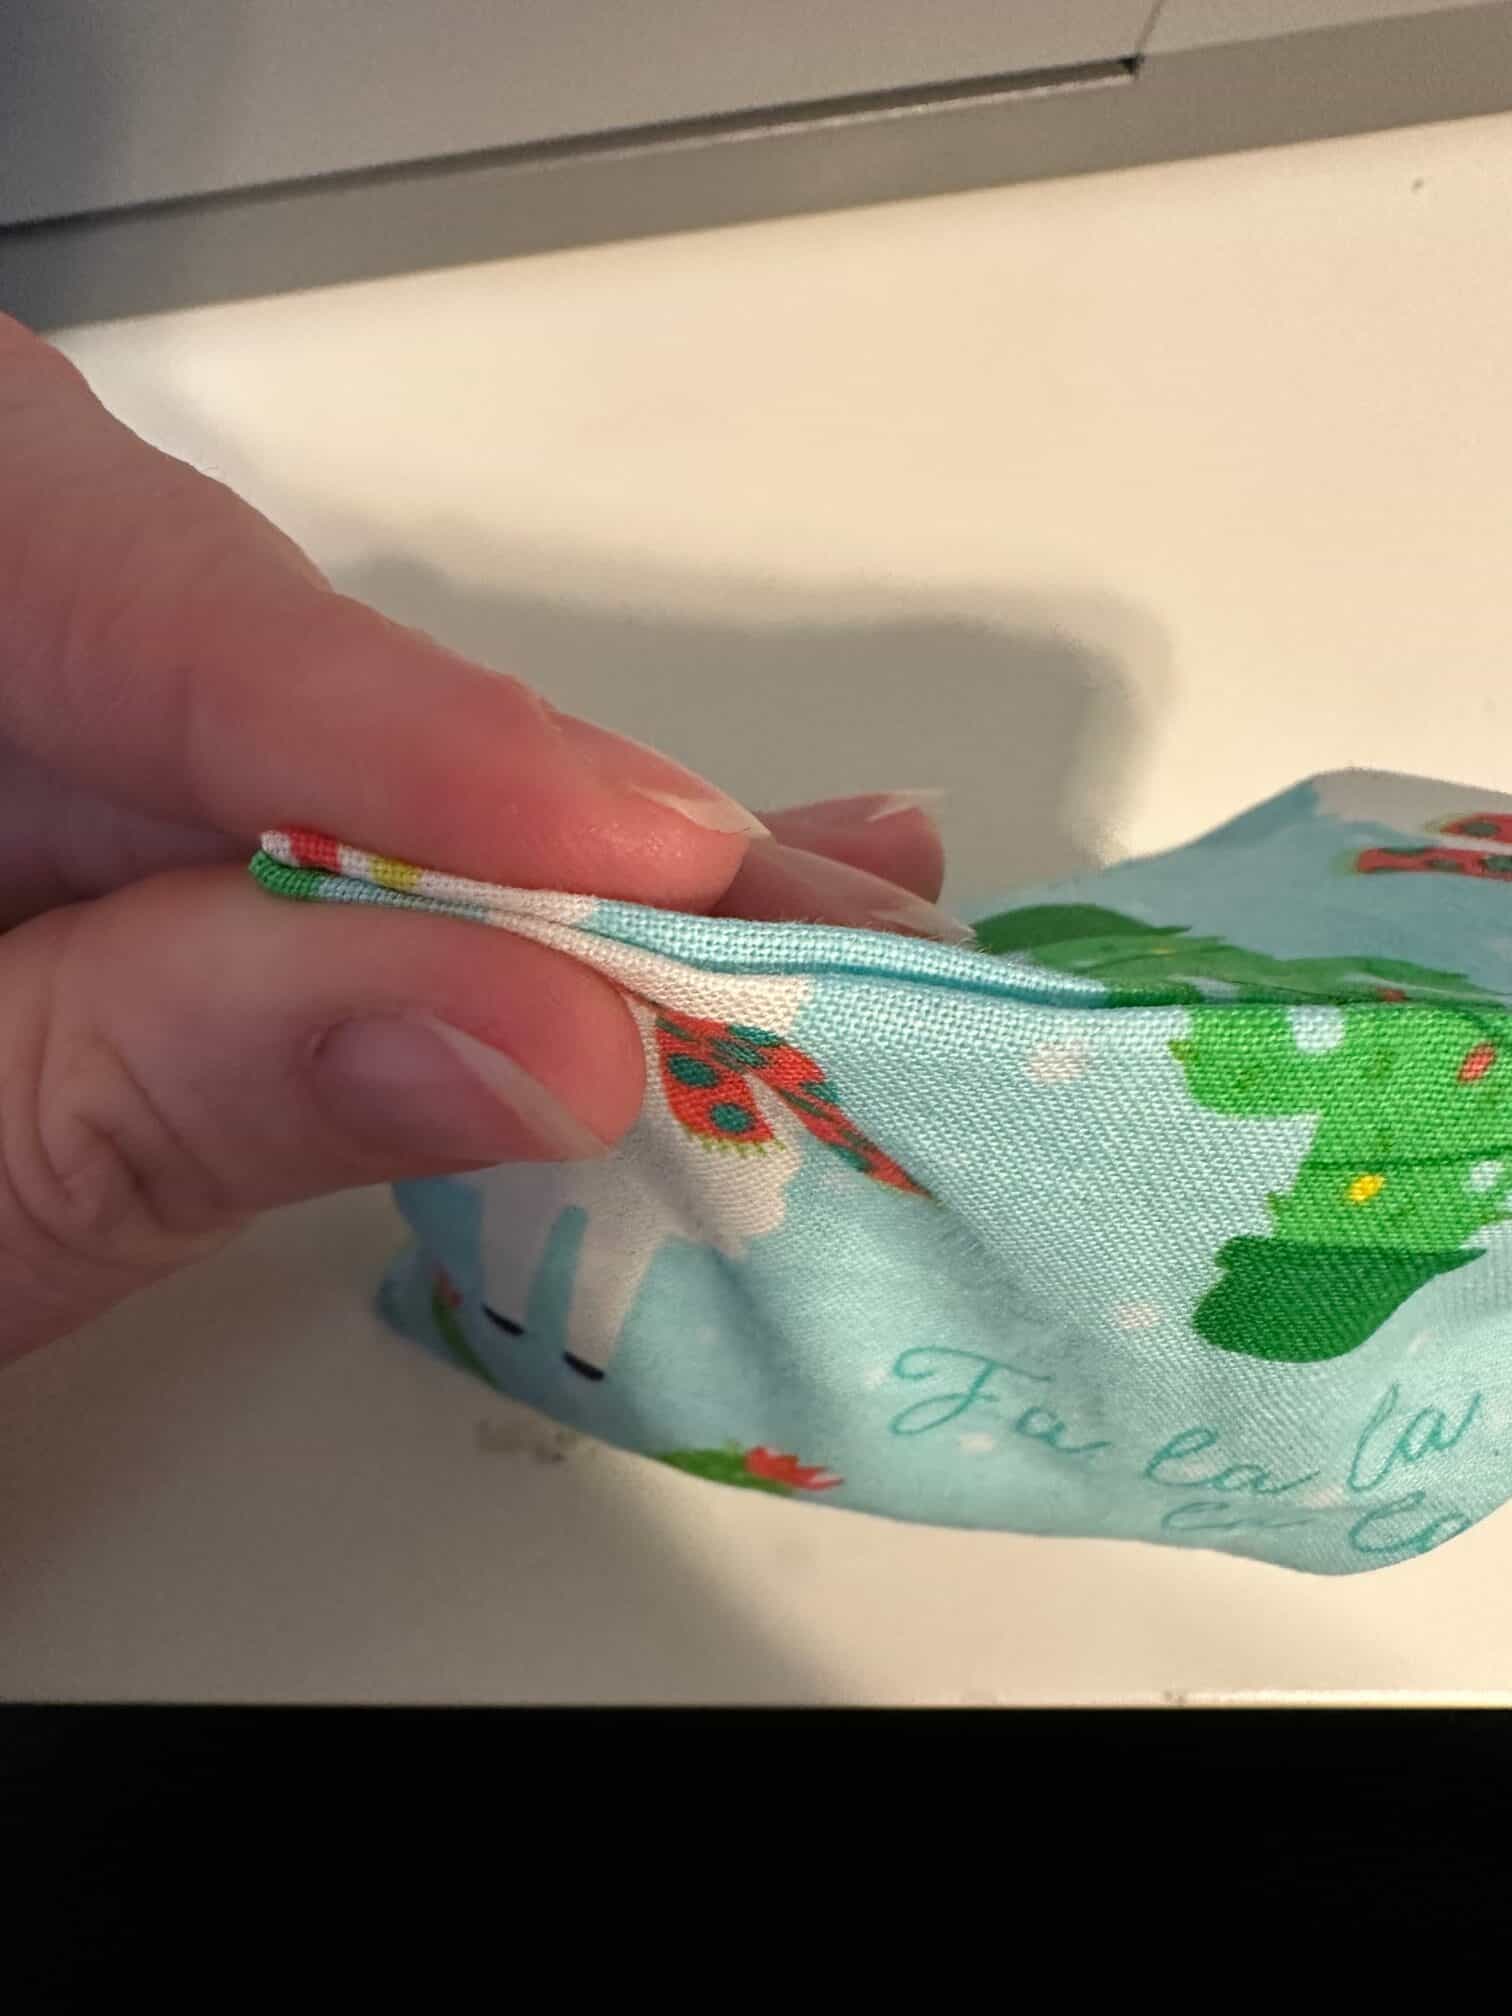
Step Seven – Sew the hole closed. I like to sew that whole side because I think it looks cleaner that way. And you are done!
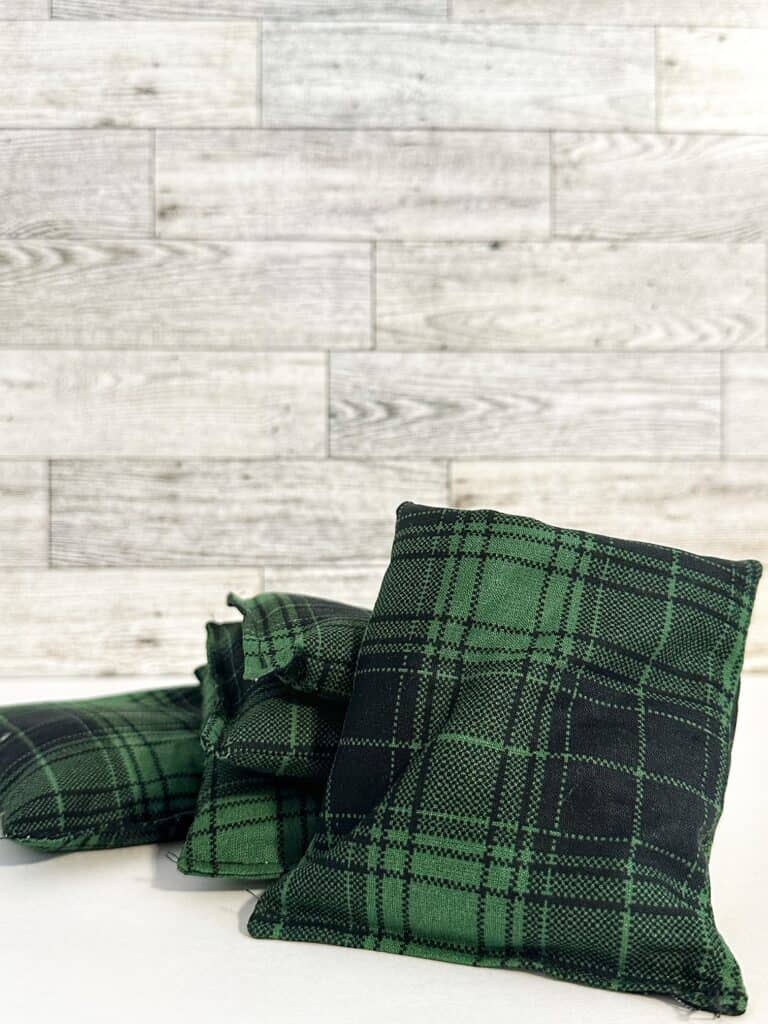
Helpful Tips When Making Your Own Hand Warmers
Tip 1 – One thing you can do to help prevent fabric or filling from drying out and burning in the microwave is to put a mug with water in the microwave with the hand warmer when you warm it up.
Tip 2 – Do not over heat! I like to do 30 seconds, and then if it’s not warm enough for you add small time increments like 10 seconds until you reach your desired temperature.
Tip 3 – Did you know that these also work great as cold packs? Thats right!
Put one in the freezer and next time you have a head ache or a little one gets a boo boo, you can grab it out of the freezer and use it. It won’t stick to your skin or burn like some of those cold packs do.
Tip 4 – One more helpful tip is that you can add lavender essential oil to the rice (or other essential oils) before sewing the hand warmer up. Then when you heat your hand warmer up it will give off a great aroma.
I like using lavender and put it on my face when I am congested. Helps relax me and open up my nose so I can breathe better.
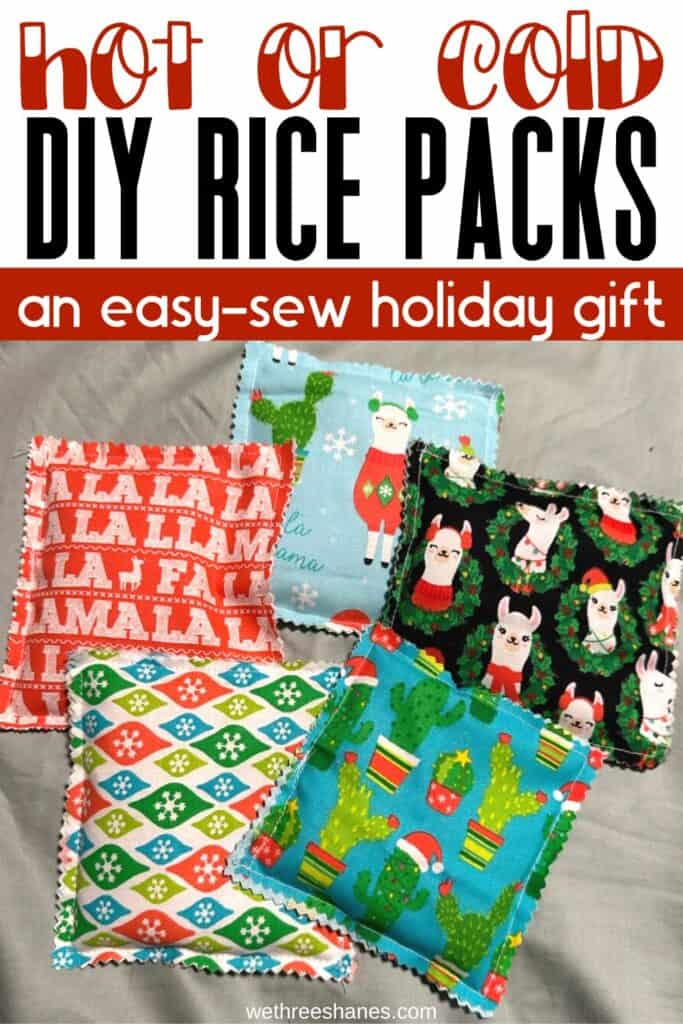
There you have it! Your very own DIY hand warmer that will help keep you nice and toasty all winter long.
Don’t forget these makes great presents too. I’m making a few sets for my kids teachers this year for quick and affordable Christmas presents.
Who will you make them for? Tell us in the comments.

Dr. Pepper is definitely a requirement not optional
It definitely makes it more fun!