Homemade Natural Candles
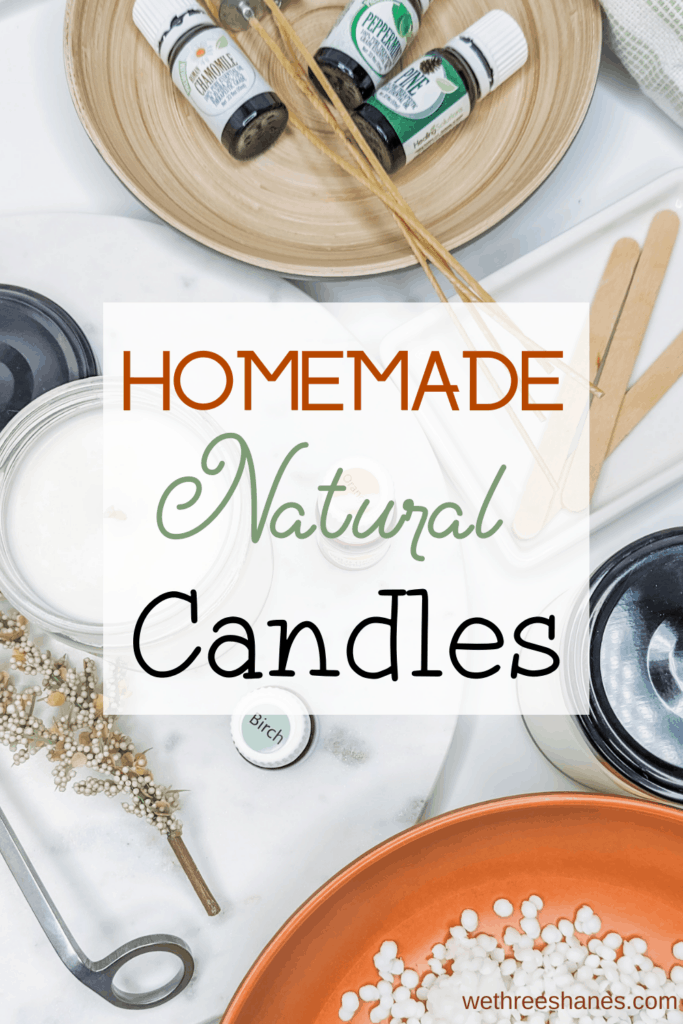
Homemade natural candles are simple to make when you know what you are doing. So check out this easy to follow guide and you will be making your own natural candles like a professional in no time.
(THIS POST PROBABLY CONTAINS AFFILIATE LINKS. OUR FULL DISCLOSURE POLICY IS LONG & BORING BUT, YOU CAN FIND IT HERE.)
Why Homemade Natural Candles?
What is the benefit of homemade natural candles instead of the store bought kind? There are multiple benefits.
When you make things on your own, you know what goes into them. The same applies to candles.
Did you know a lot of candles you buy at the store have paraffin wax, or metal centered wicks? These can release toxic substances into the air such as heavy metals and petroleum by-products. Both heavy metals and petroleum by-products have been known to cause things like cancer and organ damage.
Another reason to make your own natural candles at home is because it can save you money. If you have ever bought a candle from the mall, you know how expensive they can be. Once you acquire a few simple things, then making your own candles can be quite affordable.
The Vocabulary of Candles
Making your own natural candles comes with it’s own vocabulary. Let’s learn some of the terms right here in the beginning, so there is no guessing or confusion as we move ahead.
- Scent Throw– the ability of a candle to diffuse its scent that you added to the wax
- Cold Throw– the strength of fragrance a candle gives off when it is unlit
- Flash Point– the temperature of a fragrance when it evaporates
- Melt Pool– the melted wax that forms when a candle is burning in order to throw it’s scent
- Hot Throw– the strength of fragrance a candle gives off when it is burning
- Melt Point– the temperature of candle wax when it goes from a solid to a liquid
- Burn Time– the number of hours a candle will last
What You Need to Make Your Own Natural Candles
While making homemade natural candles is easy, a few things can make your non-toxic candles the best they can be. Here is a list of what you will need and why these items are best.
Must Have Supplies
- Soy Wax-The most natural candles are made from essential oils, but essential oils are less fragrant than chemical scents. Because of this you need a wax that retains scent longer and releases it slower. So soy wax is recommended. It burns slower than paraffin wax so your candle will not only hold natural scent better, but burn cleaner, and longer as well.
- Hemp Wicks– While you could use cotton wicks as a natural wick choice, hemp is superior while using essential oils. Even though soy wax holds a scent longer than other types of wax, it doesn’t get as hot. Because of this I recommend a hot burning wick to give you more throw. Hemp wicks burn hotter than cotton, and so they will release more oil into the air as they burn.
- Jars with Lids– I like these particular jars because they are a good size for someone who’s new to making soy candles. You can make quite a few candles with your first bag of wax. But you can use any style container you want. They one thing I very strongly recommend though, is a container with a lid. Again because essential oils are less fragrant, we want to keep our scent as strong as possible. A lid on your container when it is not in use will help keep your candle scent from fading.
The Things That Help When Making Natural Candles
While these items aren’t absolutely necessary, they can make the process of creating homemade natural candles much easier.
- Essential Oils– Why wouldn’t essential oils be in the must haves section? If you just want to make your own emergency candles with no scent but that you know are safe, then essential oils would not be unnecessary. But if you want natural candles with a scent, then essential oils can do that for you.
- Wick Holders– Wick holders help keep your wick in the center of your candle. I just used popsicle sticks I already had around the house, but when I run out of those, I will be purchasing actual wooden holders. They are more affordable than the metal wick holders, but unlike a regular popsicle stick, they have a hole drilled in the middle for you. That means you can just fit your wick right through, instead of having to wrap them like I did.
- Pouring Pot– You don’t want to clean wax out of a double boiler every time you make candles. A pouring pot takes care of that issue. Once melted, your hot wax will pour with ease because of the spout, and it has a handle that stays cool. (If you don’t want to spend the money on an extra item, and you have one, a Pyrex measuring cup could be also be used.)
- Wick Trimmer– This will not only trim your wick down as you finish making your candles, but you can use it to keep candles you are regularly burning “healthy”. Trimmed wicks mean cleaner burns, a better melt pool, less chance of sparks, and less smoke and soot while burning your natural candles.
In addition to the items above, you will need a sauce pan big enough to hold some water and your pouring pot with your soy wax in it. Hot pads, and trays can also be useful for keeping your hot candles off your counter tops while they cool.
*Before you start your Homemade Natural Candles*
Pets and some essential oils do not mix. You need to make sure you don’t drop any oil they can lick up. You also need to only use essential oils in candles or diffusers in very well ventilated areas. Some of the stronger oils that are great for candle making are on the list of most toxic for animals, so just be aware of this.
Essential Oils that are Dangerous for Cats
Cinnamon, Citrus, Clove, Eucalyptus, Lavender, Oregano, Pennyroyal, Peppermint, Pine, Sweet Birch, Tea Tree, Thyme, Wintergreen, Ylang Ylang.
Essential Oils that are Dangerous for Dogs
Anise, Cinnamon, Citrus, Clove, Garlic, Juniper, Pennyroyal, Peppermint, Pine, Sweet Birch, Tea Tree, Thyme, Yarrow, Ylang Ylang.
An Alternative
If you wish to avoid using essential oils in your candles, but you still want to make your scented candles as natural as possible, use fragrance oils that are phthalate free. Candle Science, Candle Soylutions, and Brumbleberry all make phthalate free fragrance oils. These will give off more scent than essential oils as well, so if you have pets, or just like a really strong scented candle, this might be the choice for you.
Let’s get Started
Once you have all the supplies you need, it is time to get started. I used about 2/3 of the 5 pound bag of wax and it made 6 – 9 oz candles.
Step 1 – Put the soy into your pouring pot and place it in a pan of water on the stove.
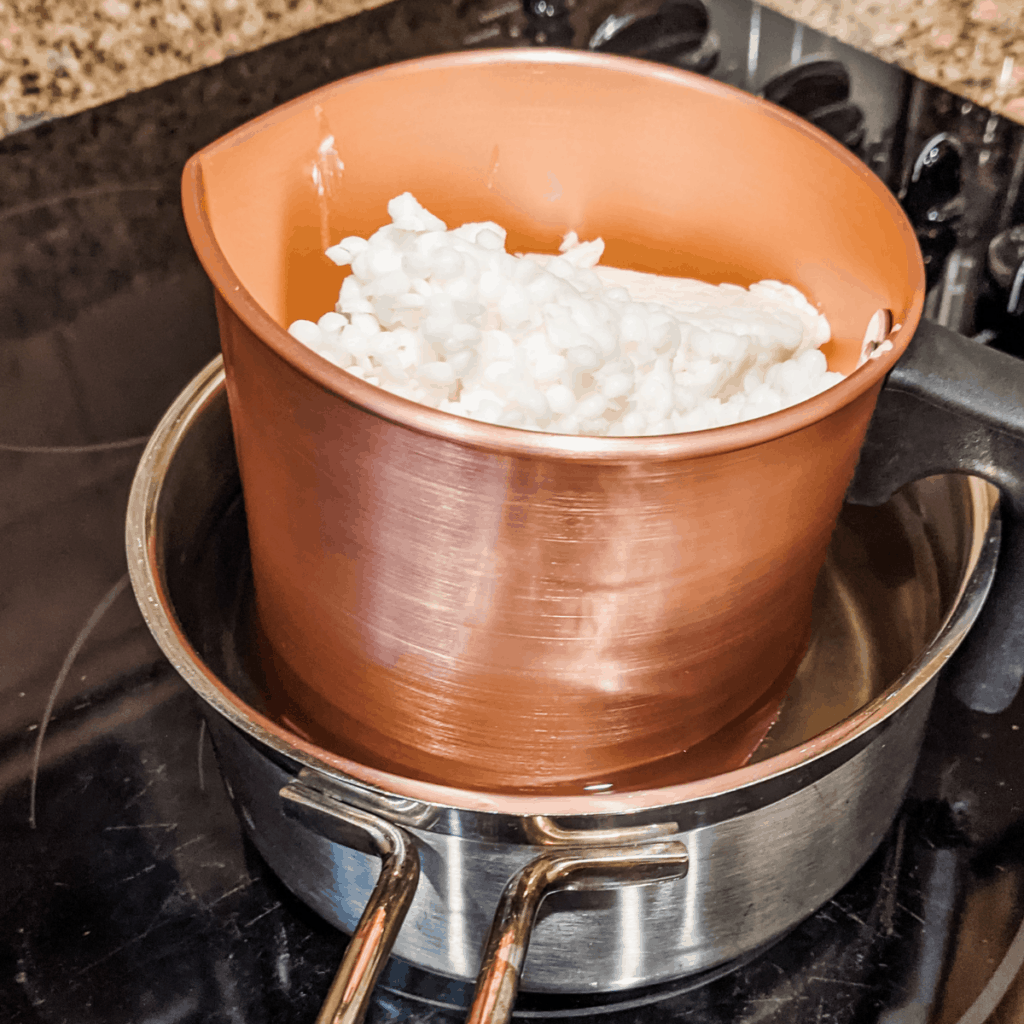
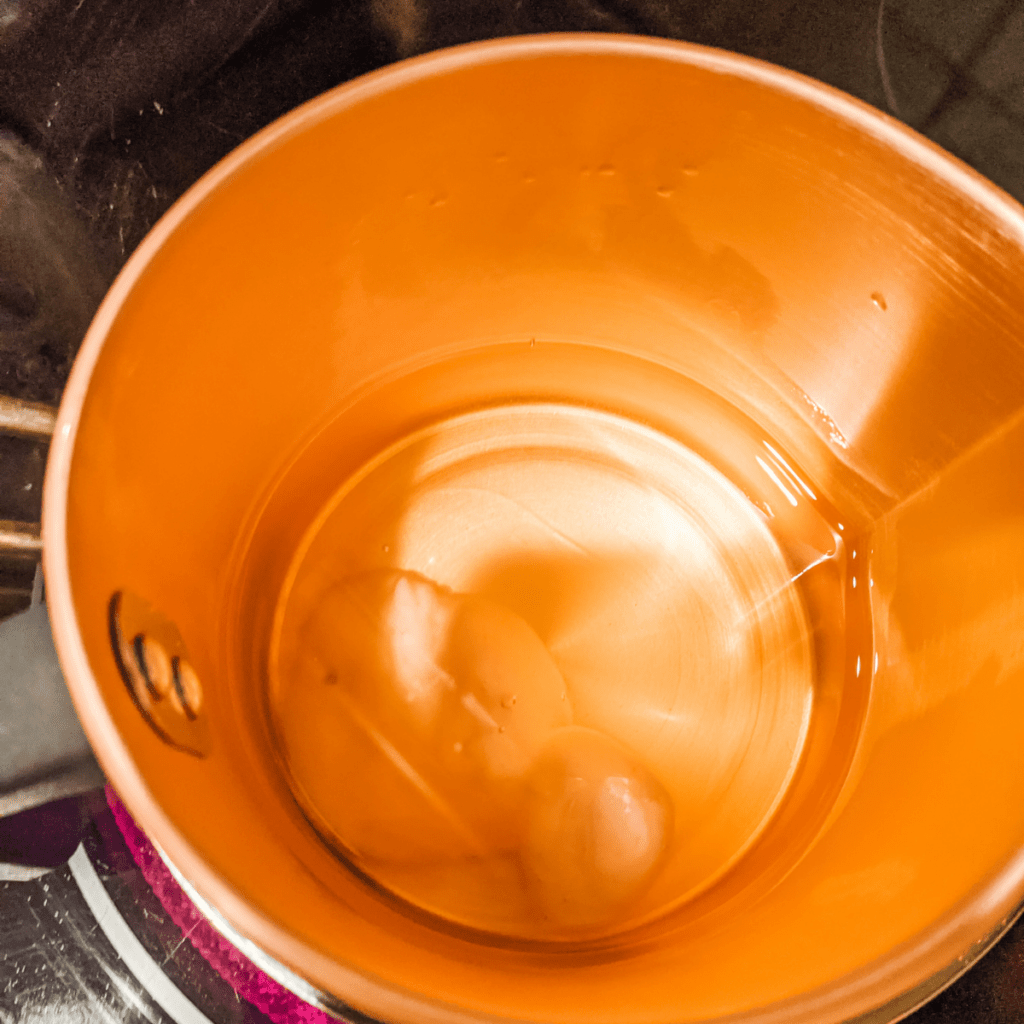
Step 2 – Heat up you water so it will melt your wax.
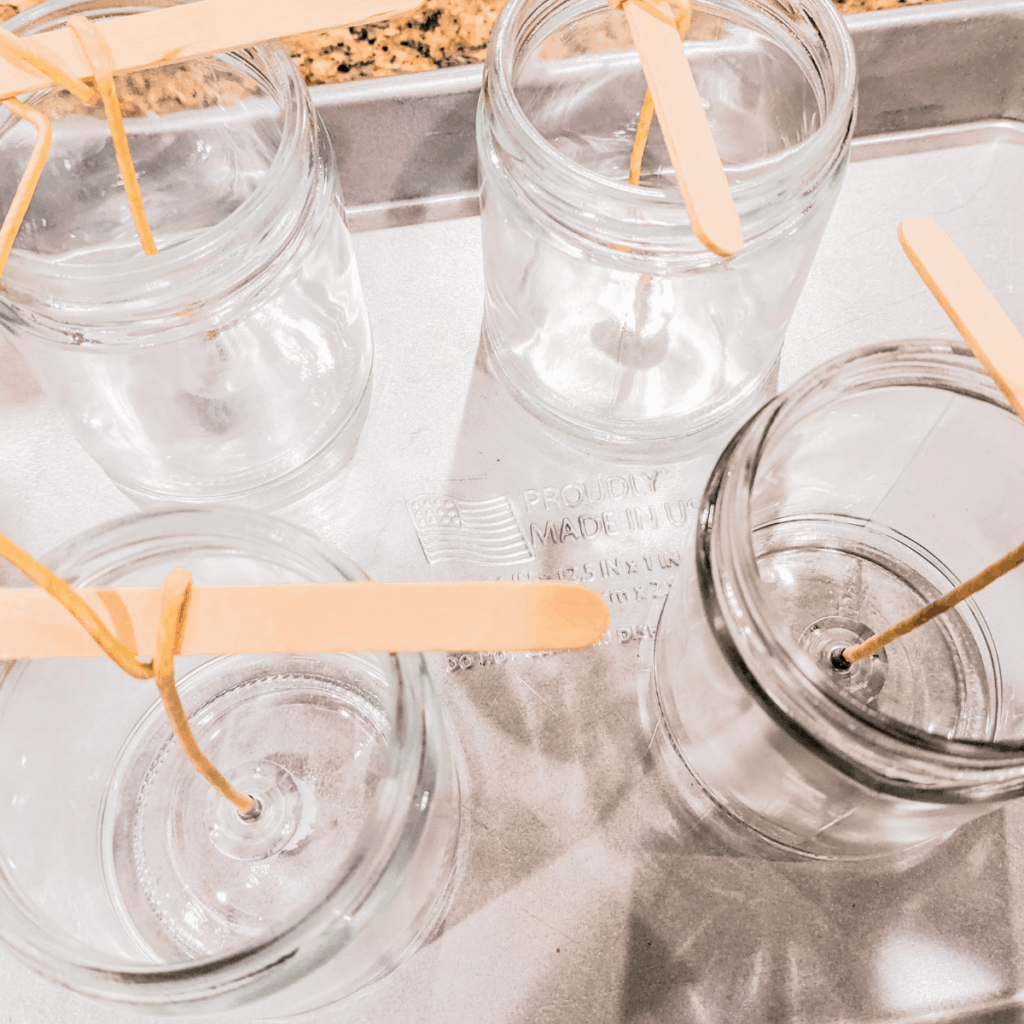
Step 3 – While the wax is melting, set up your jars and let them sit at room temperature. You don’t need to put the wicks in yet. Since I am using popsicle sticks instead of wick holders I needed to get the length of the wick long enough to fit properly in the jar and have enough wick leftover to wrap around the popsicle stick.
Once you have them measured you can set them aside so they don’t get in the way while stirring in your essential oils. Don’t worry, the wicks are easy to add in after the wax has been poured.
Step 4 – Once wax is melted, remove from heat so it doesn’t overheat, then slowly and carefully pour your wax into your jars, and let it sit for just a few minutes.
Step 5 – If you are adding essential oils or fragrance oils, add them now and stir them in very slowly for at least a full minute so it gets well dispersed. If you stir too fast you can get bubbles and you don’t want that.
You do need a good amount of oil when using essential oils, so I used at least 2-3 teaspoons in each of my 9 oz jars. This is another reason why I use more reasonably priced oils for candles.
Step 6 – Once your oils are stirred in, add your wicks and center them in your candles.
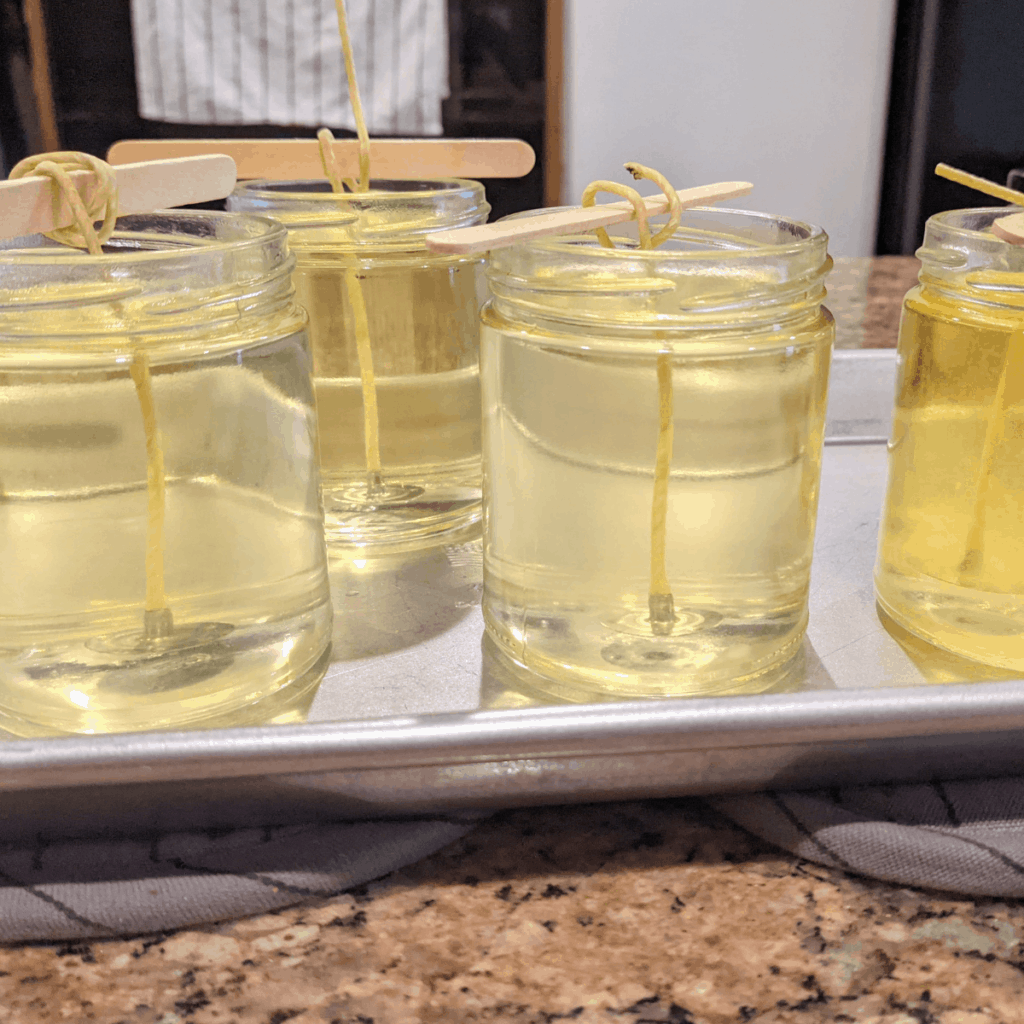
Step 7 – Let your candles cure slowly at room temperature. This will prevent cracking and sinkholes that can happen when candles are cooled too quickly.
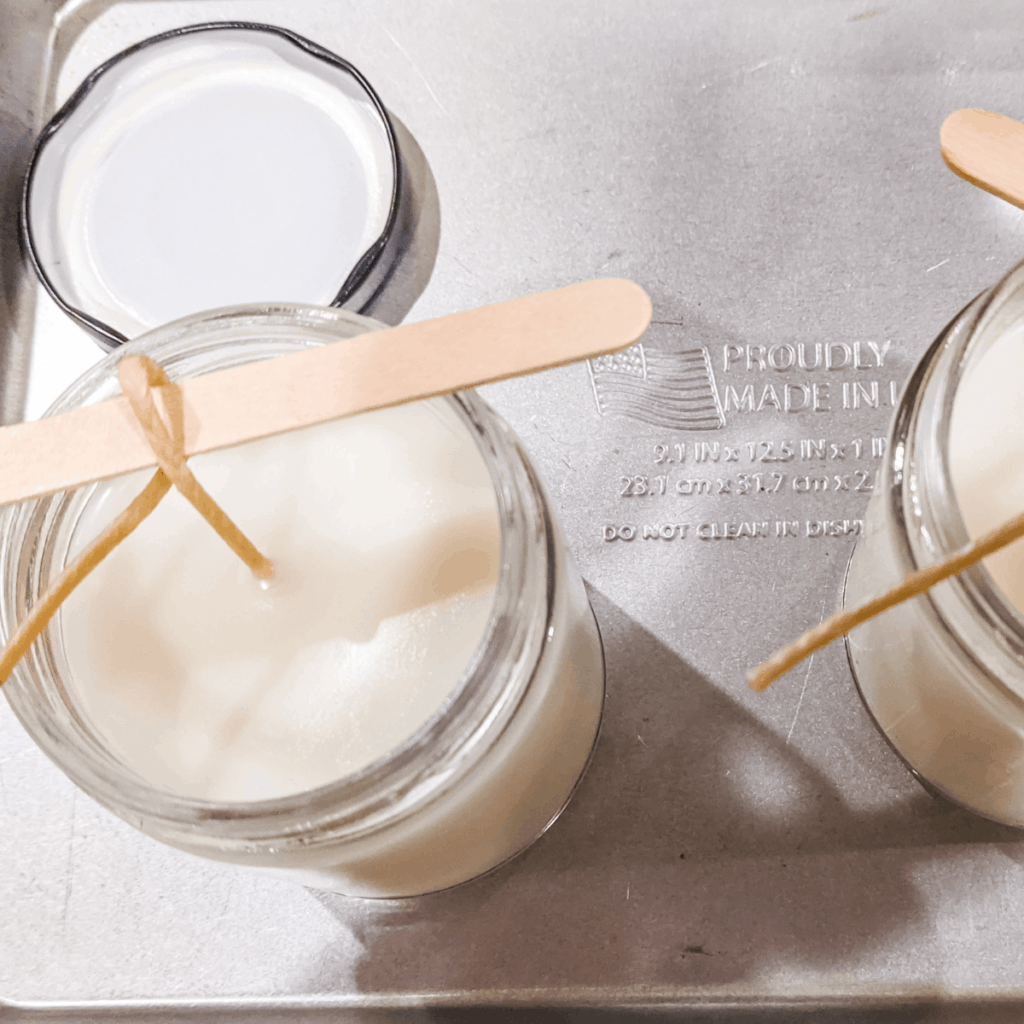
Step 8 – Once they are completely cooled, trim the wicks, and put on your lids.
Taking Care of Handmade Candles.
To get the most out of your candles, here are a few tips:
- Trim your wick before each use. This will give you a hotter burn with more scent released, and less smoke and soot.
- Do not light your candle unless you have time to get the melt pool across the whole surface of the candle. This will give your candle extended burn time.
- Remember to put the lid on your candle after it has cooled to keep the scent from fading.
If you do these things, your candles will burn cleaner and longer.
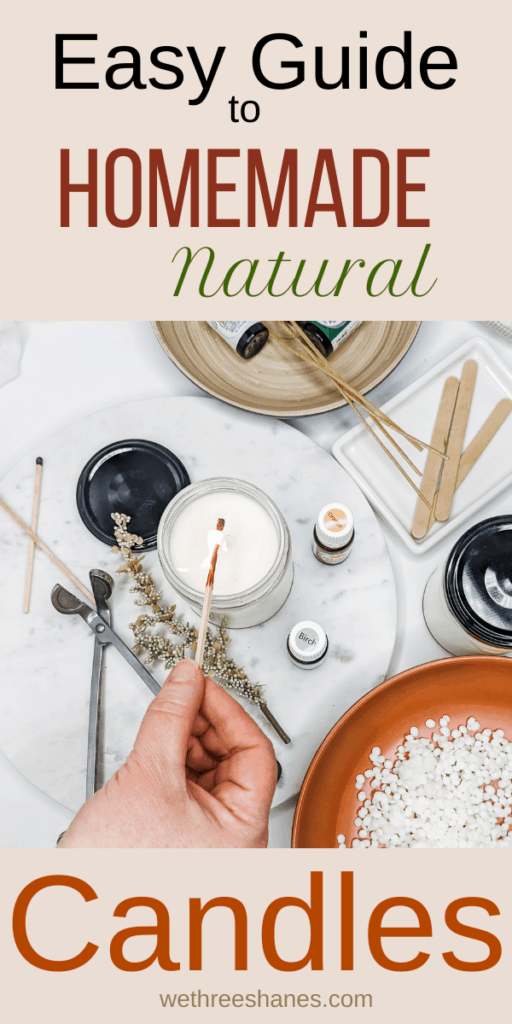
Making your own natural candles is a really easy project and can be quite fun. Mixing and matching essential oils to come up with your own scent combinations is one of the best parts because you can fill your home with your favorite smells.
